DIY // Laying a Cobblestone Paver Walkway
THE FARMHOUSE
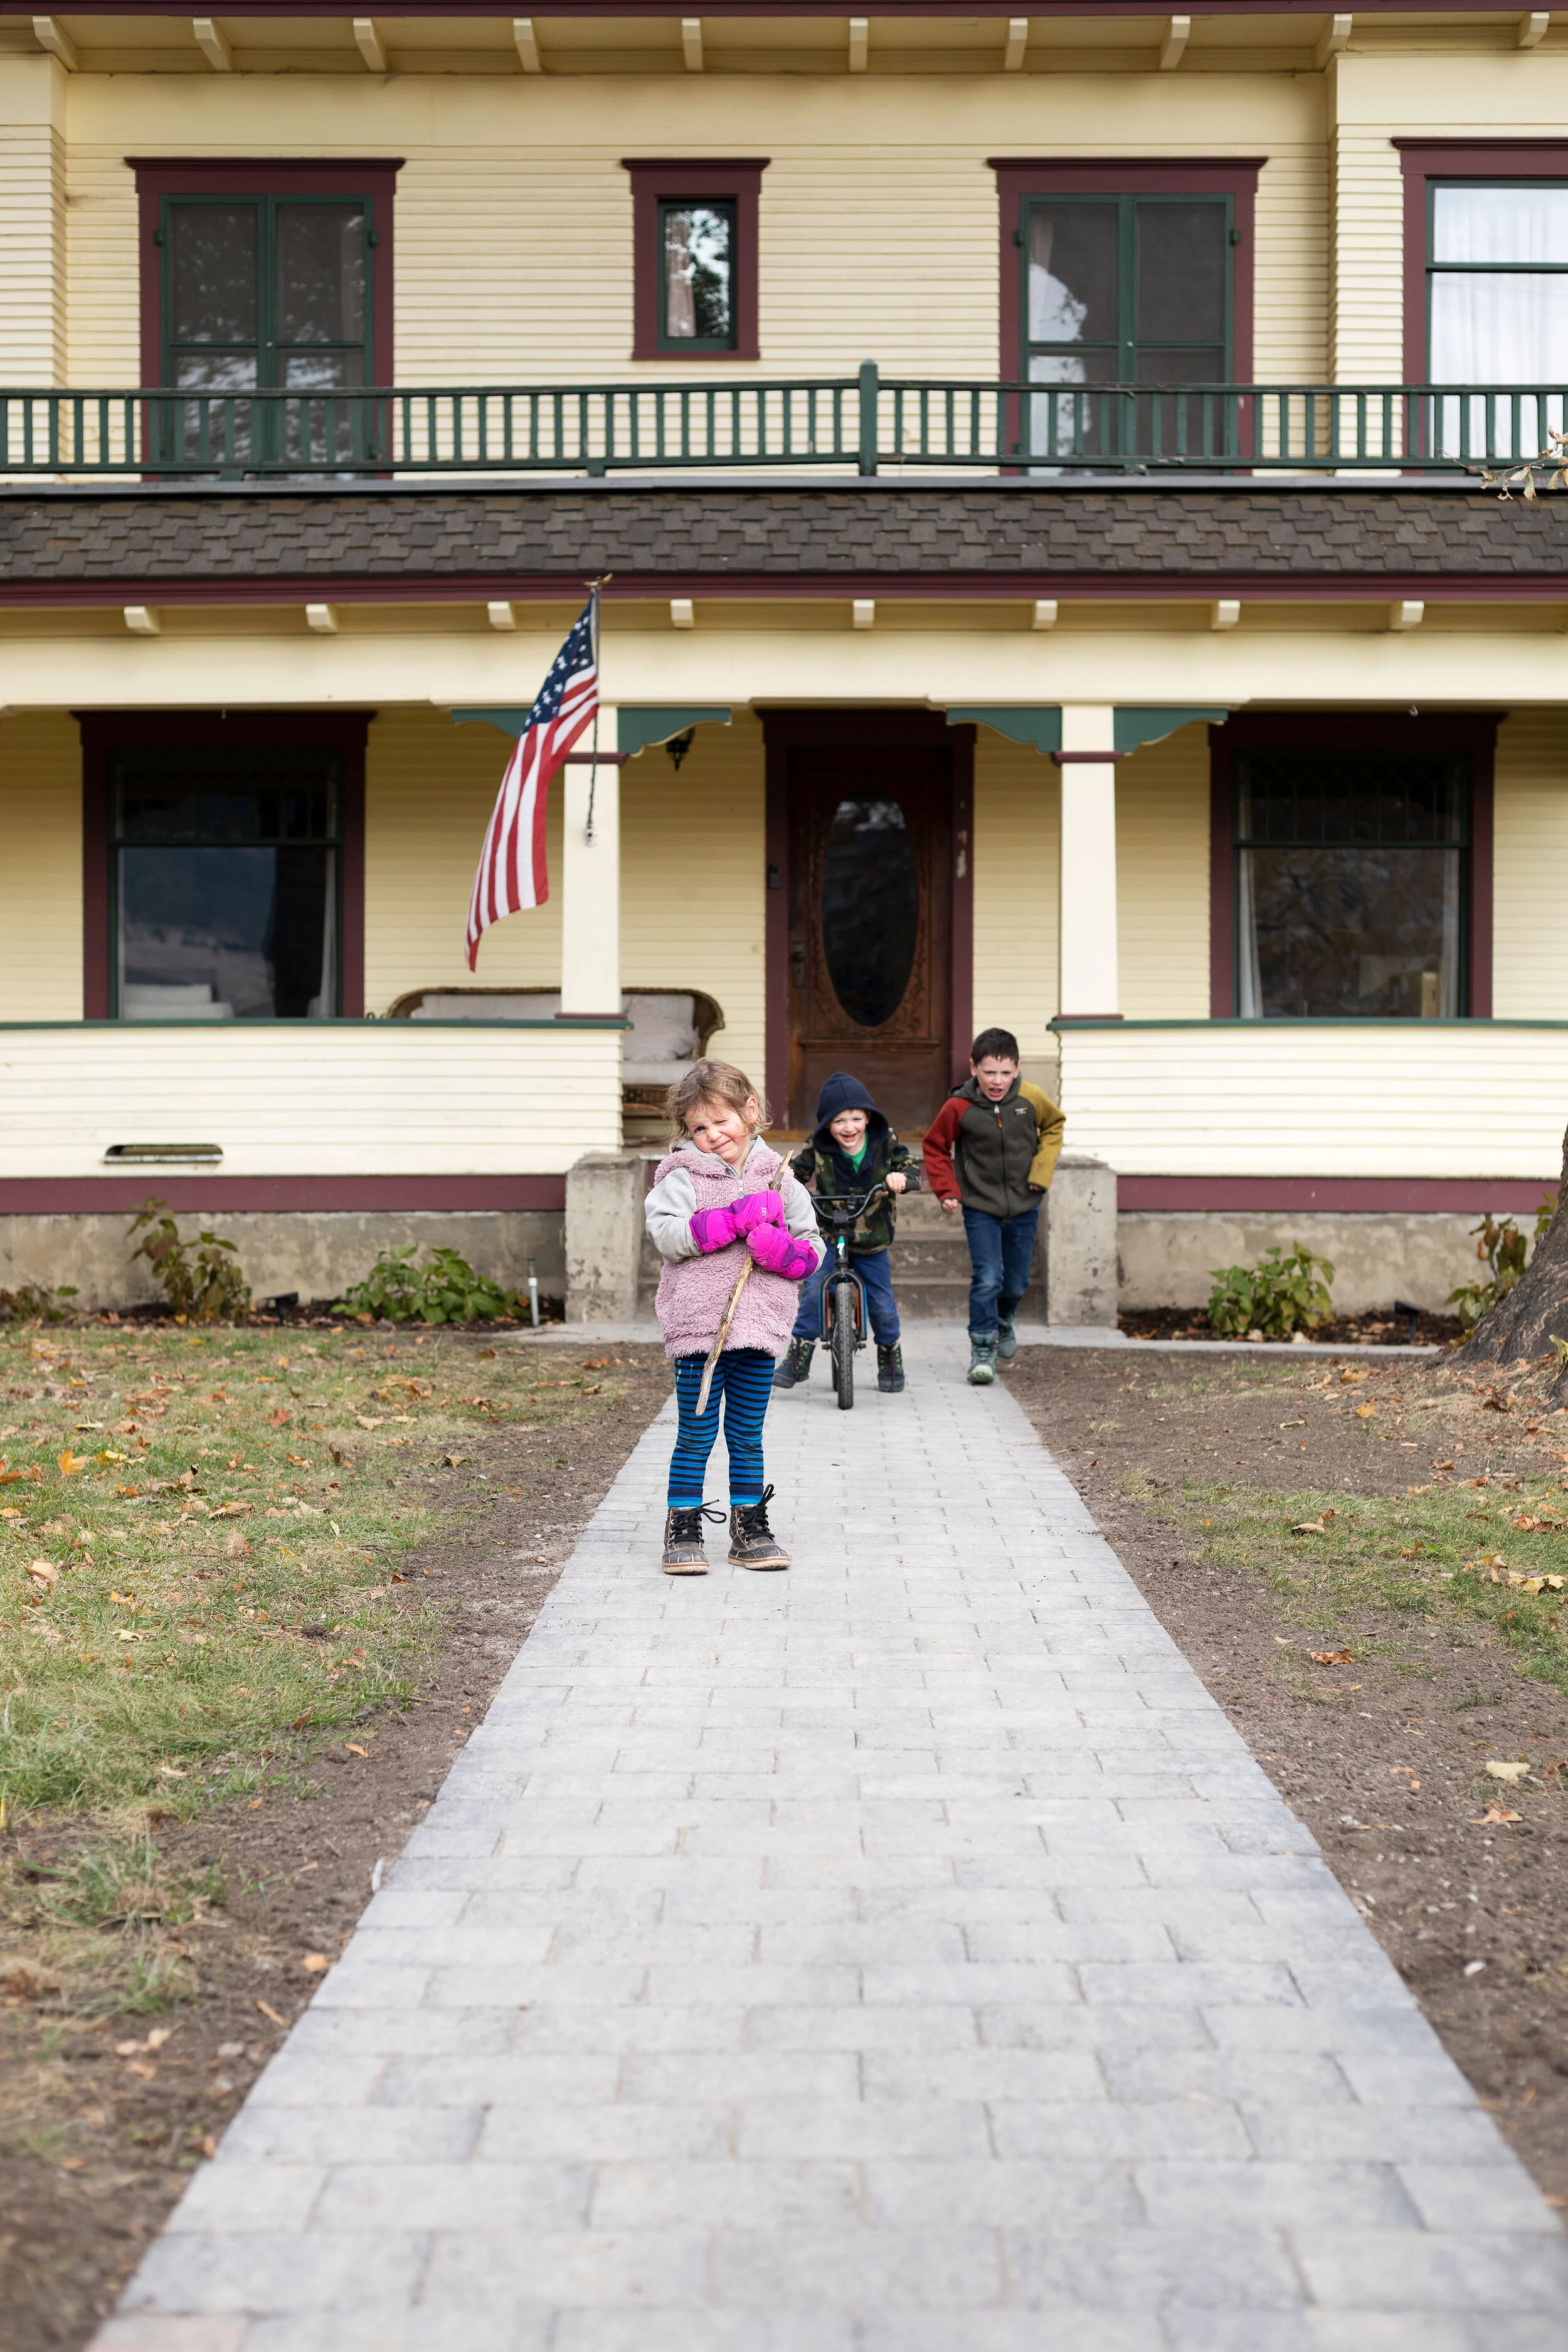
Our new cobblestone paver walkway is in and I’m kind of obsessed with it! I mentioned on Monday that this project came about when I told Garrett that our front walkway was a trip hazard and would need to get replaced…eventually. Well three hours later, he was ripping it out 😂 Fall is no time to let an exterior project drag out in the Pacific Northwest so we put a rush on it and wrapped up this week. Today I wanted to share photos of the finished walkway and a how to, step-by-step DIY (this is a totally do-able project!). Let’s get into it.


Garrett and I found these pavers at our local lumber store and proceeded to buy every single last paver in stock. We then went to the next town over and bought Home Depot out of every last paver. Late October isn’t a great time to shop for pavers and we were lucky to find enough to do our main walkway and the small walkway to the garage. We ended up with only a couple half pavers leftover. Eek! (Ideally you’d buy at least 10% overage before starting the job.)
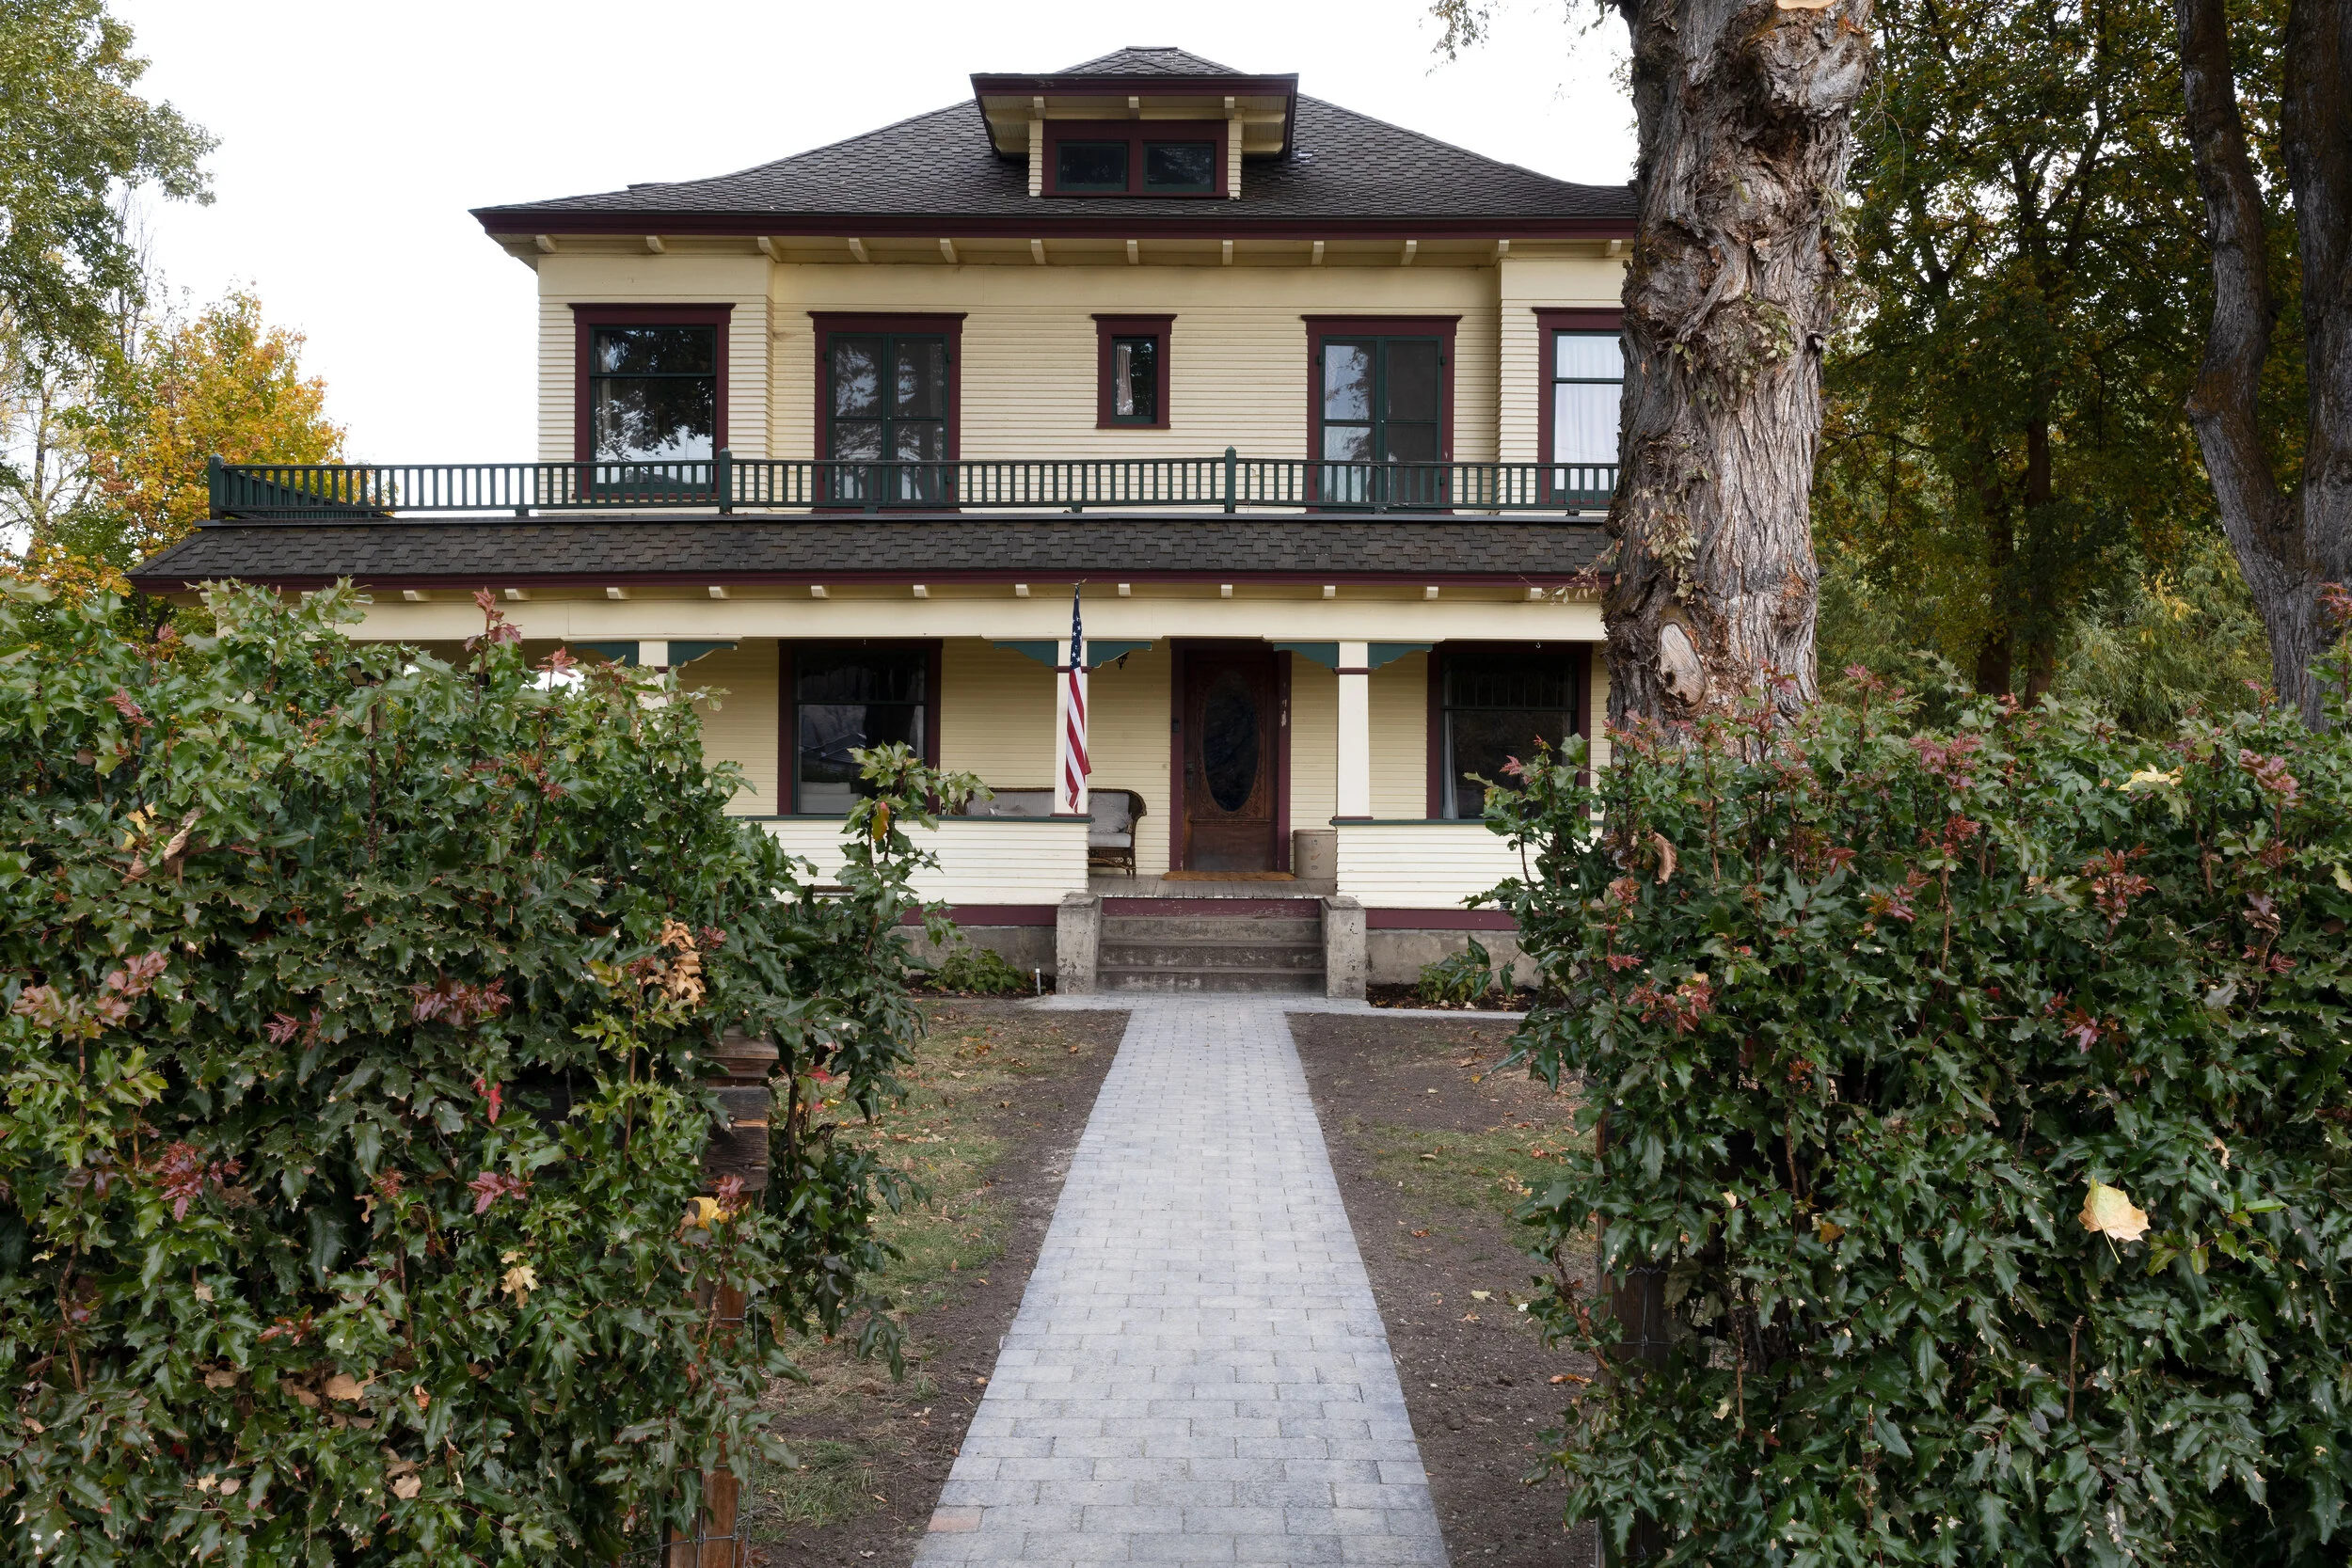
I love the old-world, tumbled feel of these 7”x9”x2.25” pavers. They’re called ‘cobblestone’ pavers and that describes them completely. They feel right at home in front of our 1912 farmhouse. We obviously have some landscaping to do and hopefully some house painting to do or hire out (how good would the house look white?!) but let’s ignore all of that until Spring. The pavers are the star of the show today!
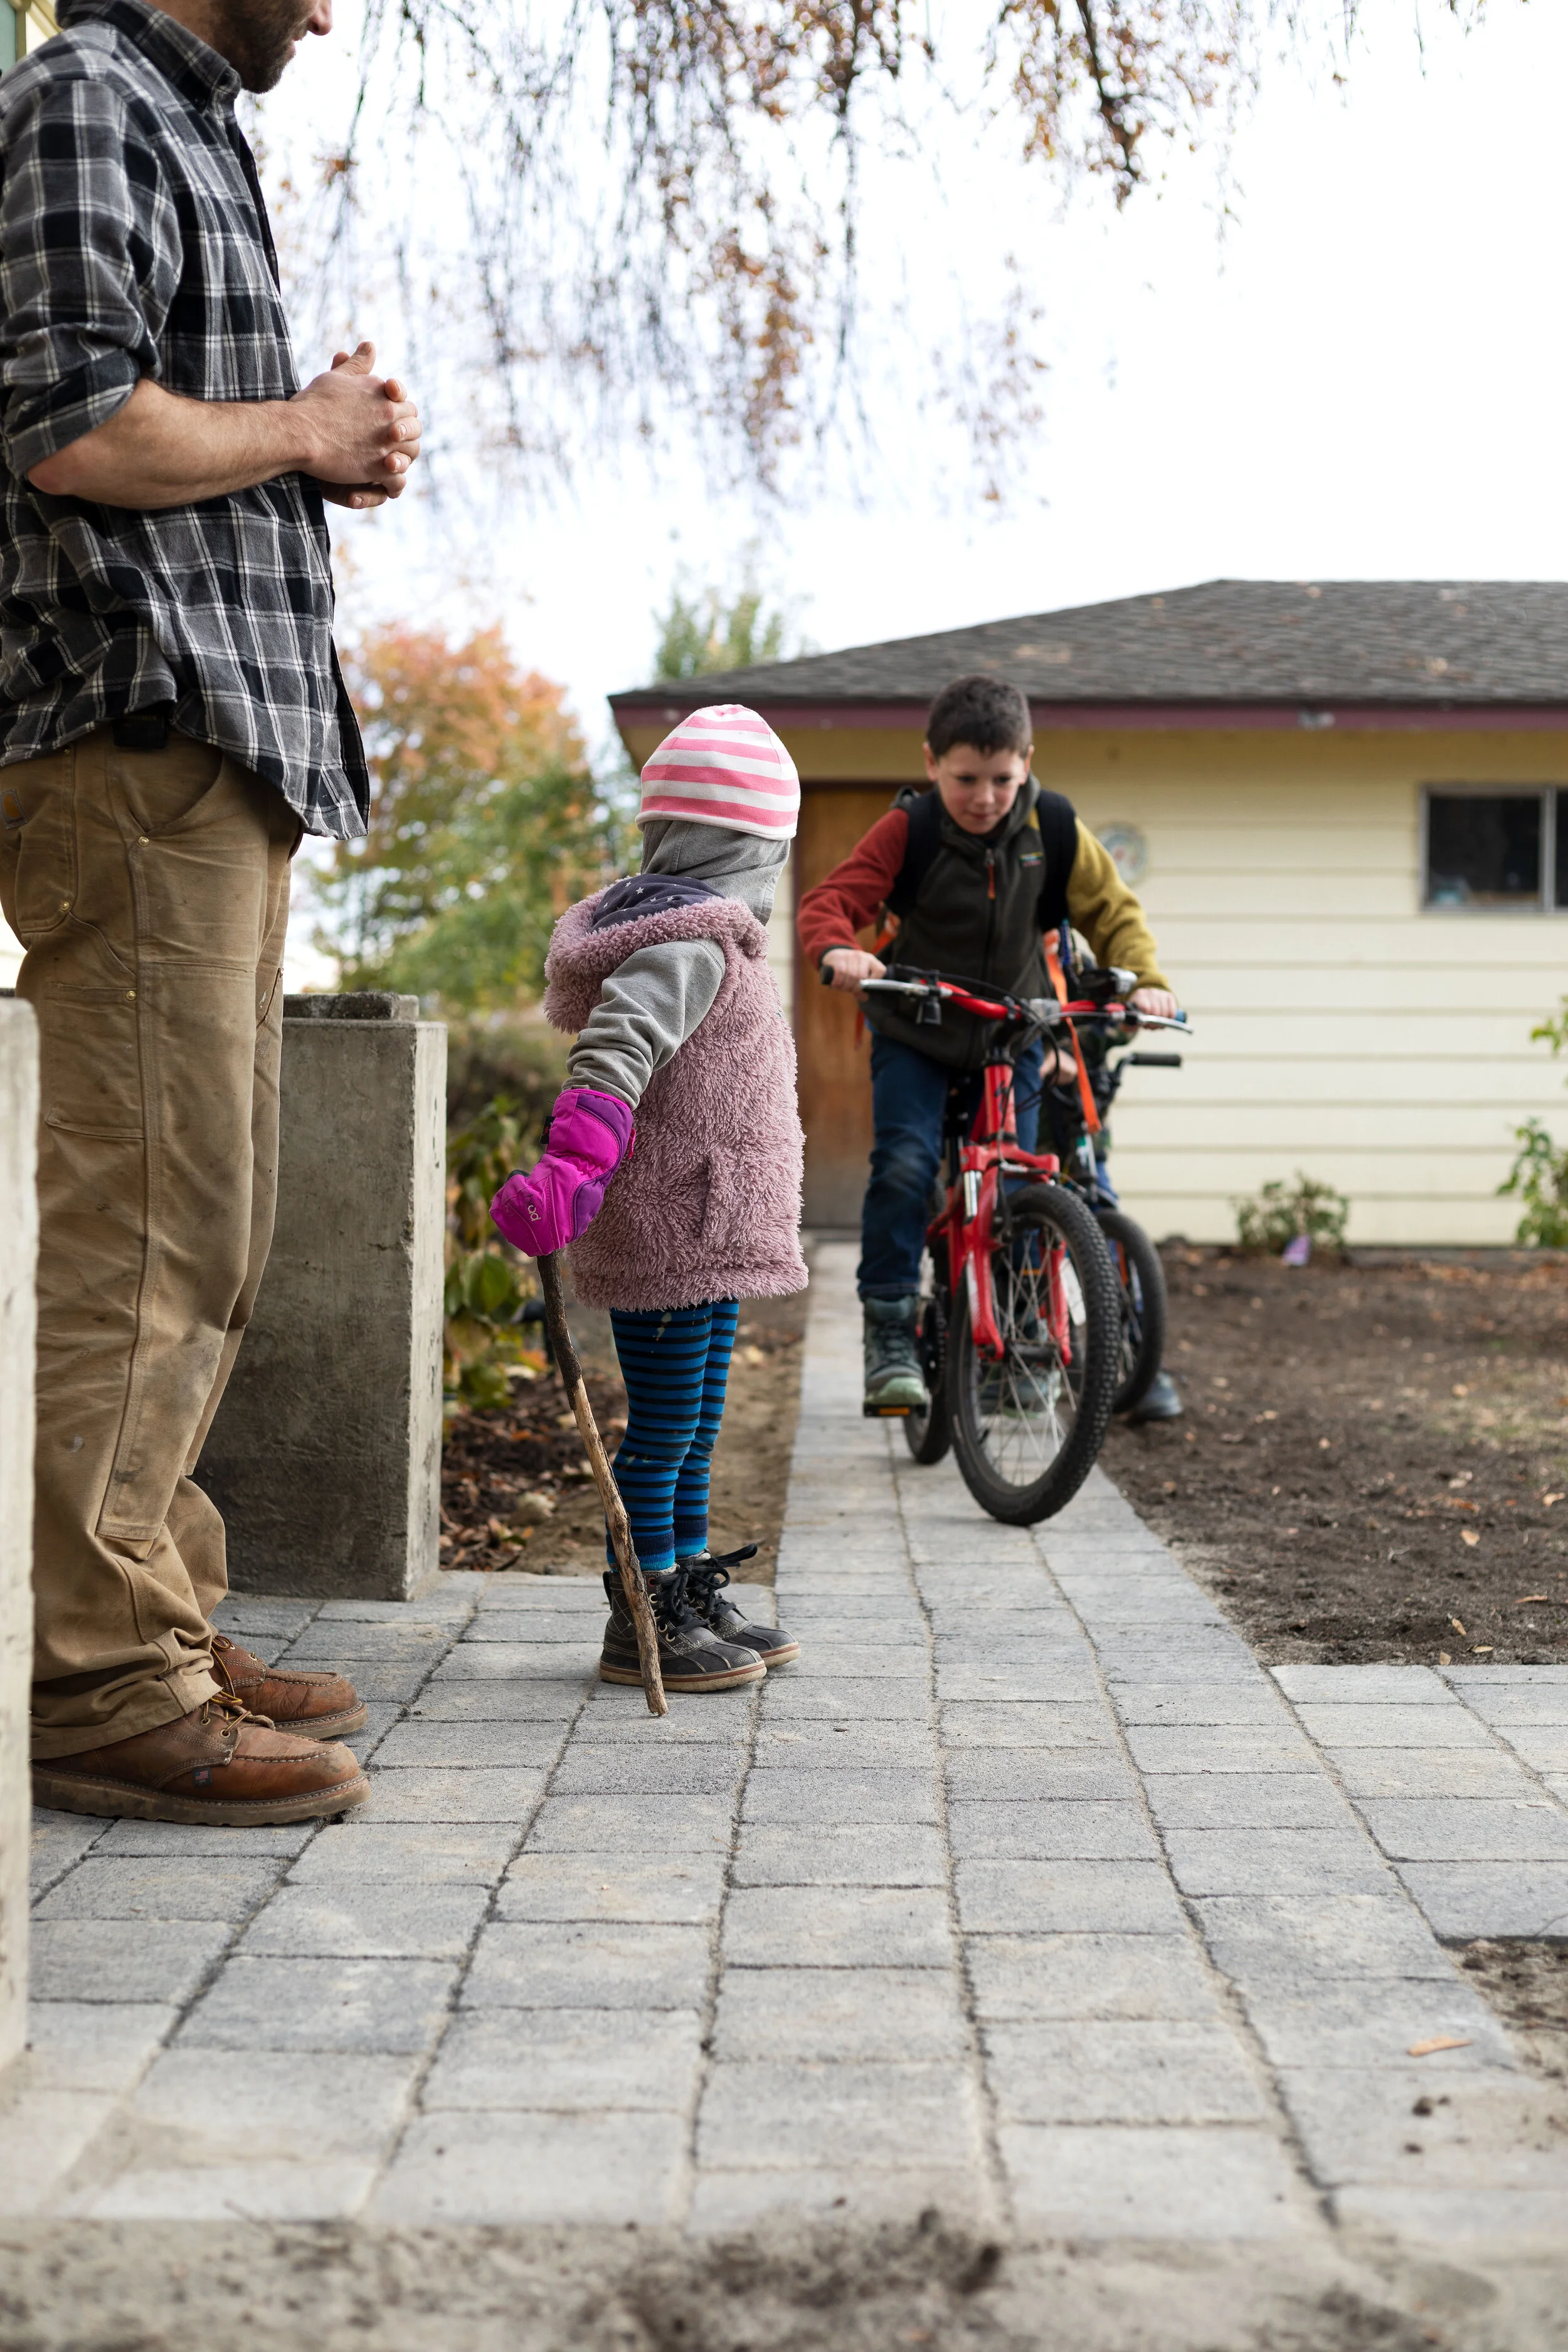
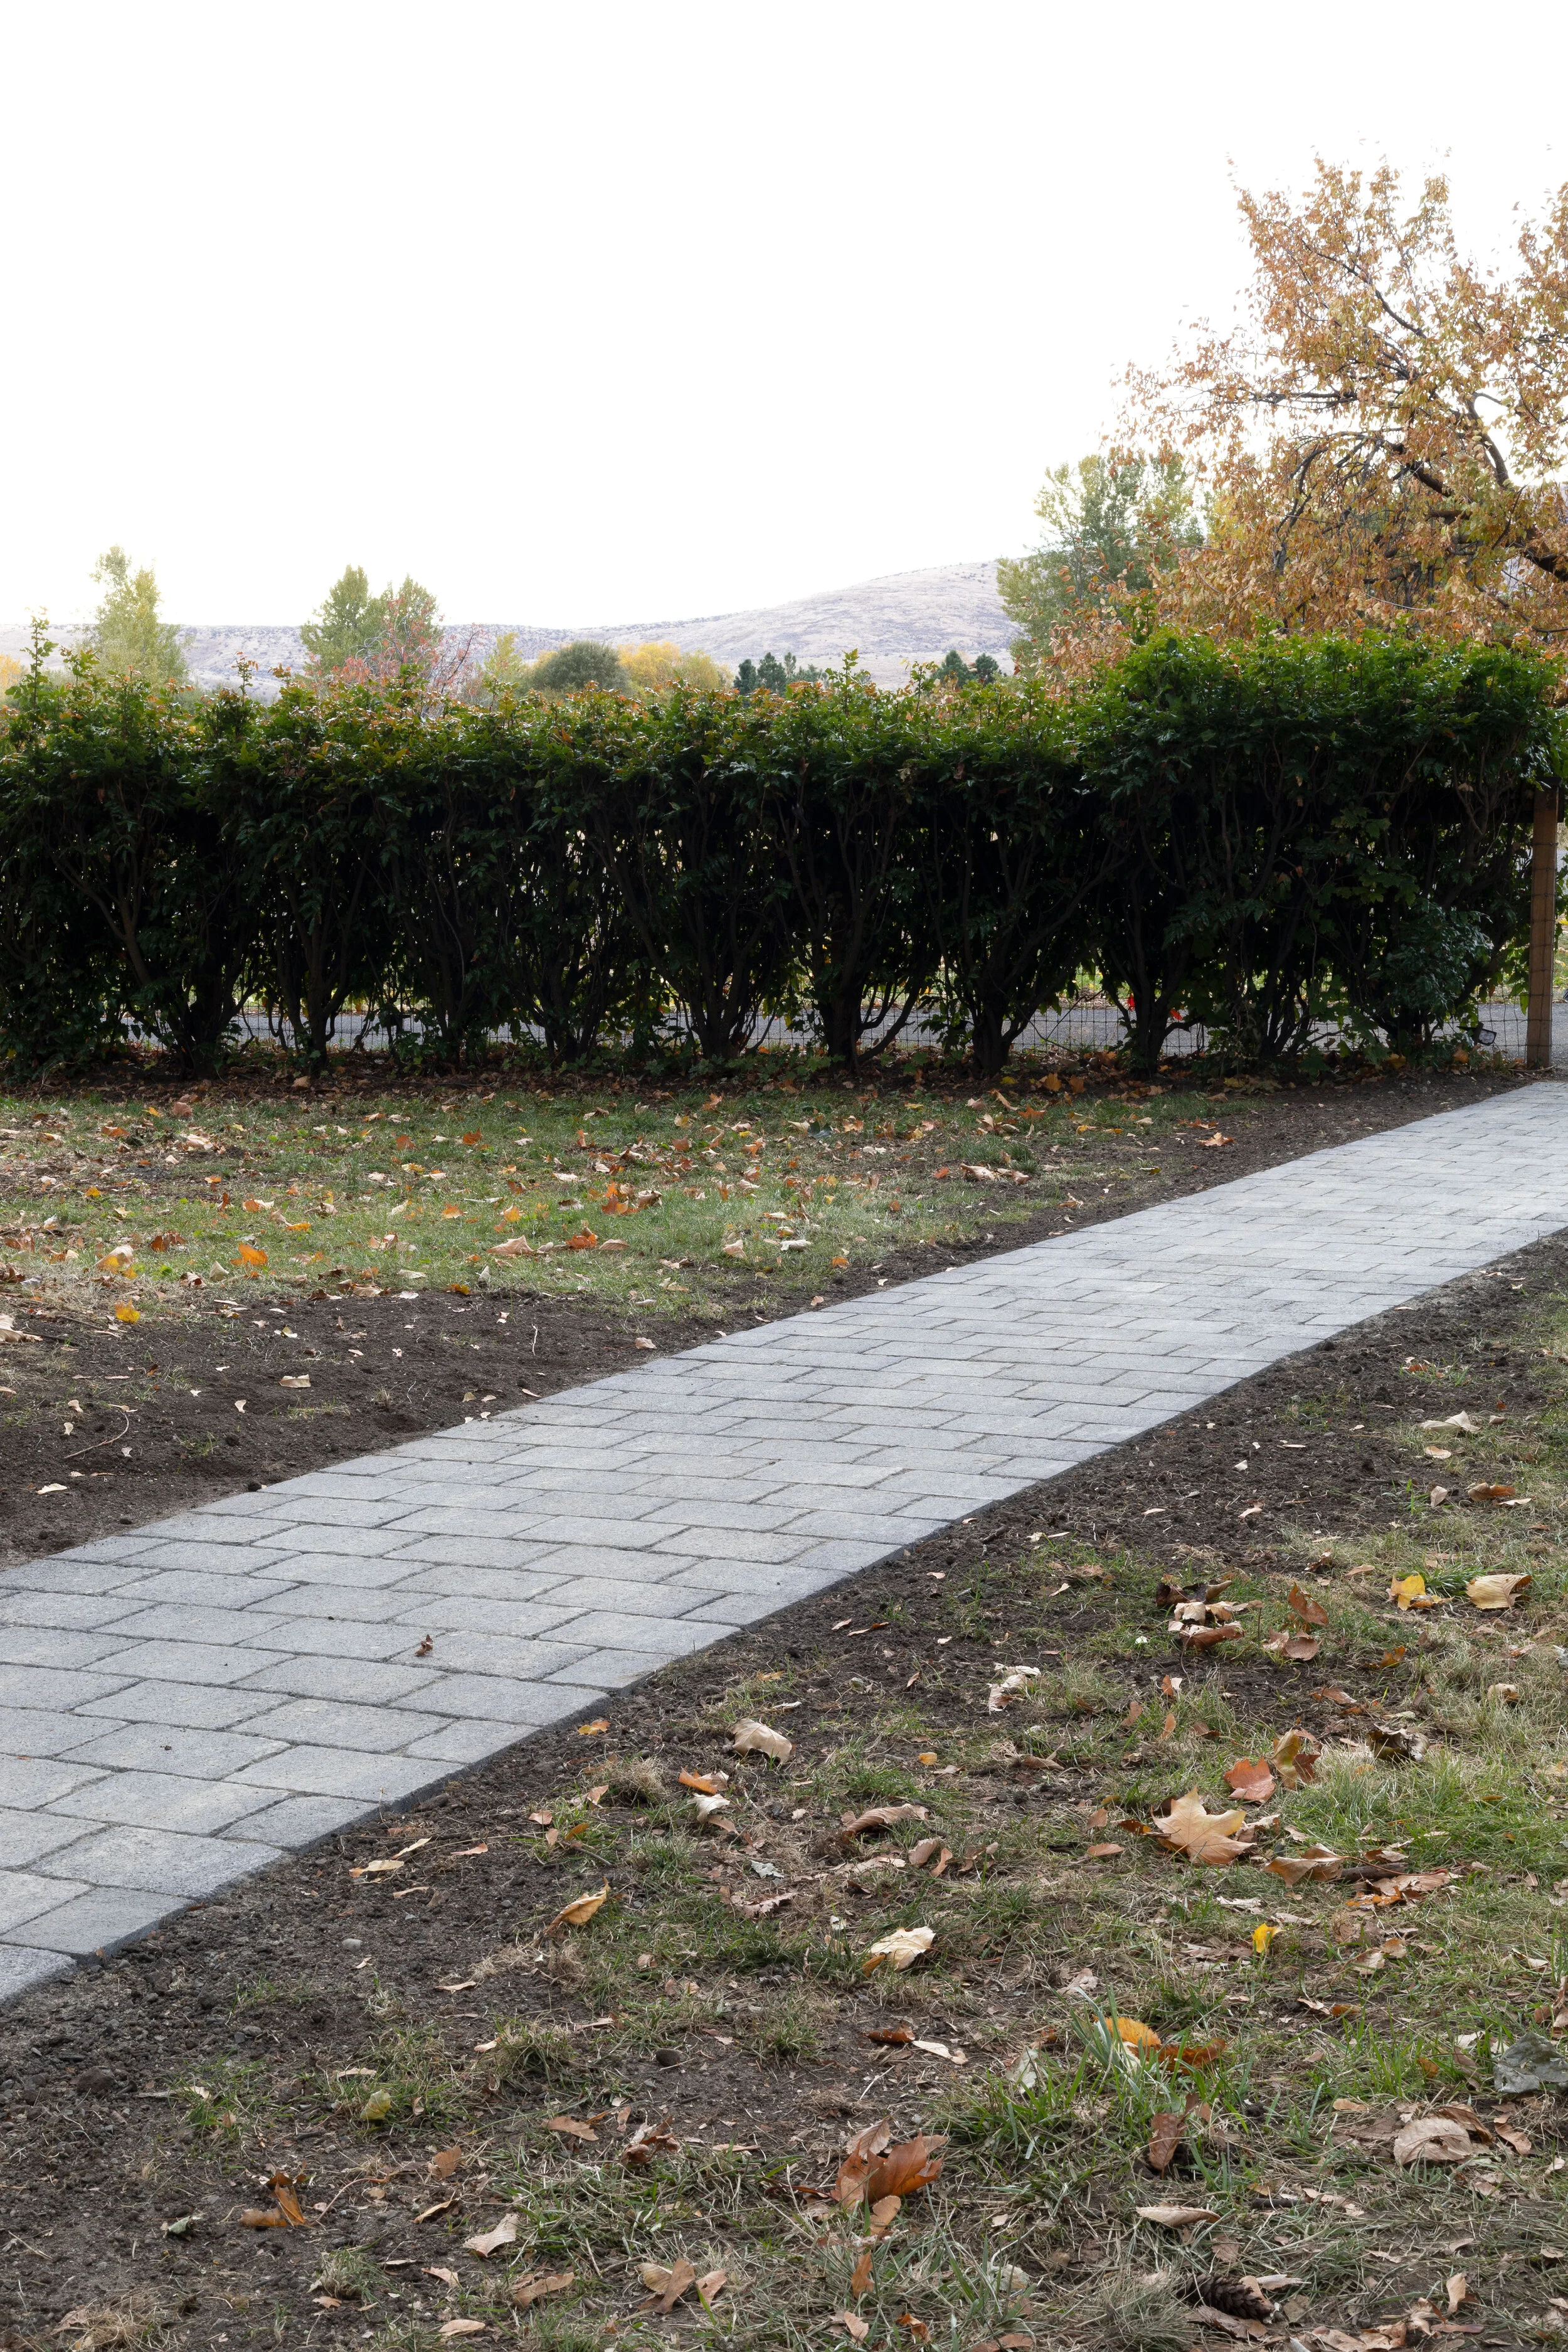


We opted for a running bond pattern (where the pavers overlap halfway), which required we cut a full paver every other row. But the install process would be essentially the same for herringbone or stacking bond, too.
DIY // Cobblestone Paver Walkway
Level: moderate
Time: 3+ days
Materials
Pavers (we used these 7”x9” pavers”)
Pressure treated 2x4s for edging (enough to go all the way around your walkwa
Screws for PT wood
Twine
Construction stakes
5/8 minus gravel
Construction sand
Paver sand
Tools
Tile saw with adequate cutting depth for your pavers
Cordless drill
Shovel
Pick ax
Mallet
Rake
Push Broom
Plate compactor rental
Step-by-step
Garrett put together a 3-minute video of the entire process. Steps and photos are below.
Step 1 - prep
Dig out your walkway about 6” below the finish grade and an extra 4” wide on either side. To get a straight line, use the twine and stakes to run a line down either side of the walkway. The edges of the trench should be tidy (we used a pick ax to get these cleaned up) and the bottom should be relatively flat but it doesn’t have to be perfectly level. If you want to add landscape fabric, now is the time.
Build a frame for the pavers to sit in using the pressure treated 2x4s. Run the 2x4's down each side, end to end, just outiside of where your pavers will sit and one-half-paver-height below the finish grade (you wan this to hide below the future pavers and be backfilled with the lawn or landscaping). The ends of each 2x4 should be lapped with a small piece of 2x4 on the exterior of the frame. add temporary cross pieces into the top of the frame to keep the whole thing from bowing. These cross braces help maintain the proper width of the frame which is key to a tight install. The frame width should be designed based on your pavers and pattern for a precise fit and to minimize cuts. Ours was made to fit 5 pavers across. To get the measurement we simply laid 5 pavers next to one another and then added 1/4”. This ended up being 44” so the braces are cut to 47” (to lay on top of the 1.5” frame on either side).
Once you have the frame in place, secure it with construction stakes. These are hardy steel stakes that have small holes through them for nails or screws. This makes it a cinch to fasten the frame to the stakes and allows for adjustments as needed. The pavers end up bedding into the sand ~1/4 below the top of the frame so set the height of the frame with this in mind. We set the top of our frame ~1” below the surrounding grade.


Here’s a cross section of what we’re creating.

Step 2 - gravel
fill your frame with 5x8 minus gravel and rake level. This doesn’t have to be perfectly level but get it as close as you can with your eyeball. The top of the gravel should be ~1/2” from the top of the frame. Run the plate compactor over the gravel to pack it down! This creates a solid base that will keep your pavers from buckling in the future. The compacted gravel should end up 1-1.5” below the top of the frame.

Step 3 - laying pavers
Now it’s time to lay pavers. Working in small sections (about 2’ at a time), fill the remaining height of the frame with sand and screed it level using a straight board (or a piece of rigid ABS pipe). Then lay the first row of pavers, being careful to set the paver down flat without sliding across the sand.


Step 4 - compaction and paver sand
Run the plate compactor over the pavers to set them. Then use a broom to brush paver sand over top of the entire walkway and into the joints. Run the compactor over the whole thing again, add more sand on top, and brush it into the joints using the broom. You can repeat as many times as you’d like, but at this point the pavers will be set! In this method the pavers bed down just far enough into the frame that the bottoms are held in place by the wood and the fine sand in the joints locks the pavers together.

Step 5 - backfill
Remove the stakes from the outside of the frame and backfill the outside of the frame with soil. Make sure the soil is nice and set by walking over it.
Easy peasy, right?!


What it cost
Here’s what this project cost:
Pavers ($1.40/paver at HD and $2.30/paver at our local lumber store), $1,017
Pressure treated 2x4s, $283
5/8 minus gravel (ours was leftover from the chicken coop so this is an estimate), $100
Base sand, 1.5 yards, $60
Paver sand 4x50lb, $24
Plate compactor rental, $80
Total = $1,564 (before taxes)
Our two walkways equaled about 220sf, so this walkway cost about $7.10/sf (with $0 in labor since this was a DIY project).

This walkway is SUCH an upgrade for us and we’re loving how level and solid and beautiful it is! We’d love to hear if you use this DIY tutorial, too.