How to Install Vinyl Peel-and-Stick Tile Floors (Poplar Mudroom update!)
THE POPLAR COTTAGE
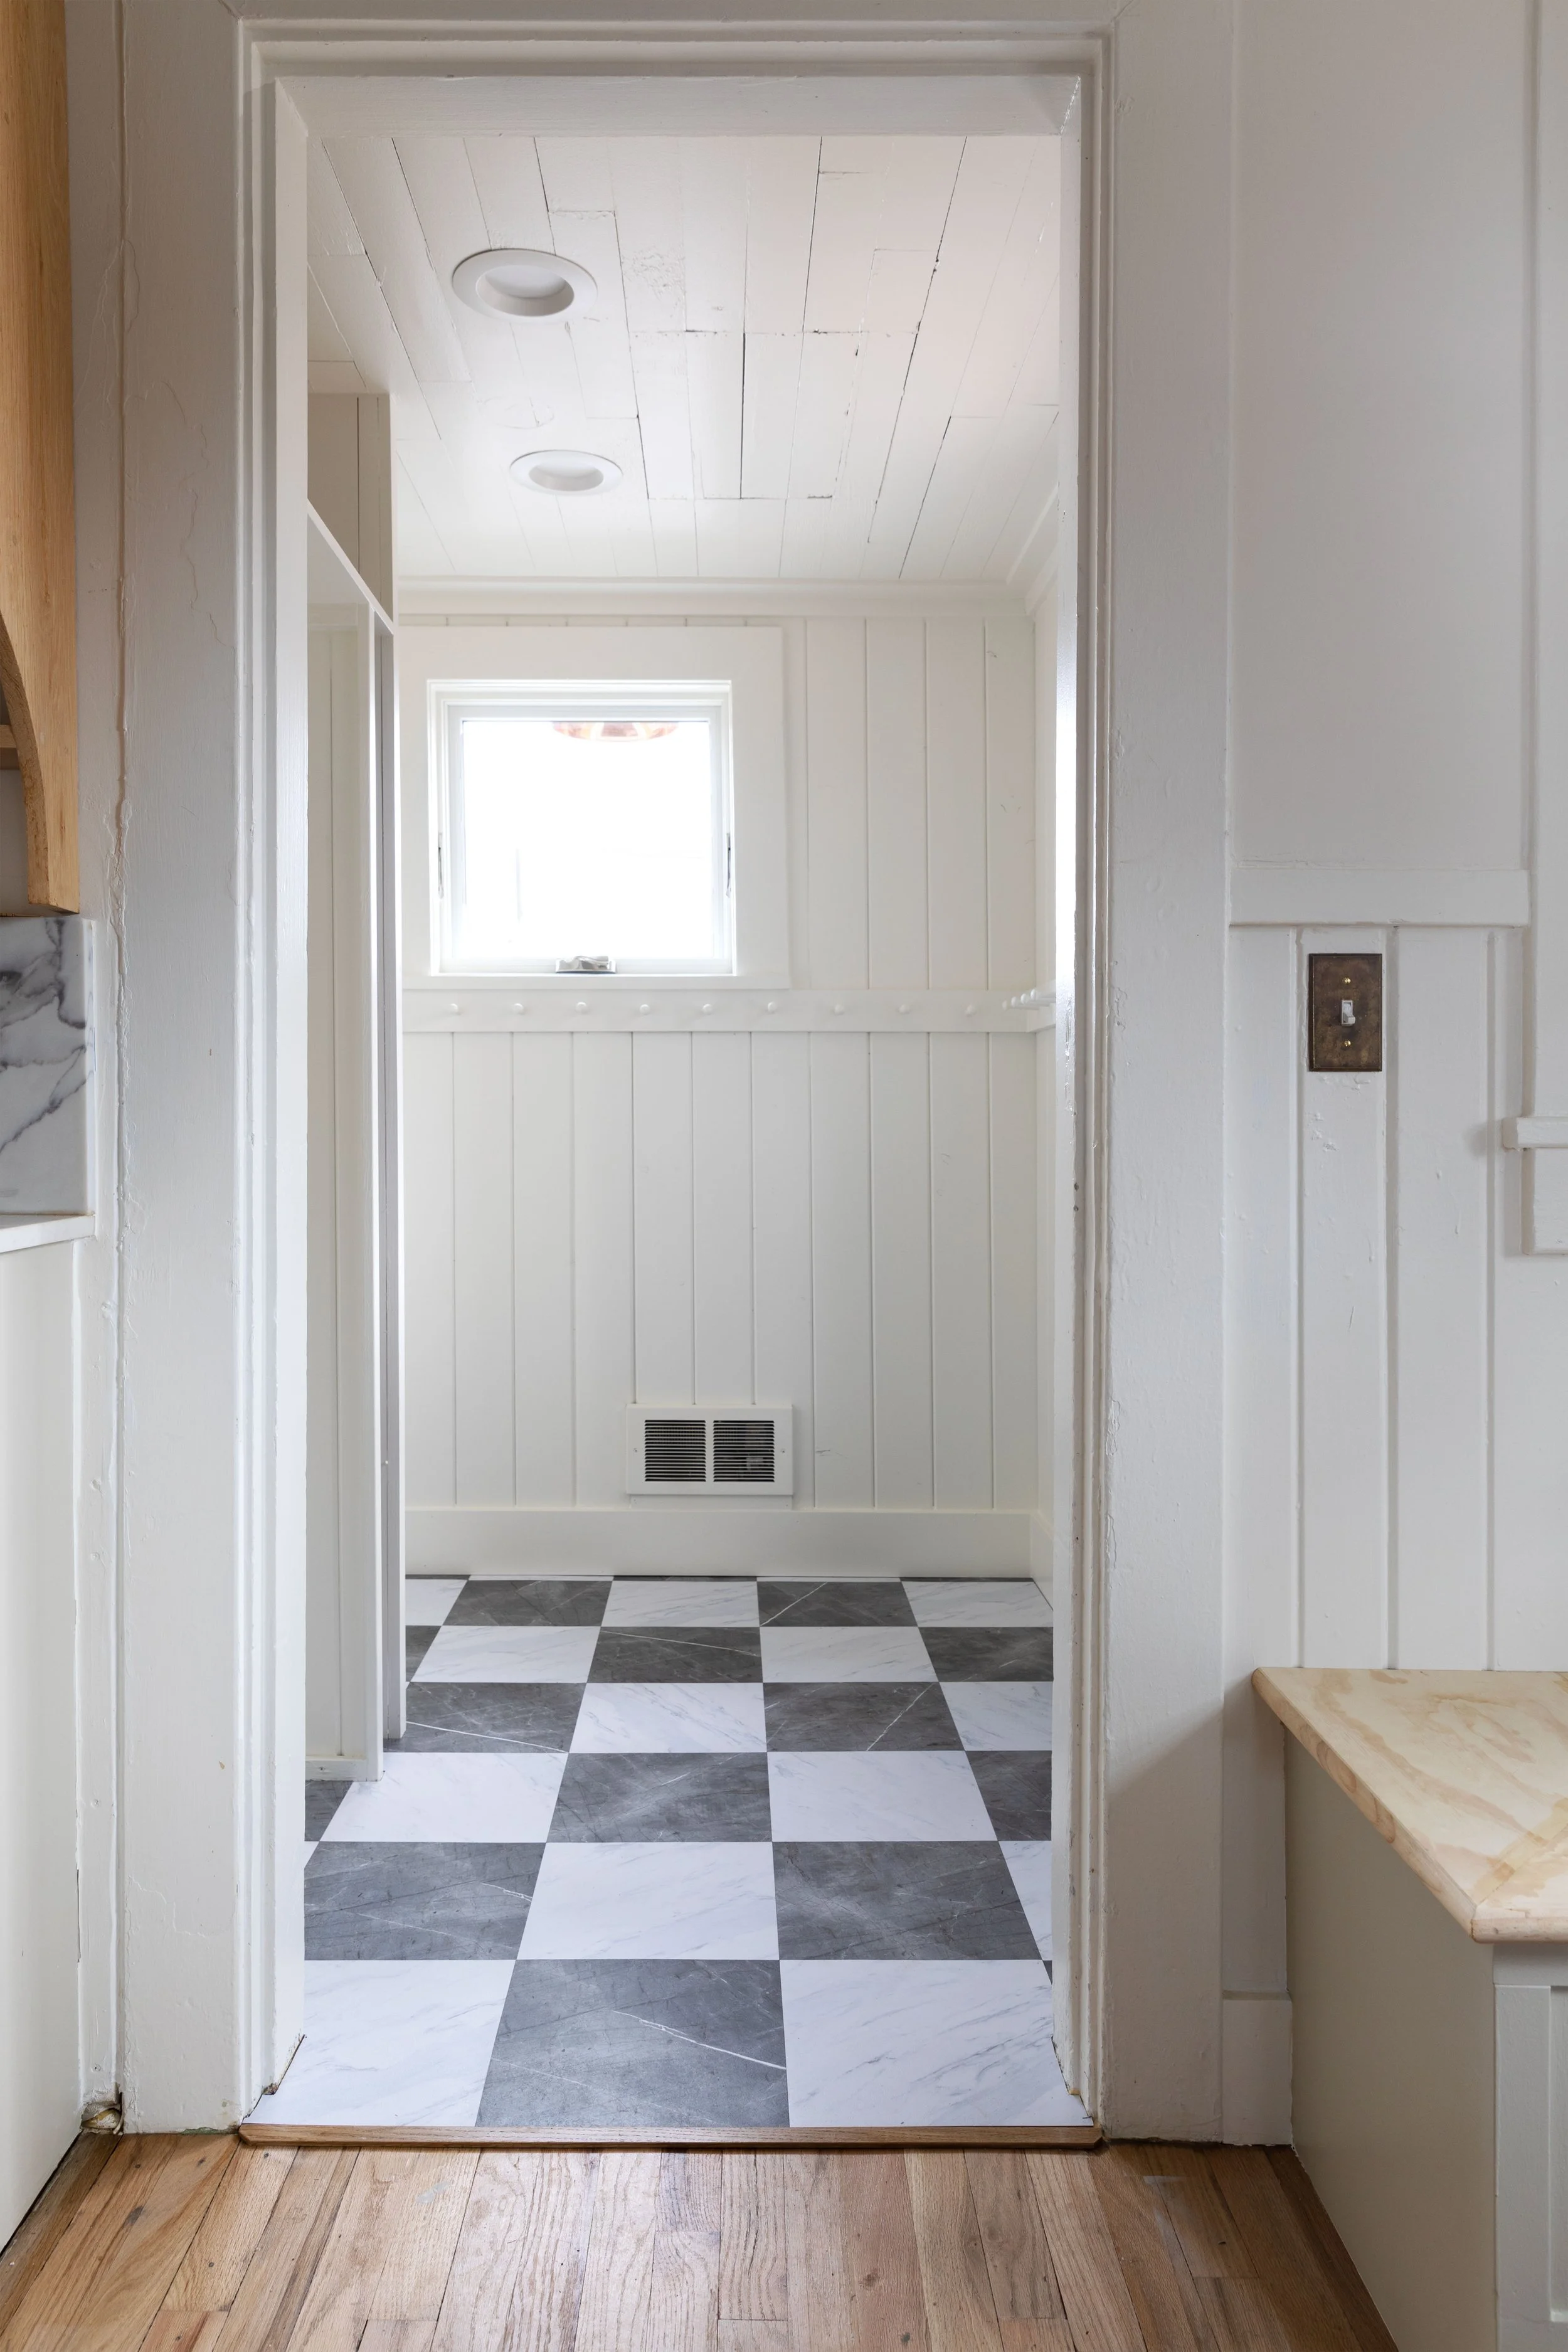
We’re checking off punch list items on the Poplar Cottage remodel and this week we installed the mudroom floors. We went with vinyl peel-and-stick tile due to floor height issues and wow, we were blown away. They’re quick and easy to install, budget-friendly, and oh so beautiful. I’m still shocked at the transformation this mudroom saw in just an afternoon! Sharing all the details below including our thoughts on when and where to use vinyl, what flooring material you can lay them on, and a step-by-step diy on the install process. Let’s get into it…


flooring (in gray)
These peel-and-stick tiles are part of Chris Loves Julia’s line with FloorPops. We actually bought them 4 years ago, but install got delayed with our massive foundation and second-story work so we’re finally getting around to it now. I was relieved that I love the look of these tiles just as much now as I did then - a sign of good, timeless design (kudos to CLJ!). They come in a checkerboard pattern (half of each box in each color) and we have the gray color way. Things I love about these tiles:
Budget-friendly - we’re talking under $2/sf
Timeless look
Ease of install - no grout, additional adhesive, or special tools needed
Low clearance - they’re just 1.524 mm (0.06”) thick
Fast install - new floors in an afternoon? yes please!
The details - the marbling, variation, and texture is spot on!
Where to buy
You can buy these tiles online at the following online vendors:
And if you want to order just a sample, find them here for $2.99.

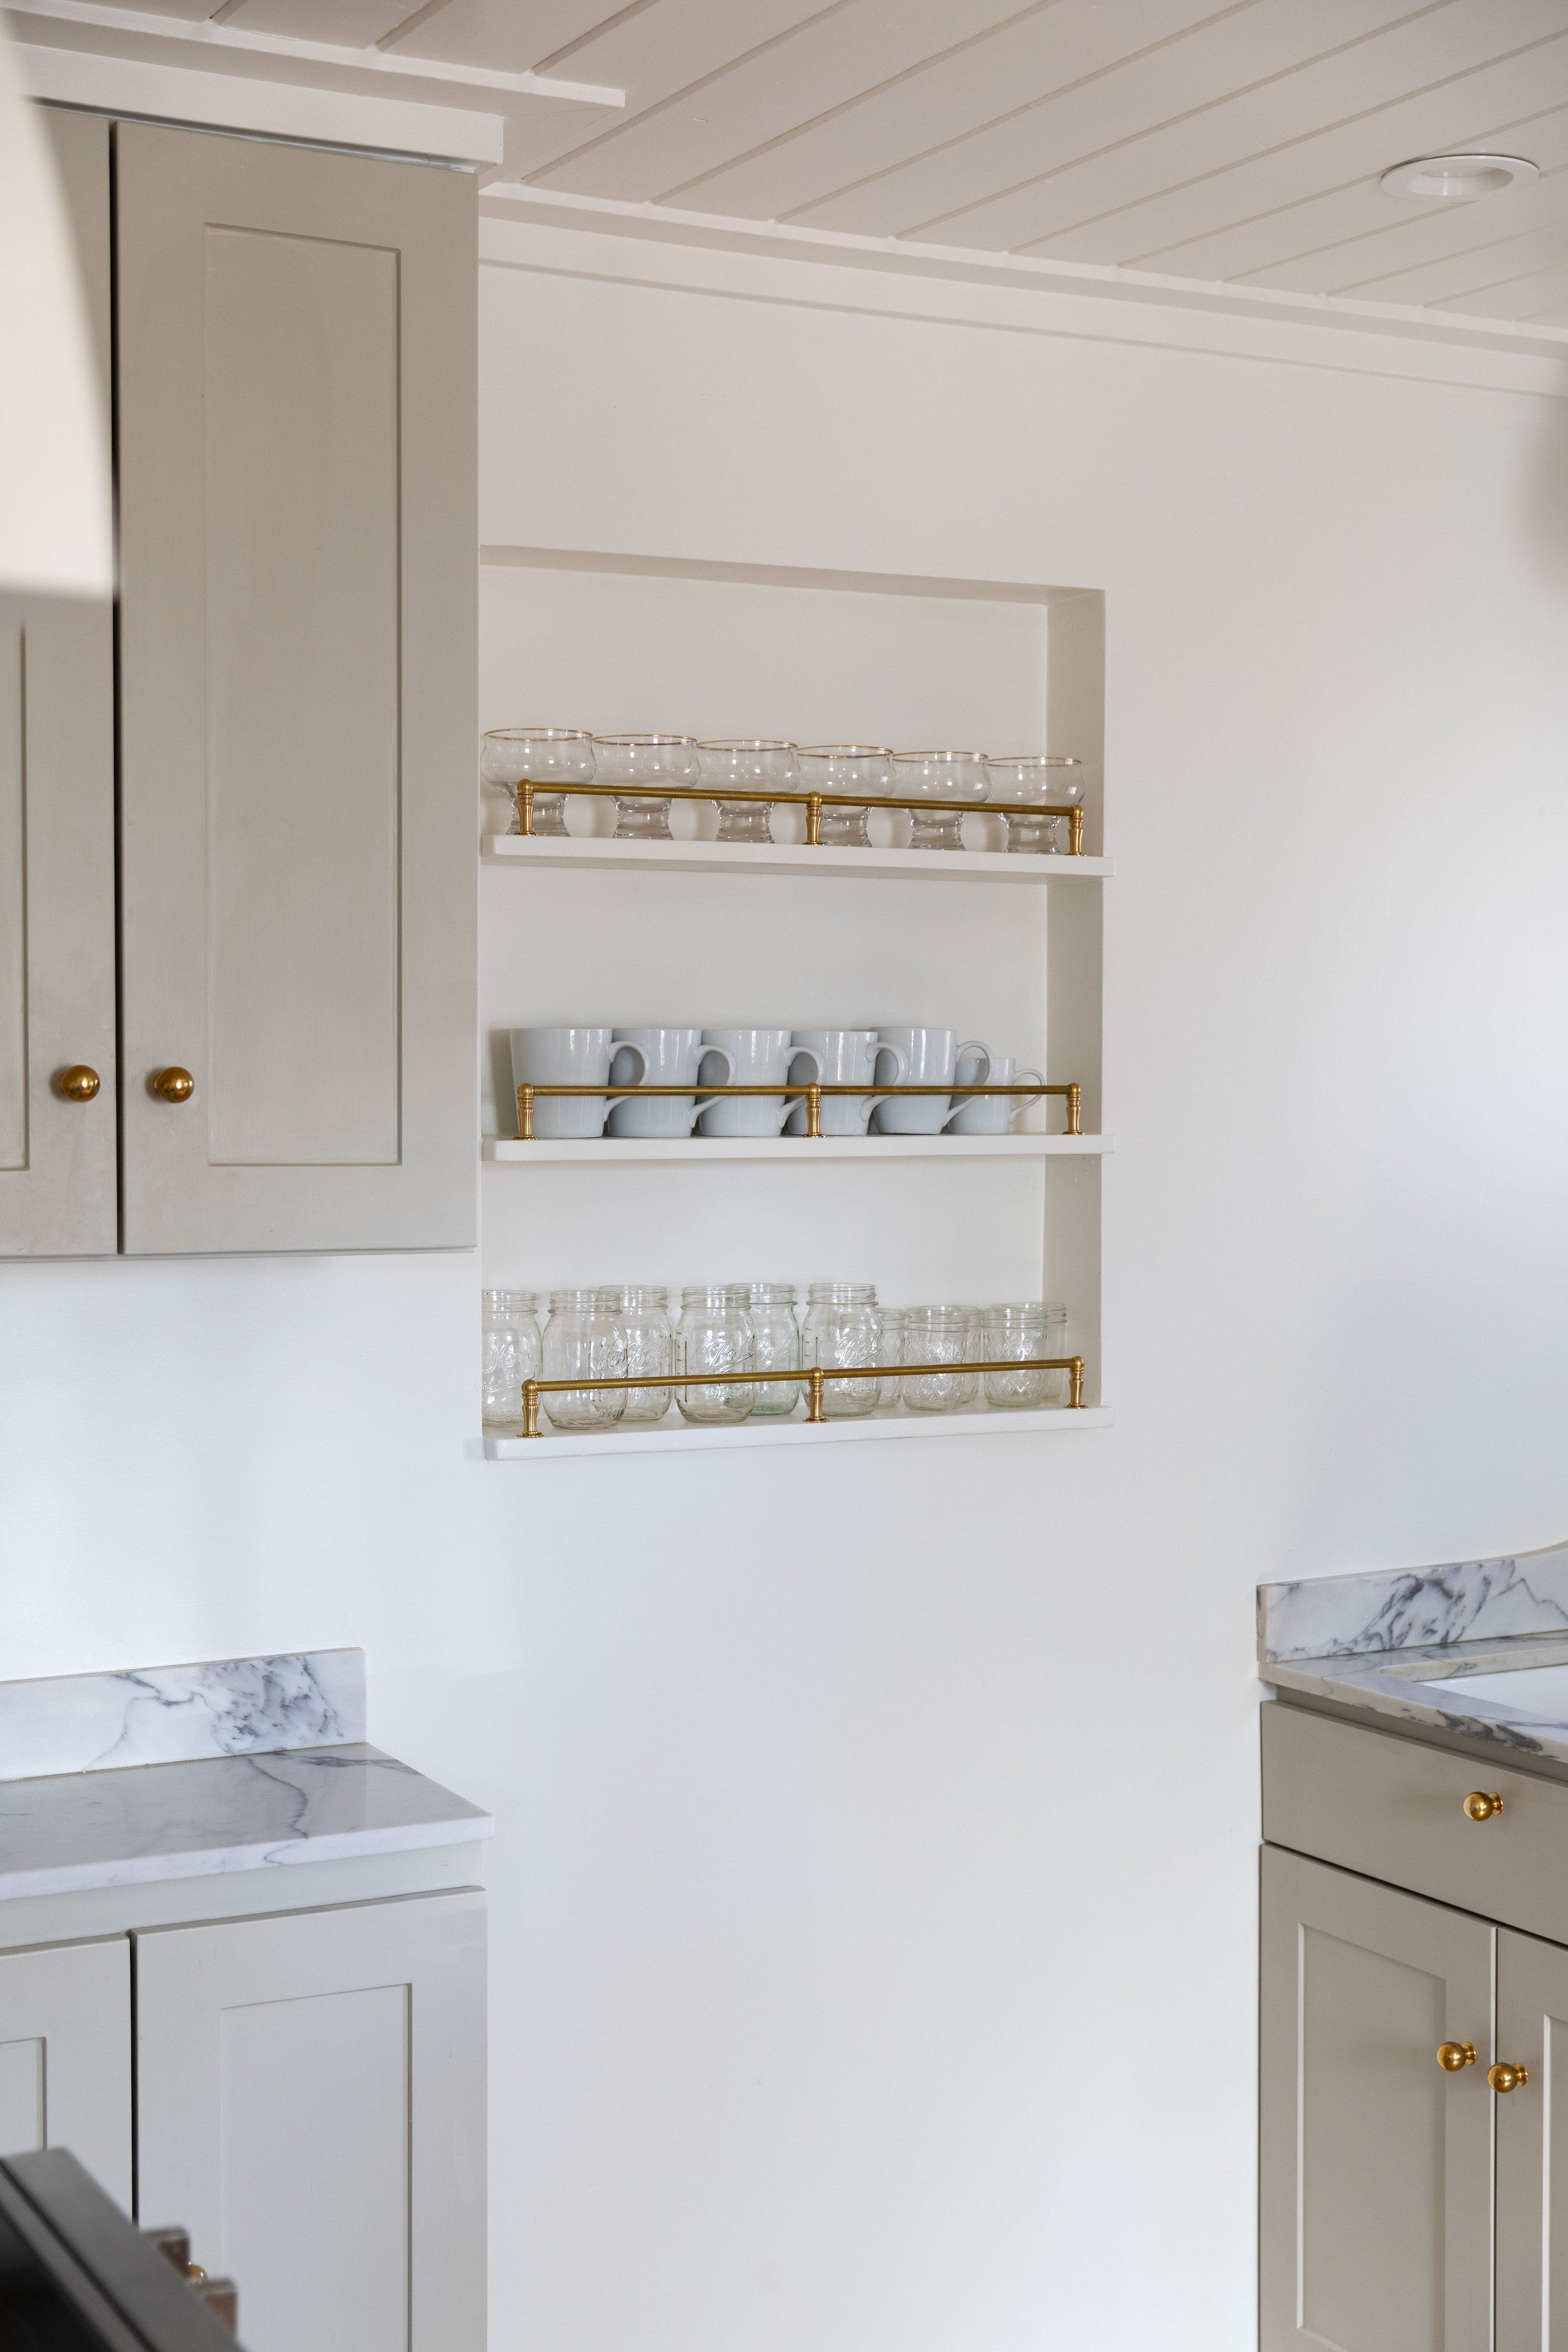
wall color: BM Swiss Coffee | cabinet color: F&B Old White | Door + Windows
So what do we think about these tiles? All-in-all we are impressed! It’s hard to get such a big transformation on flooring in such a short timeline. And I can’t underplay how beautiful these tiles are - the texture and veining are spot on and the checkerboard is such a fun and classic look. The real question is durability and longevity, but we won’t have an answer on that for awhile yet.
I’m going to share a step-by-step DIY on how we installed these vinyl tiles. But first, let’s run through when and where to use them.
When to use vinyl peel-and-stick tile
Okay, so 95% of the time we’re going to opt for real stone, hardwood, or tile floors for longevity, durability, and authenticity, but vinyl peel-and-stick tile has a place. We’d consider using it anytime budget, ease of install, timeline, and/or floor height is an issue.
Vinyl tile was a perfect solution for this mudroom which had ugly plywood floors that were elevated above the adjacent kitchen floors. One of my pet peeves in houses is when the floors drastically change height from room to room so I couldn’t stand the idea of laying hardibacker and tiles on top of the plywood. Tearing out the plywood and starting over wasn’t an option either, because we’re 4-years-of-renovation tired ;) So vinyl it was. And for under $2/sf and a few hours of our time, we ended up with something so much better!
Where can you use vinyl floor tiles
Any interior space where tile would be appropriate, vinyl could be a good option. Think bathrooms, mudrooms, laundry rooms, entrances, utility spaces, even kitchens. They’re not waterproof so no showers or outdoor spaces. FloorPop recommends using them where the temperature regularly stay above 55 and below 85 degrees.
What surface do you need
According to the manufacturer, these vinyl tiles can be laid over smooth concrete, wood, and sub-floor, even tile. The floors need to be even, dry, smooth, and not loose. For concrete and wood, they recommend a latex primer for secure adhesion (we didn’t do this on our painted plywood, so we’ll see if there’s an issue down the road). And you should avoid any heated floors.


Here’s how we installed our vinyl floors…
DIY How to Install Vinyl Peel-and-Stick Tile
Materials and Tools
Vinyl peel-and-stick tiles (we used these in grey)*
Exacto knife
Straight edge
Marker
tape measure
laser level (optional but really helpful)
vacuum and cleaning supplies (we love this cordless shop vac)
*tiles should be acclimatized to room temp for at least 48 hours before install
Step 1 - prep your subfloor
Prep your subfloor! Depending on your material, this will look different, but the surface should be level, clean, solid, and dry. We were working with very old painted plywood, so a few days before tiling we filled in a few divets and uneven edges with this hardening compound. Once it cured we sanded and added a couple of screws to areas of the floor with too much give. Then we wiped down everything and vacuumed. psst: keep that vacuum handy so your floors stay clean during install - you don’t want anything between your subfloor and tile adhesive.

Step 2 - mockup the layout
Do a dry run with the tiles and get a layout you like (with the backing paper still on the tiles!). Once you have a layout you like, determine where to start. The first tile will determine the placement of all of the other tiles on the floor, so it’s an important one. We started with the tile in the front right, at the threshold of the kitchen, since that one is most visible and we wanted to make sure it was parallel with the threshold and was a full-size tile (rather than a thin, leftover cut tile).

Step 3 - Lay the first tile
Place your first tile by peeling off the backing paper and firmly placing it down. Make sure it’s square to your wall/doorway/etc and in the exact spot you want it. In our case, we had to cutout for the molding on the first tile, which we did with an exacto knife and straight edge. While the cut isn’t perfect, it’s pretty dang close and we’ll fill in the seam with caulk.
Tips for cutting tiles: the tiles can easily be cut with a sharp box cutter or exacto knife (we also used metal sheers for short straight cuts). For long straight cuts, I found it easiest to hold a straight edge along the cutting line and then score the front of the tile with the knife, running over it two or three times to make sure it’s cut. The tile can then be folded back along the line and ‘snap’ along your line. The paper backing can be cut with a knife on the other side. For intricate cuts like the one below, we used a marker and exacto knife to get a precise cut, going back a couple times to trim here and there until the fit was snug. This was the most time consuming part of the whole install!


Step 4 - lay the rest of the floor
After your first tile is set, it’s time to get busy! We set up our laser level parallel with the first tile and laid the first row off of that line. If you don’t have a laser lever, you could do the same thing by marking a line on your floor with a long level or straight board and marker, just make sure to draw it parallel with your first tile. Tile laying moves quickly from here, and we focused on laying most of the whole tiles first and then came back to fill in the edges and cut pieces.


Step 5 - finish off the tiles with caulk or molding
Make your vinyl look it’s best by finishing it off like you would regular tile. Add thresholds, caulk seams, and touch up paint. Vinyl will look higher-end if you attend to all the details! The day after install we came back and caulked the edge tiles around the door frame and it looked so much better.


Tips and tricks
If any tiles don’t stick down, walk on them and add some weight to get the adhesive to adhere.
Be careful not to stretch or wedge tiles or you’ll end up with a wonky pattern and the tiles might not adhere correctly.
Keep that vacuum handy! Periodic vacuuming during the install will pull up dirt, dust, and hair to allow for better adhesion.
Keep extra peel-and-stick tiles in case any of your tiles get damaged in the years to come.
These tiles make for a quick and beautiful transformation!


A couple of things to know for after installation…
How to clean peel-and-stick vinyl tile
Vinyl tiles can be mopped with a gentle solution of dish soap and water. Avoid excess water and make sure to dry tiles thoroughly.
can you replace a single tile?
If any of your tiles get damaged, you can usually replace an individual tile. Start by using a blow dryer to warm up the adhesive and then peel up the damaged tile (pry gently with a putty knife if necessary). Prepare the subfloor and install the new tile as you did originally.
How long will vinyl peel and stick floors last?
Vinyl peel-and-stick tiles won’t last as long as a regular tile floor, but you should be able to get some years out of them. I’ve read estimates anywhere from 3 to 20 years. And remember, you can always replace one tile if it begins to curl at the corners, extending the life of the floor. Here’s hoping we get some good mileage out of these!
ps we may receive a small affiliate commission if you purchase something through our links, at no cost to you. Thank you for supporting the Grit and Polish!