
DIY Cafe Curtain
THE FARMHOUSE
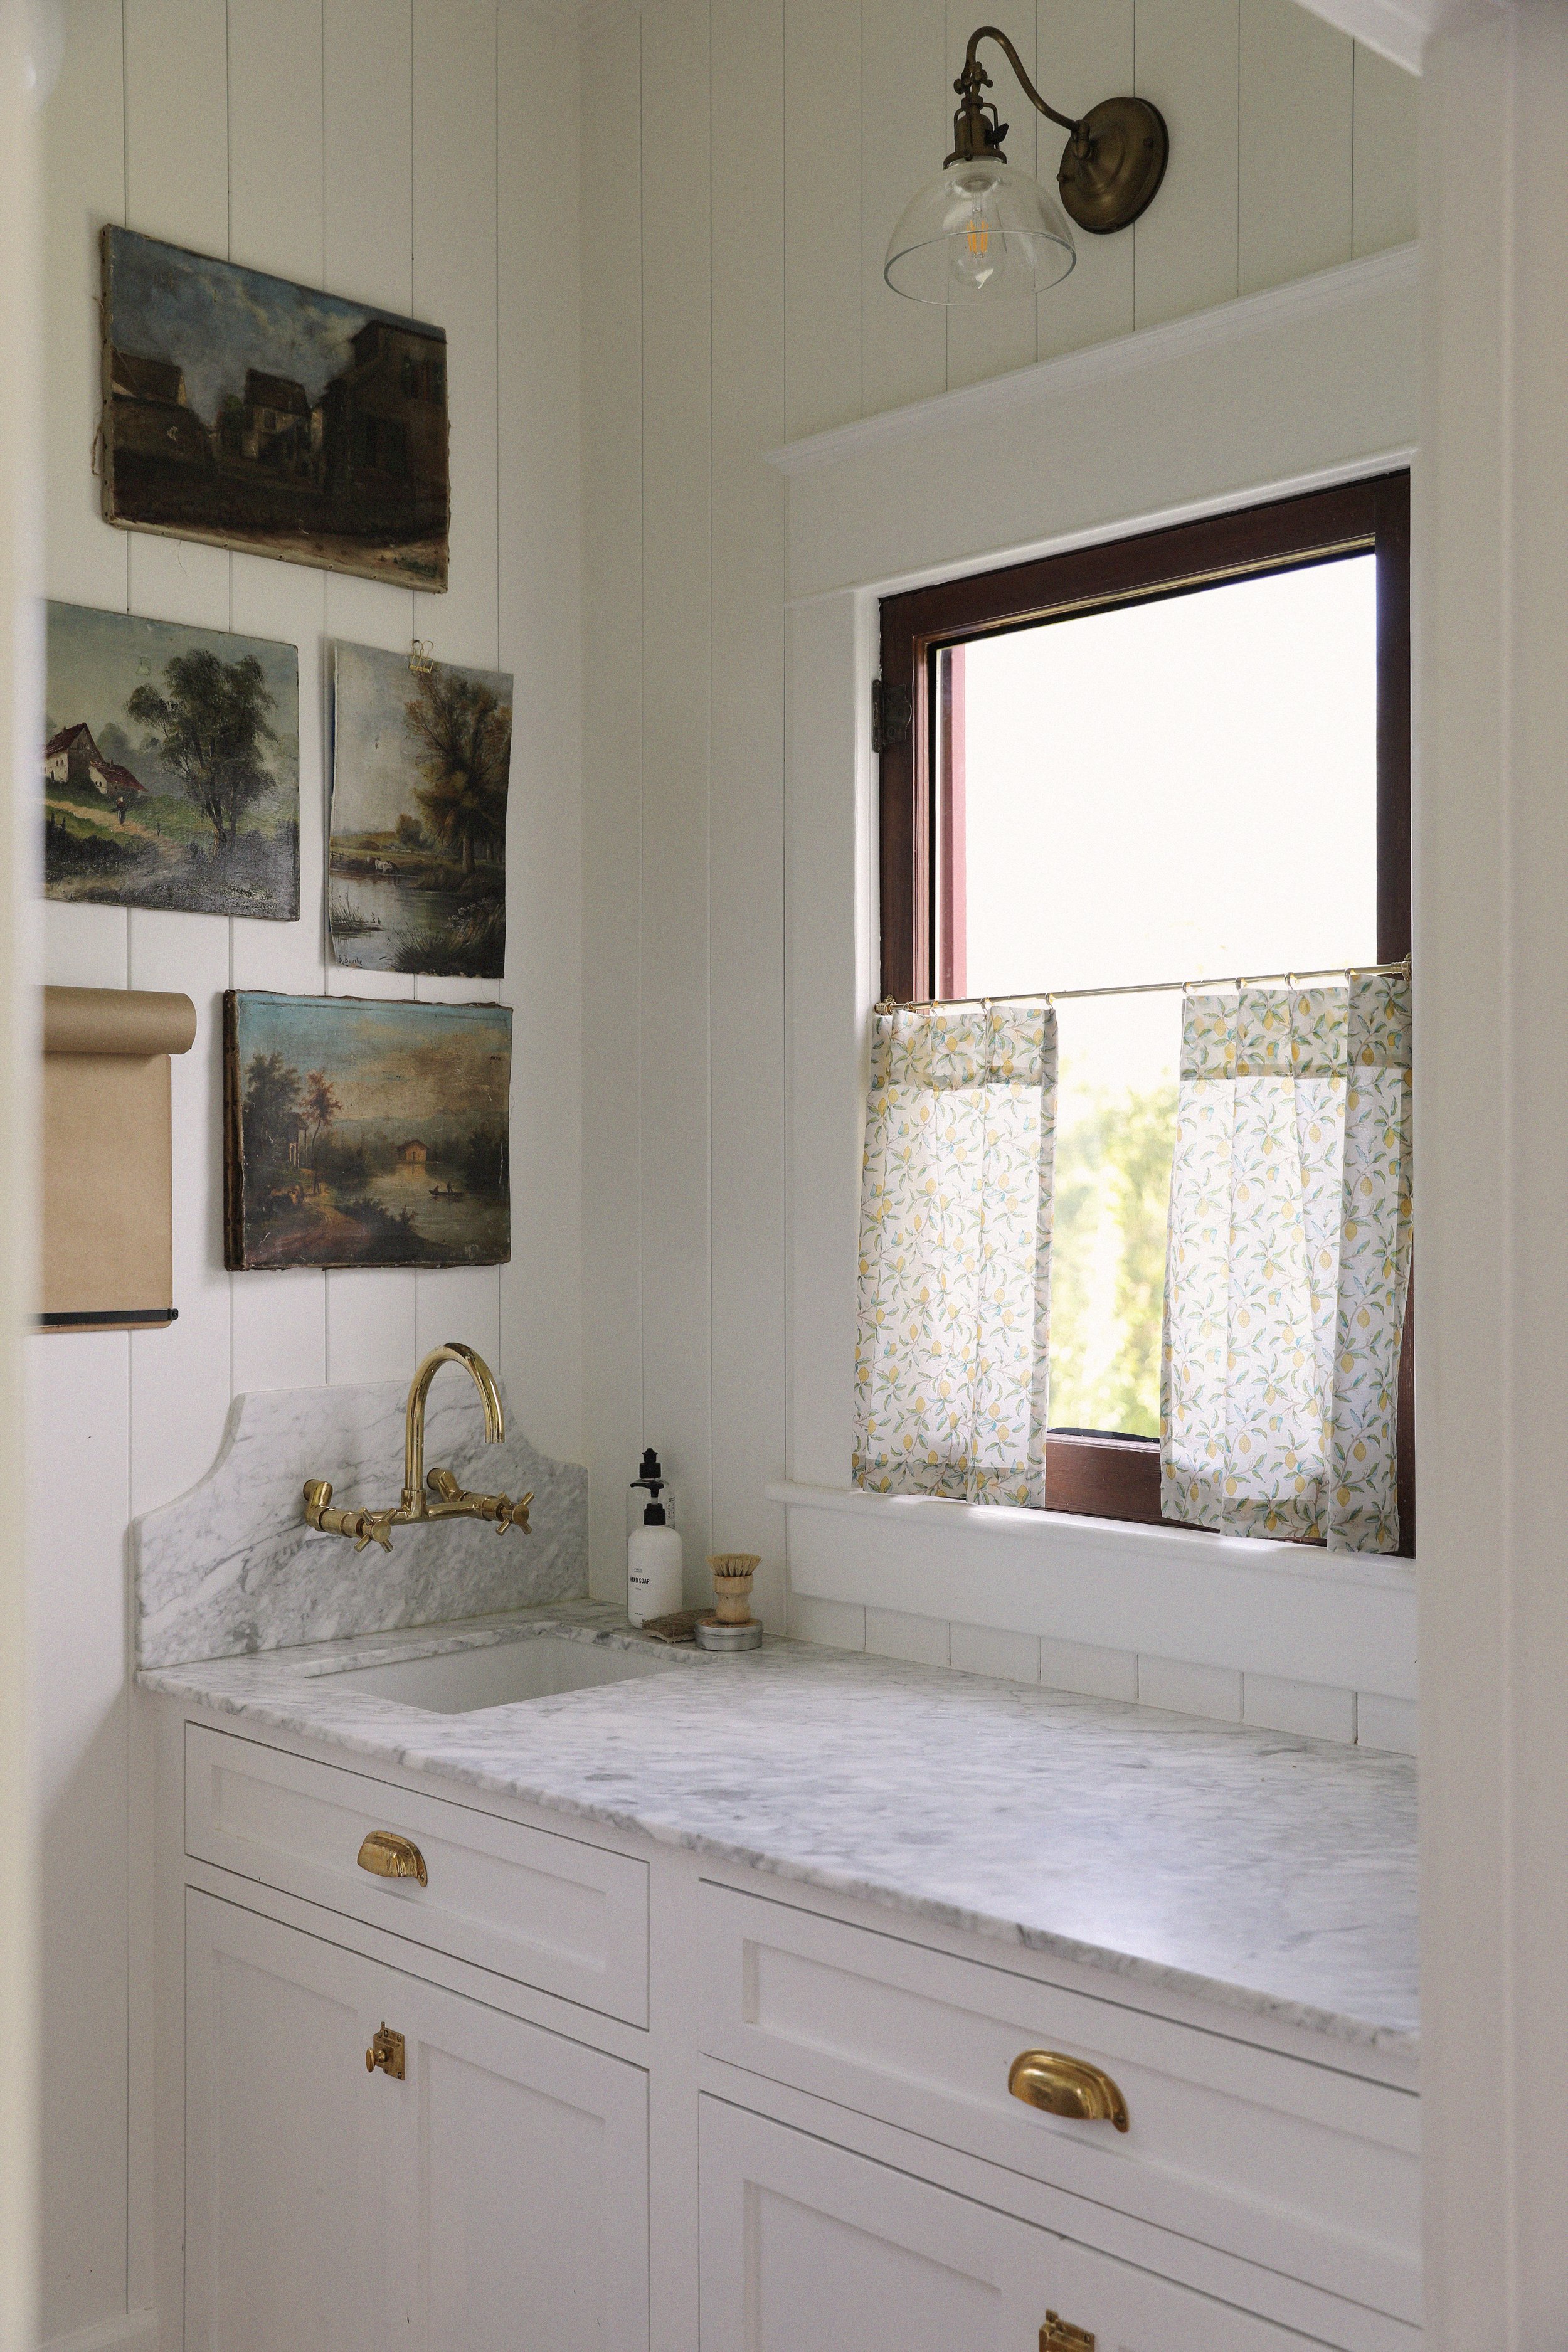
I’ve been meaning to hang curtains in our pantry for years now. In the winter, when the leaves are all gone, you can see our neighbor’s house and a sheer cafe curtain seemed like it would add the perfect amount of privacy (and charm!) without blocking light. Spoiler: they do! So today I wanted to share how I made these simple cafe curtains…
sconce, pulls, laches, faucet, curtain fabric, dish brush, + all pantry sources
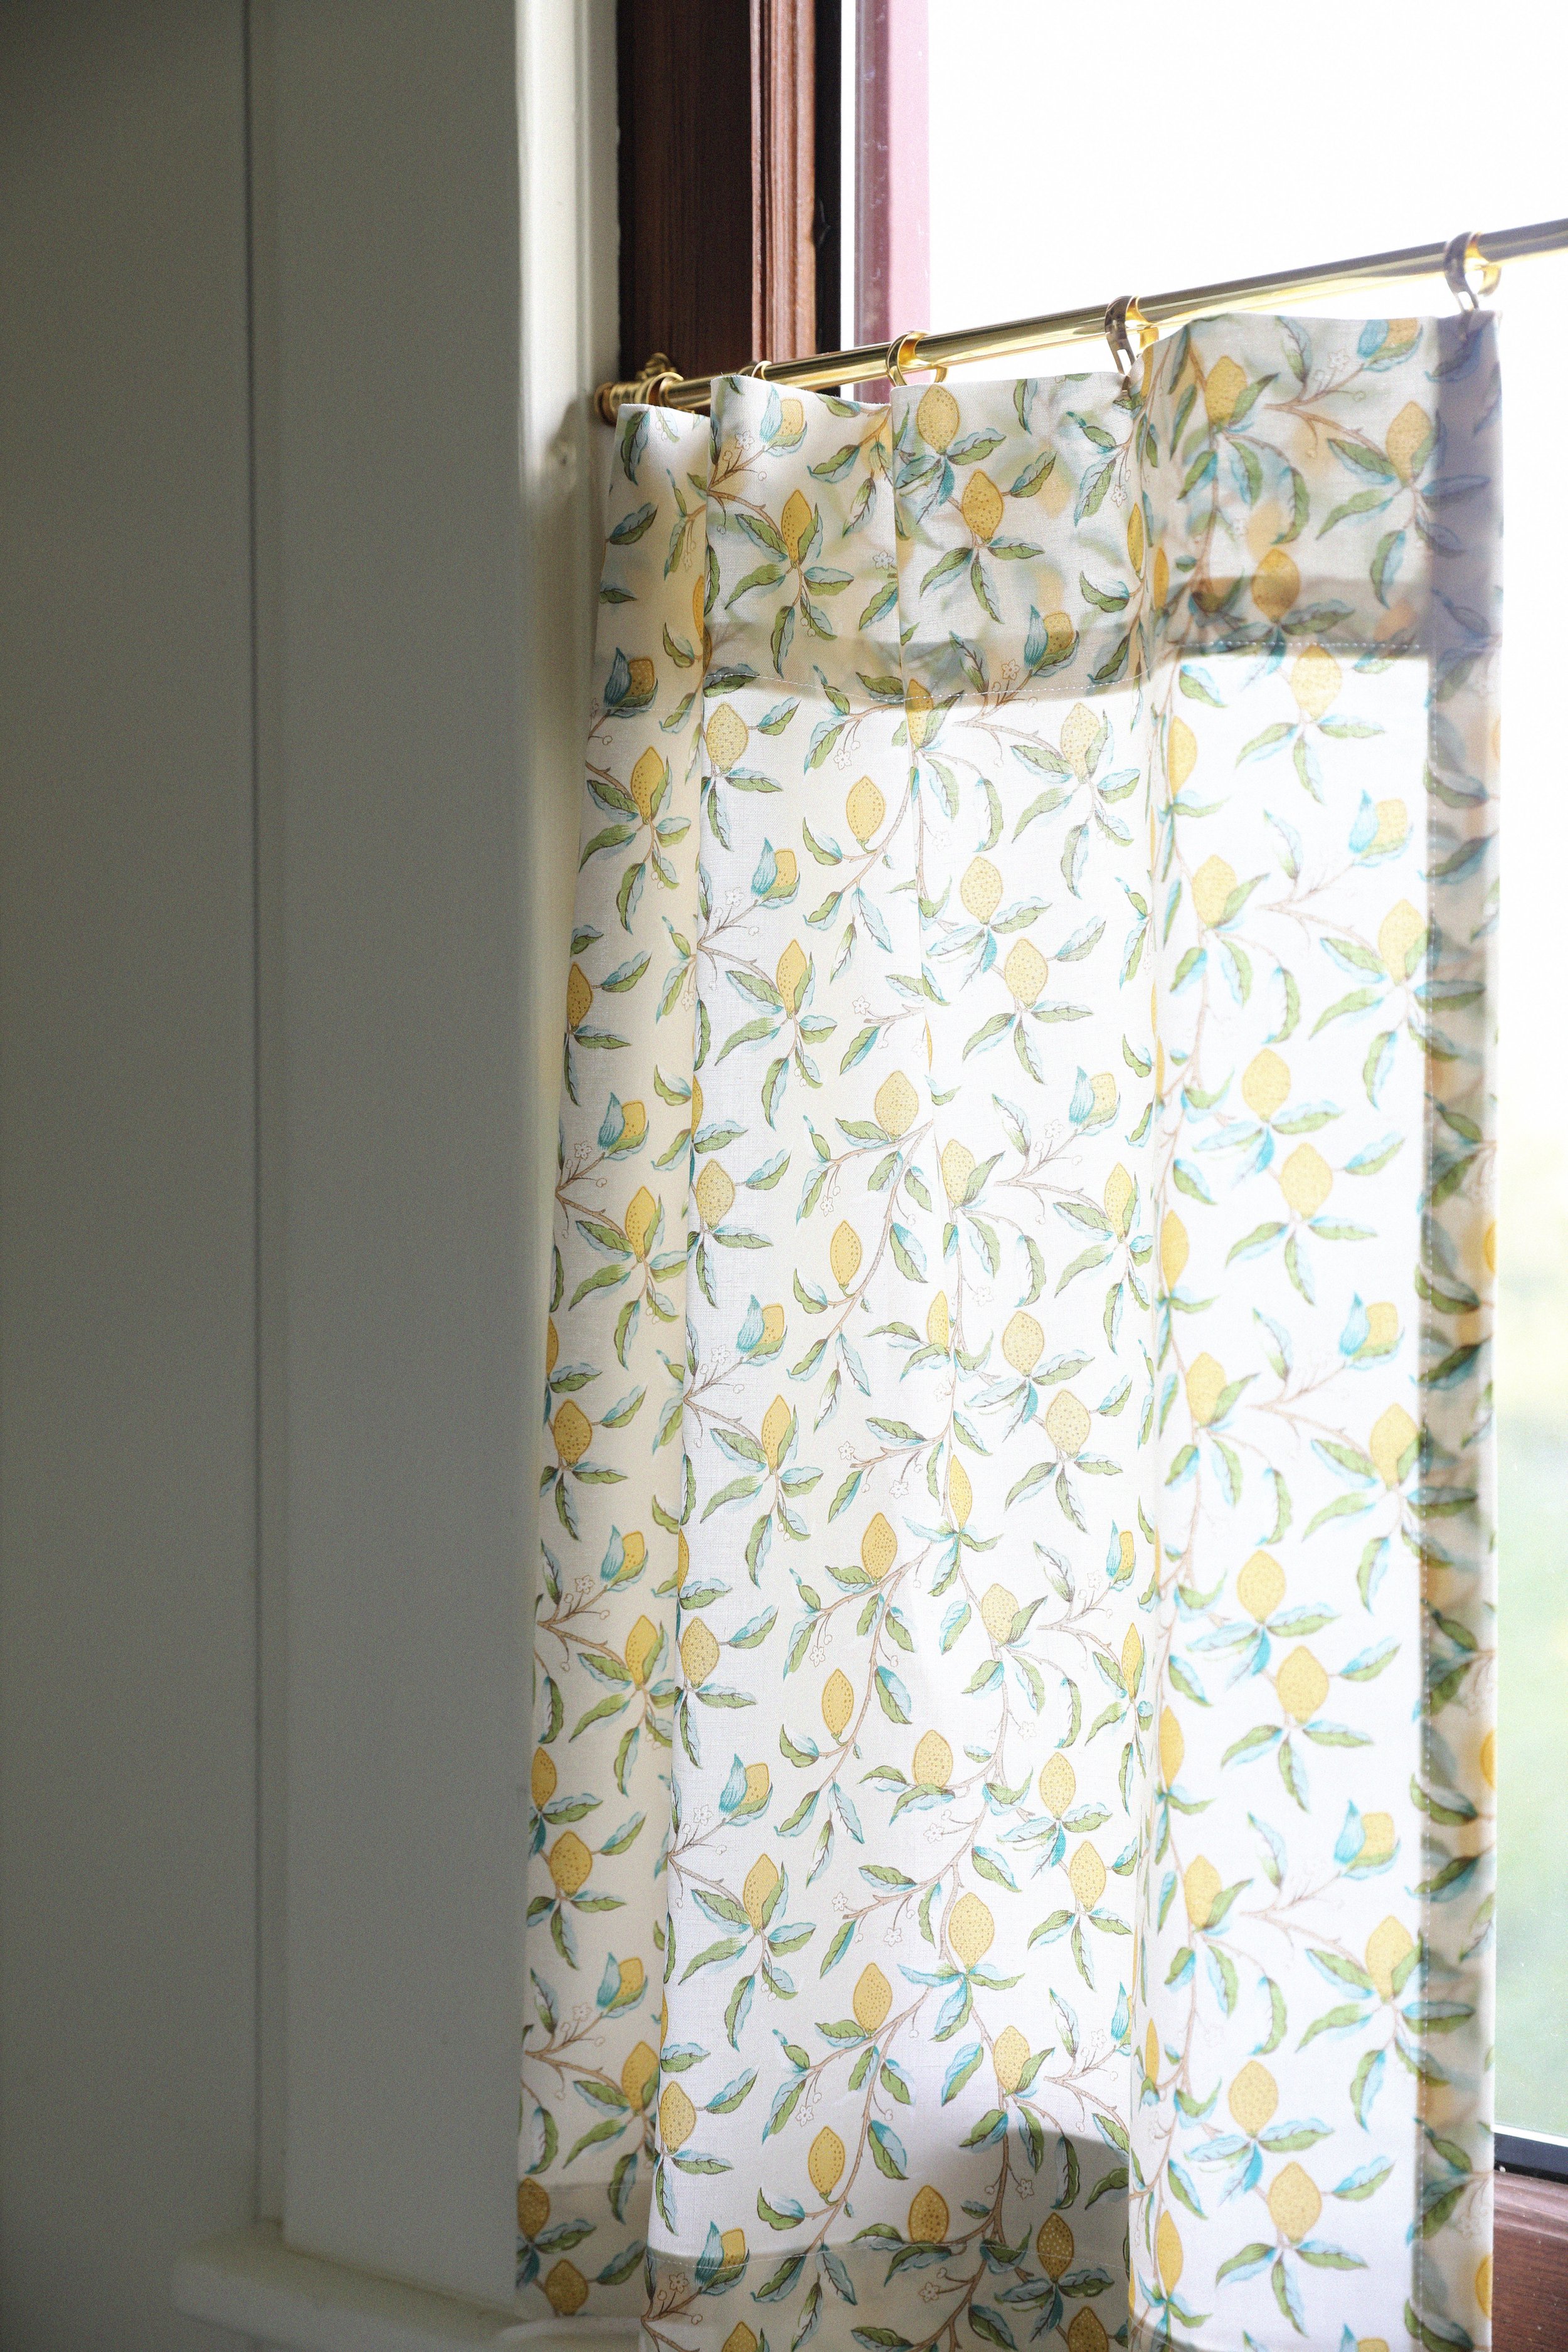
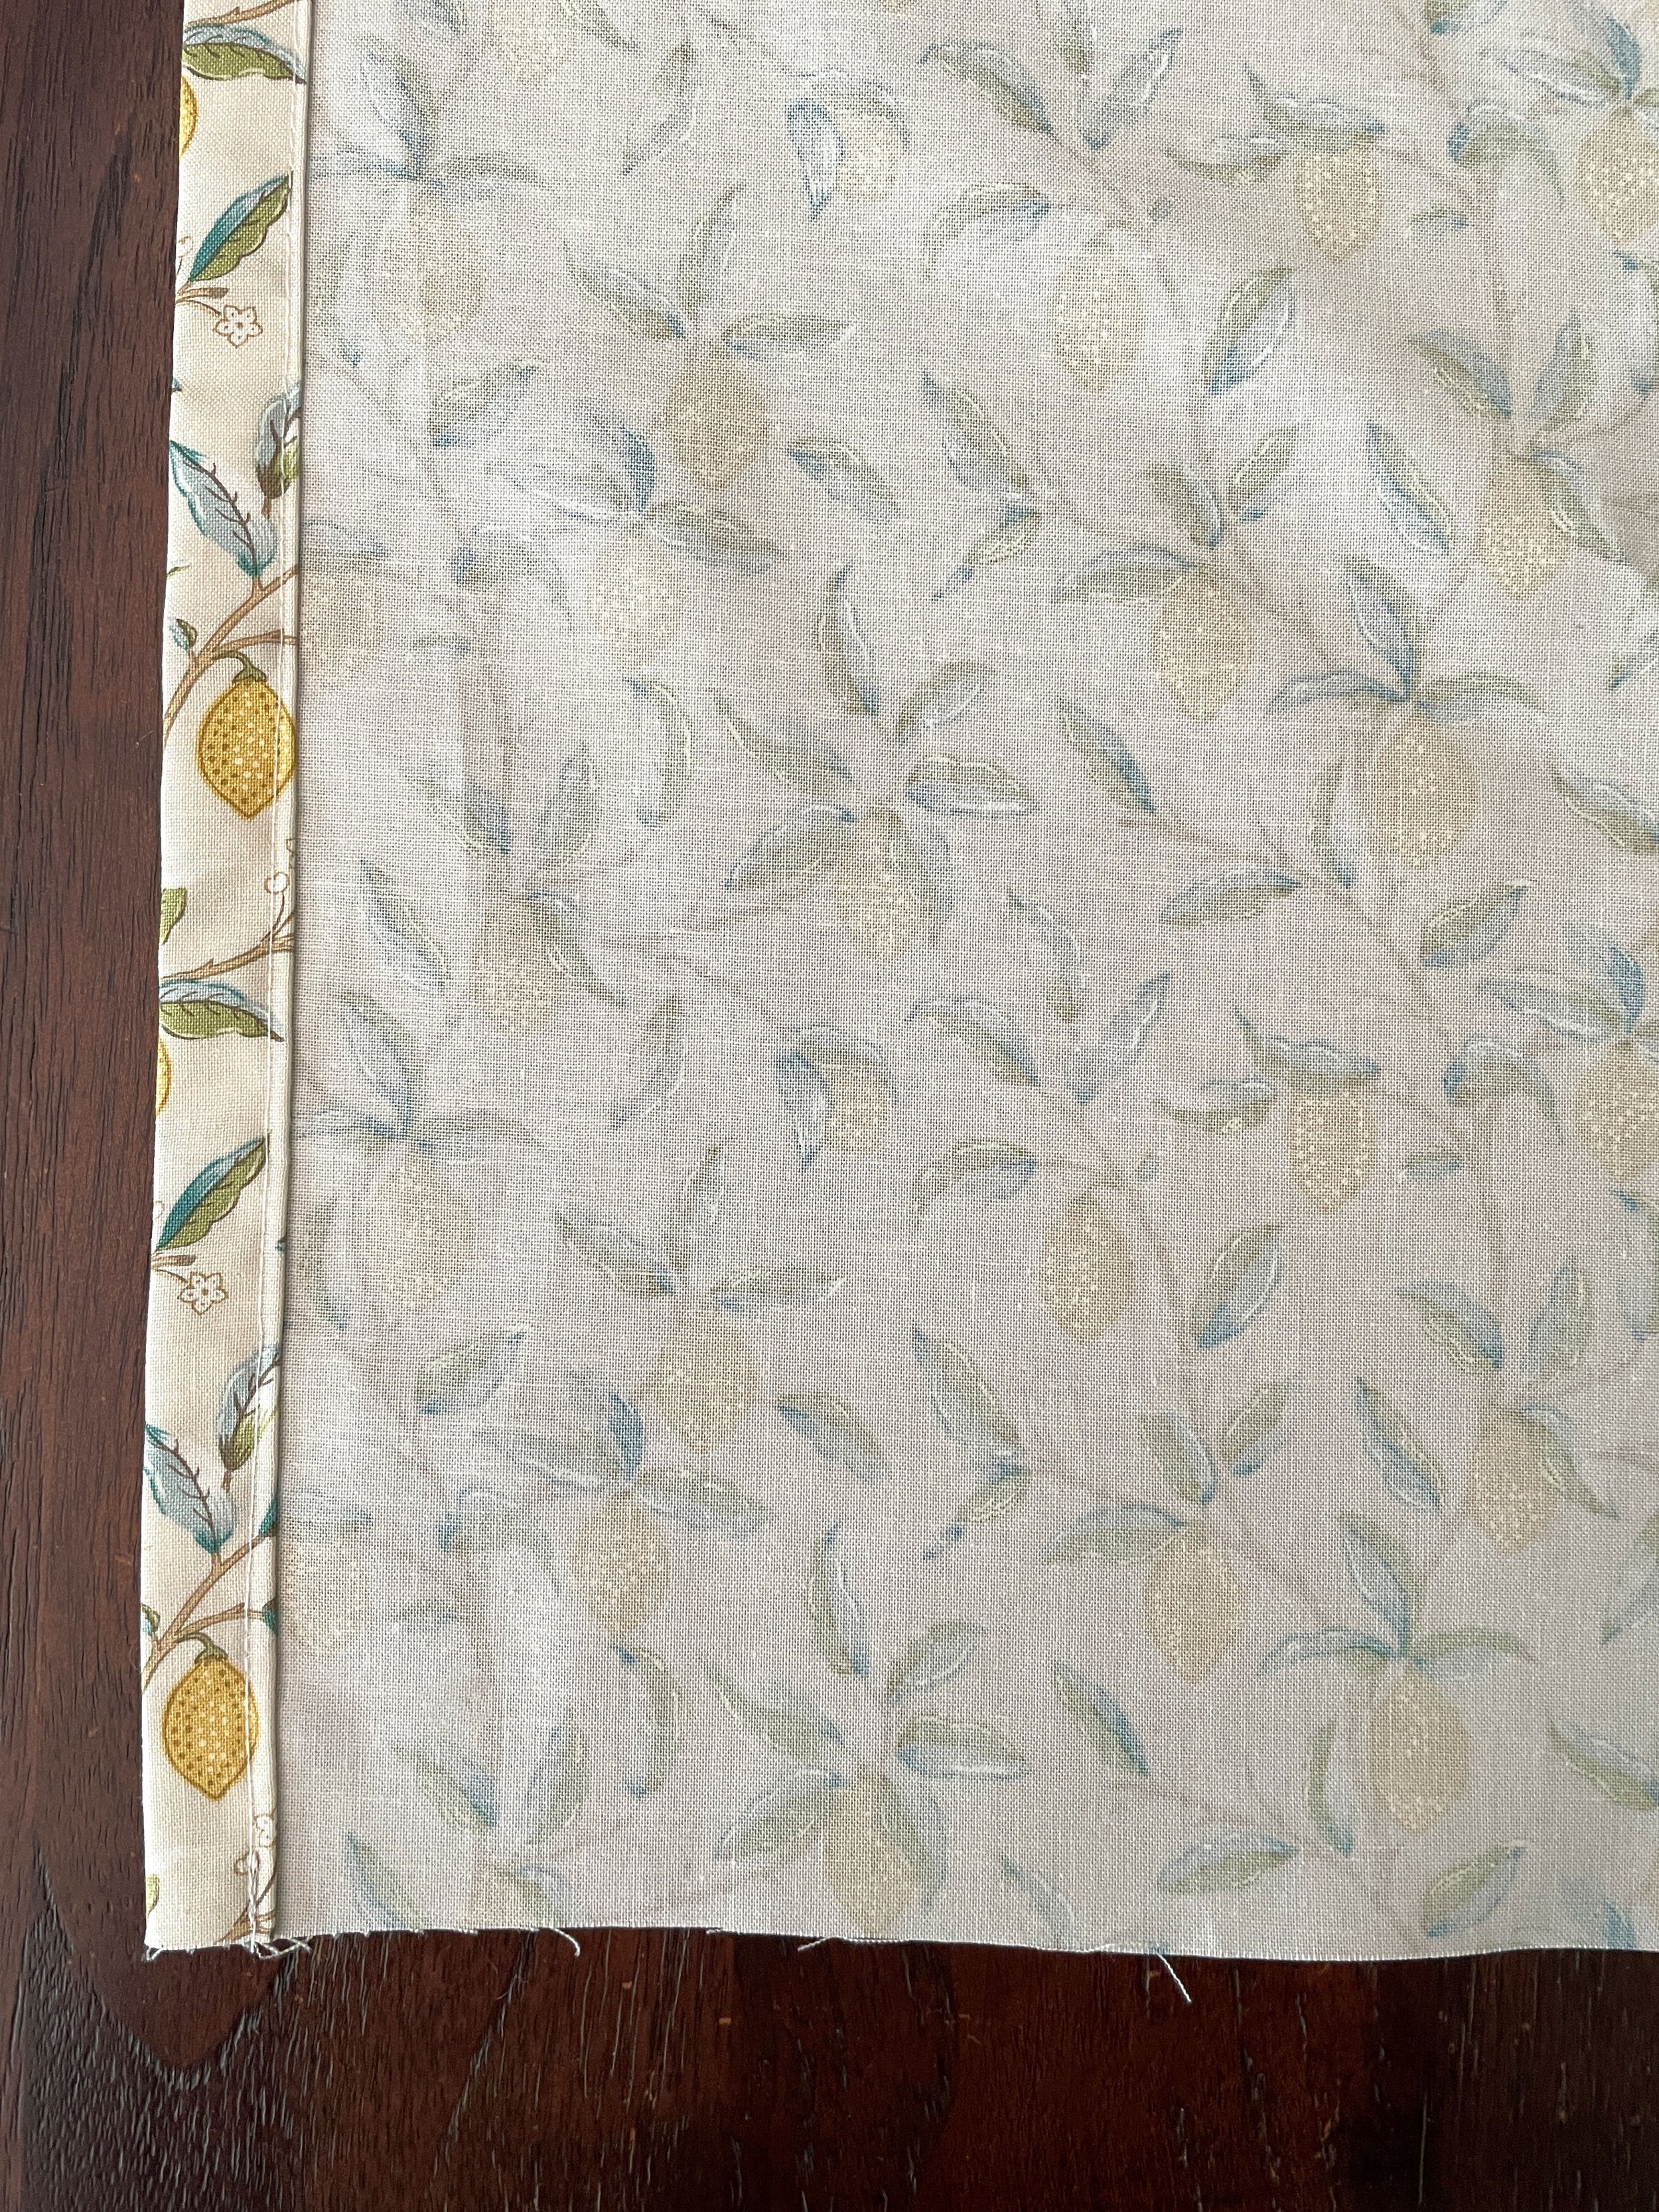
Let’s talk about this fabric, shall we? It’s a classic Morris print (and we all know I love Morris prints ;) and IMO it’s perfectly cozy, a little refined, and a little country without any kitch. Most Morris fabric is in the designer $100/yard + range, but this cotton was only $12.50/yard. Score!
writing roll, overhead light, jeans, top
Here’s how I made these simple cafe curtains…
Cafe Curtain DIY
Materials & Tools
Fabric (we used 1.5 yards for two windows of this Morris fabric)
Cafe clips in unlacquared brass (similar on Amazon)
Cafe rod (we used one inside mount, one outside mount)
Sewing machine
Scissors
Iron
Cordless drill
Flathead screwdriver
Planning
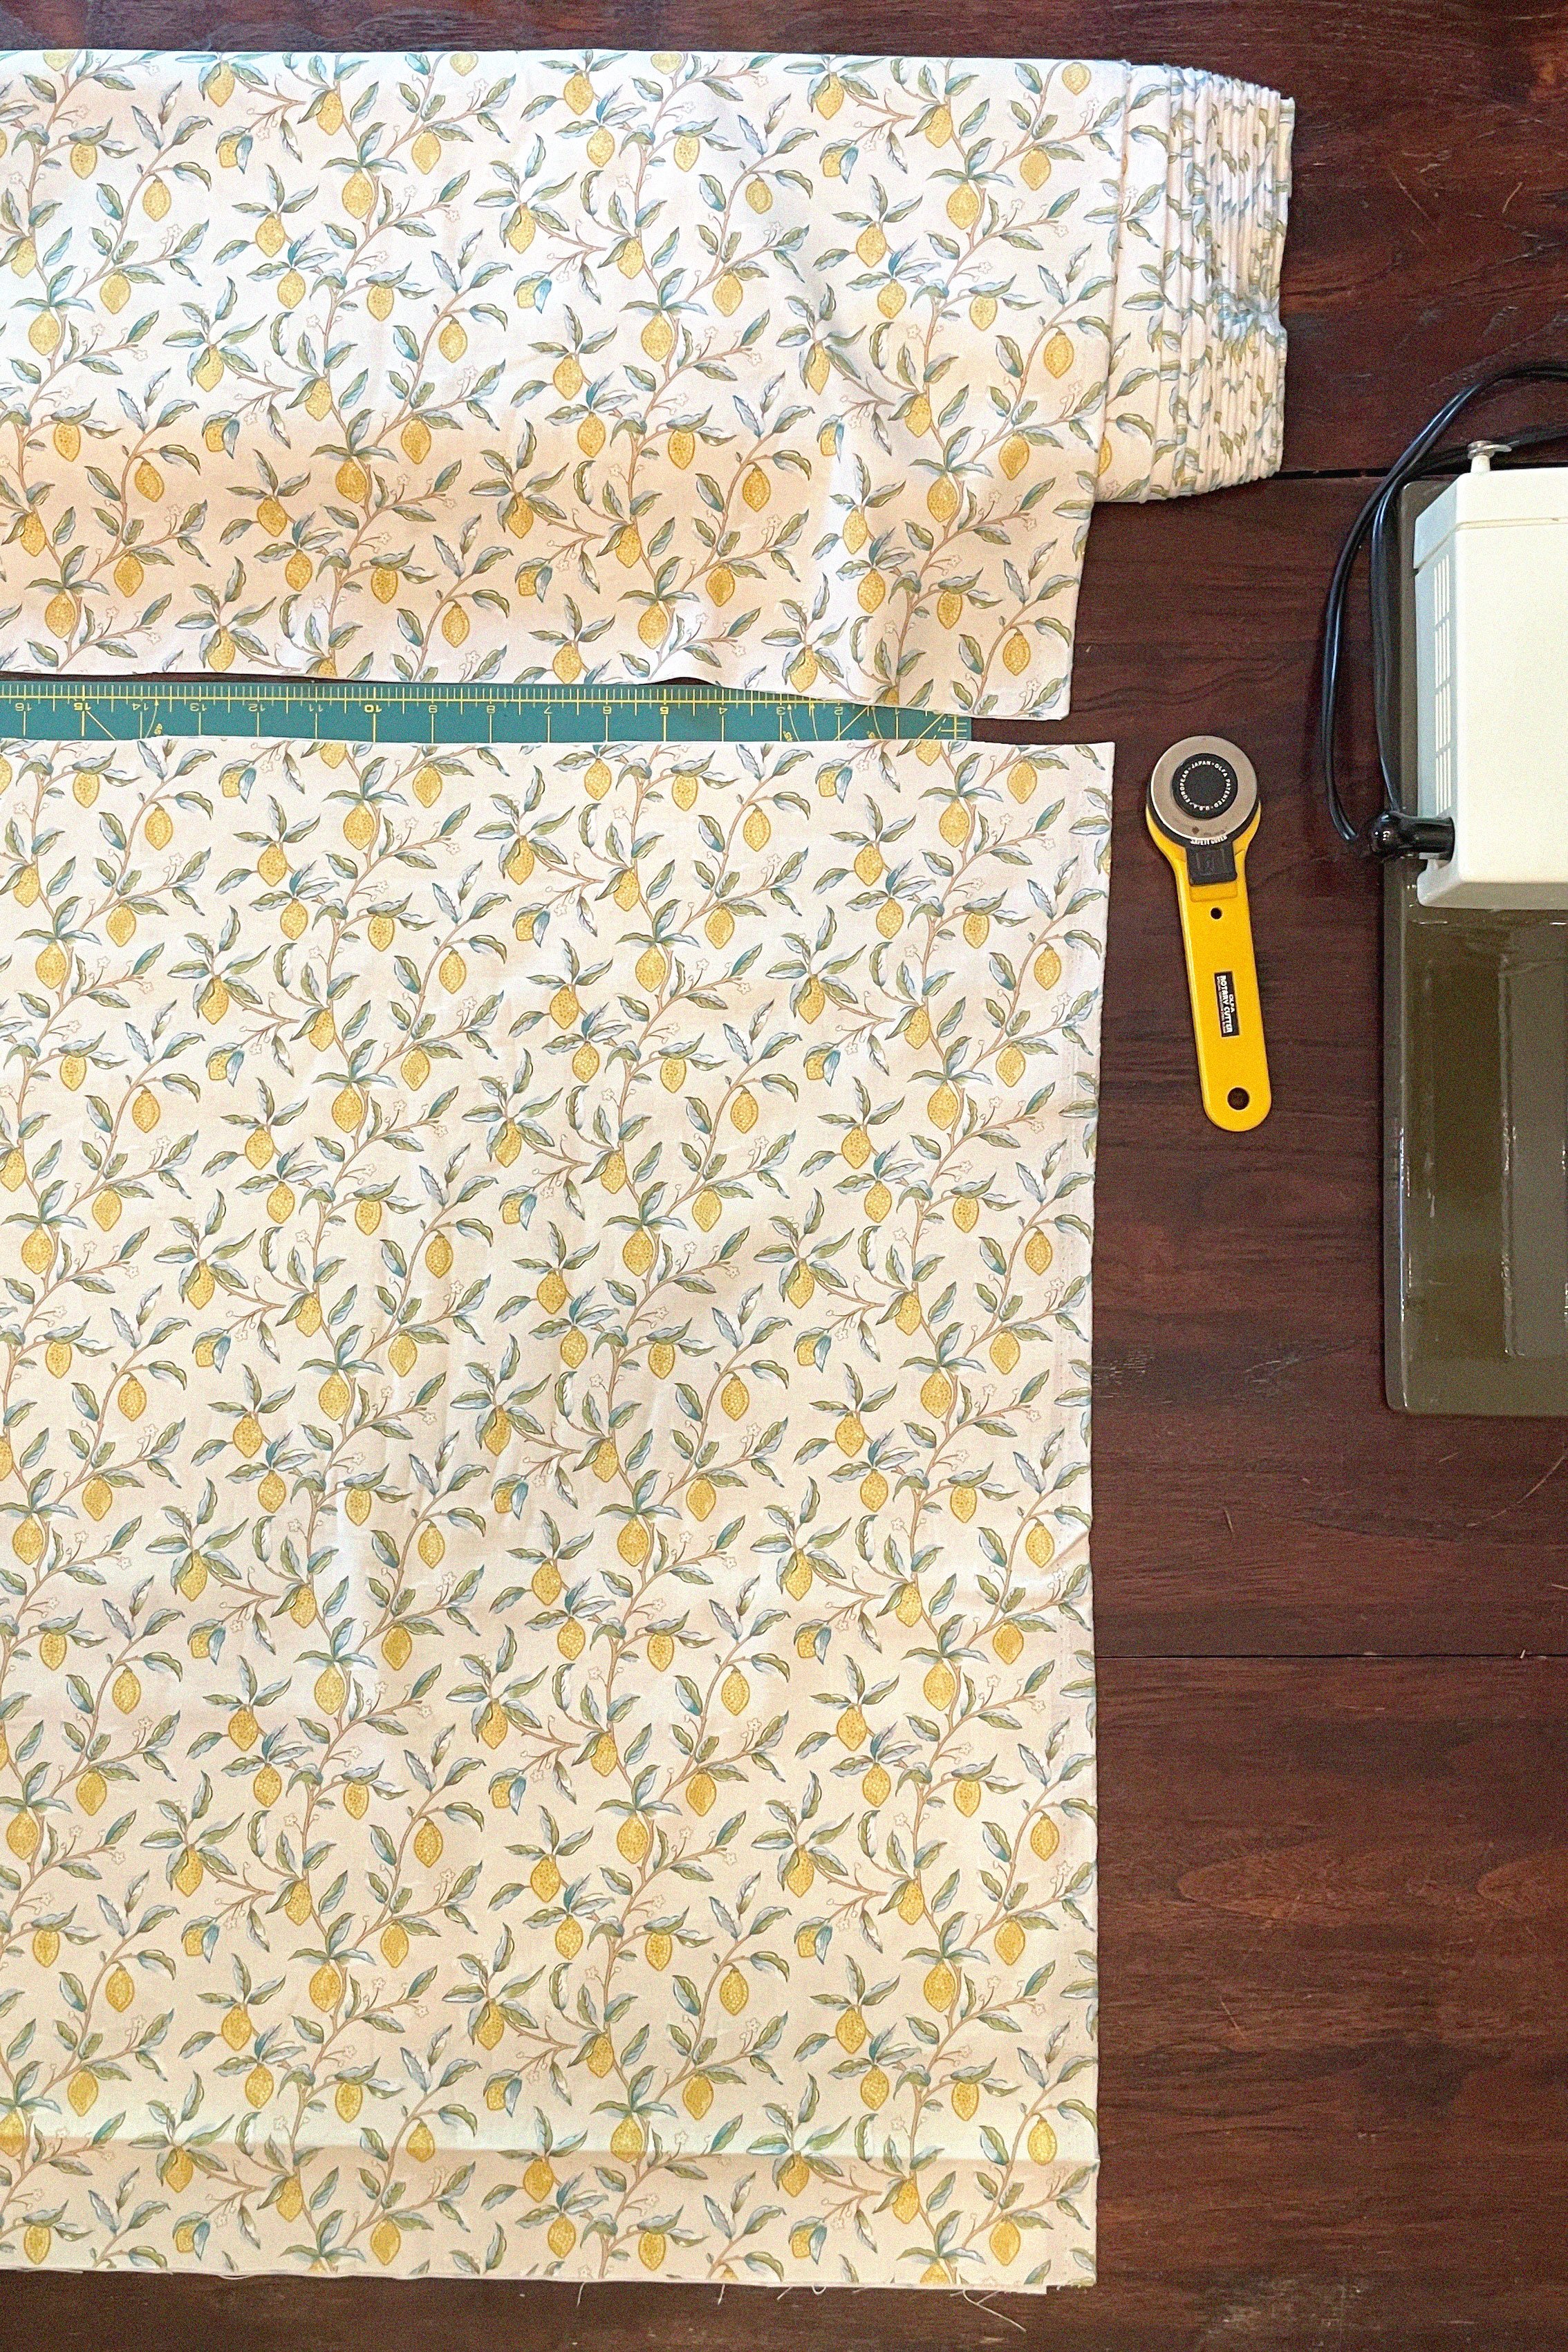
FABRIC: to figure out the quantity of fabric you’ll need, decide on the orientation of the fabric you want. Add 6” to the height of the curtain for seams. I’d recommend the overall width of your curtains is 1.5x or 2x that of the width of the window. For our 28” wide window, we used a 44” wide fabric (cut into two panels).
CLIPS: we recommend one clip on each side of the curtain panel, plus one clip per every 5”. So for each of our 20” panels, we have 5 clips.
CAFE ROD: first decide where you want the rod to go (our’s is half way up the widow for a nostalgic feel) and whether you want an inside mount or outside mount (shown below). I like the look of the inside mount best, but opted for an outside mount on our casement window so that it can still open with the window treatment attached. Measure the overall length of the rod + hardware and then custom order inside mount or outside mount.

Sewing the curtains
Cut your curtain panel to the size of the finished curtain panel you want plus 6” to the height and plus 2” to the width to allow for seams.
I’ll be honest, I’m no sewing expert, but my mom taught me the basics when I was little and gave me a sewing machine when I got married and thankfully curtains are about the easiest thing to make!
The first step is to sew the two side seams. I like to iron my seams first (you could also use pins to hold them in place while you sew) so folded over one side about 3/8” ironed it down, and then folded it another 3/8” and ironed that in place. Then I sewed that seam. And repeated the whole thing on the other side of the curtain.

Next comes the top and bottom seams. Iron the top seam down about 3/8” and then fold it down 2” (or whatever length you want for the top seam) and sew.

Repeat for the bottom seam, making you sure you end up with the overall height you wanted on the curtain panel. For my bottom seam, I folded the fabric over 3/8” ironed it down, then folded it over about an inch and ironed it again and then sewed that seam. At this point you should have four finished sides.
Repeat with the second curtain panel.
Mount the rod
These rods from Rejuvenation are pretty slick and I love the mounting hardware. Both the inside and outside mount have a two piece mounting system with one piece that you attach to your window and a second round piece that sits over the rod and screws onto the mounting bracket. That sounds more complex than it is, I promise!
Determine where you want to hang your curtain rod (make sure you account for the curtain panel and any clips you’re using) and then pre-drill into your surface. We like to screw the flatheads in by hand to make sure they don’t get striped. Level across your rod to the bracket on the other side (or just use your eyeball) and mount that bracket too.

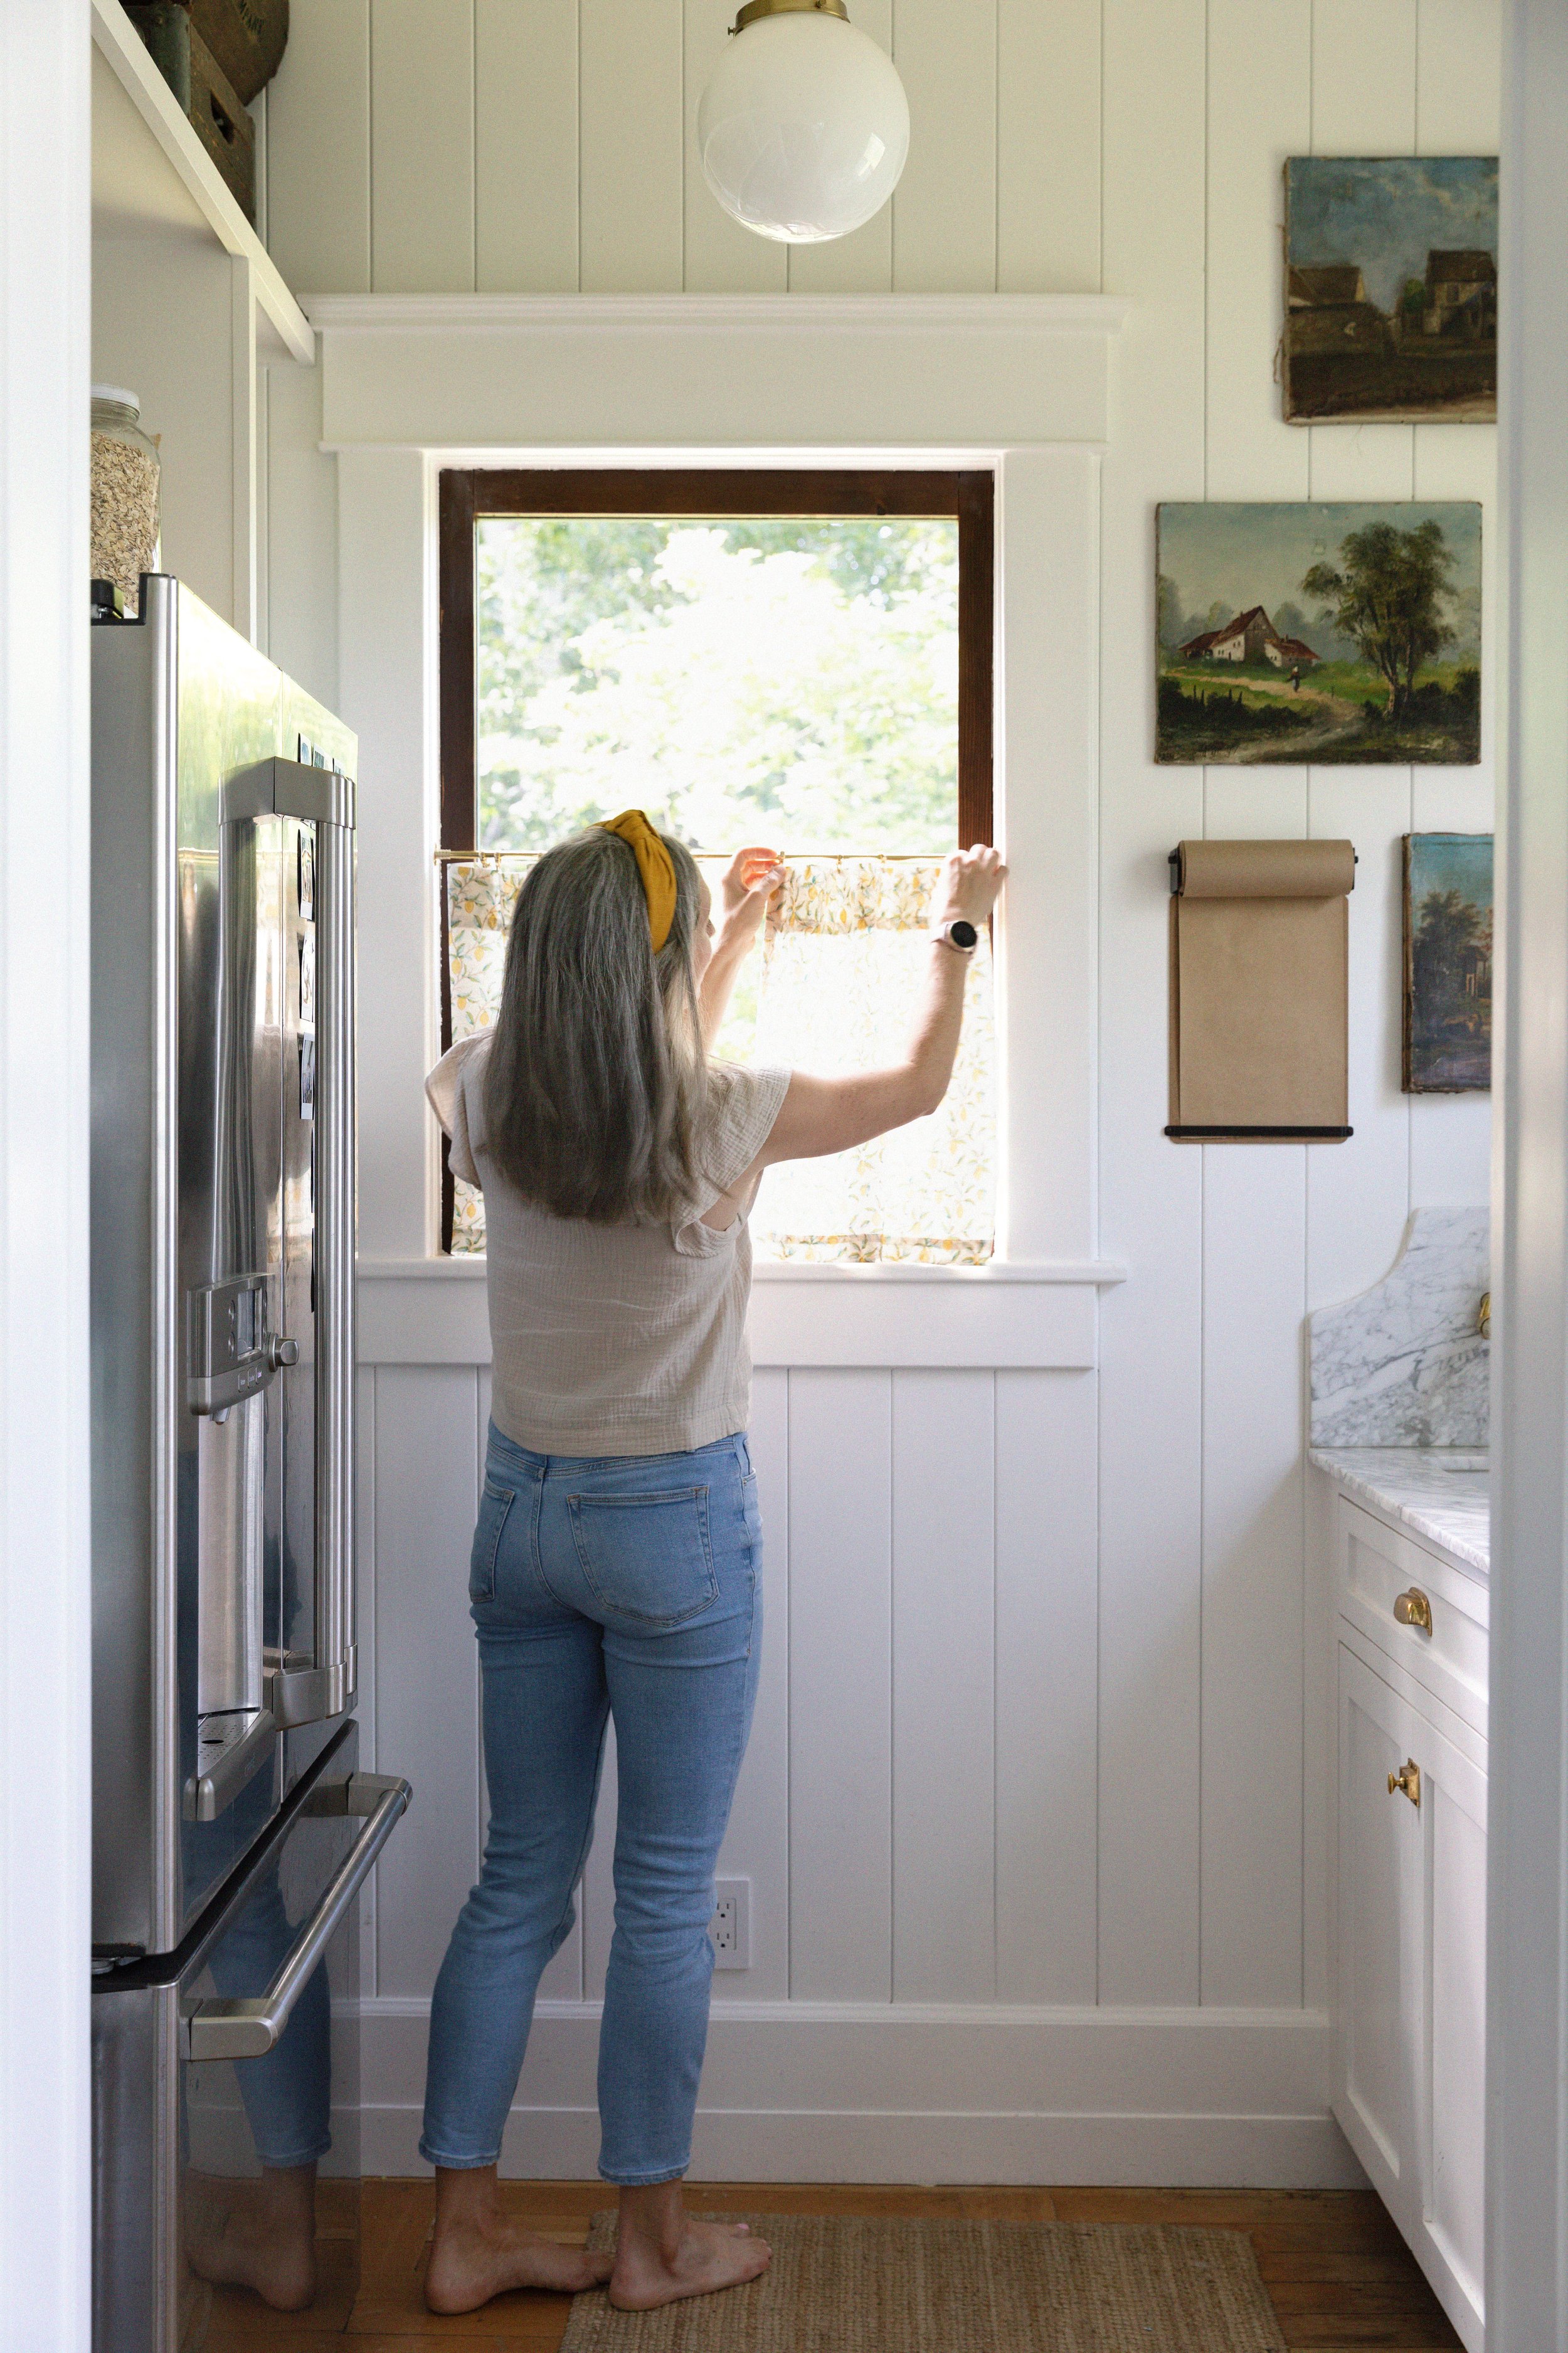
I found these rods are best attached with the curtain already on them. One note about these clips is that they need to be tightened mechanically in order to hold the fabric, at least that’s what we found. I slipped pliers inside the round shape and squeezed outwards to tighten them down.

Once you have the curtains attached to the clips and the clips on the rod, attach the rod to the bracket you already mounted.


And voila…cafe curtains!


What they cost…
I thought I’d give you a quick rundown of what these cost. For each window, we spent…
$9.50 fabric
$50 rod + mount hardware
$30 pinch rings
$89.50 total
If that’s more than you want to spend, I’d recommend nixing the clips and hanging the curtain directly on the rod and swapping the rod for an inexpensive tension rod (like this one). That would bring your expenses down to about $34/window.
Happy sewing!


