DIY Metal String Light Hook
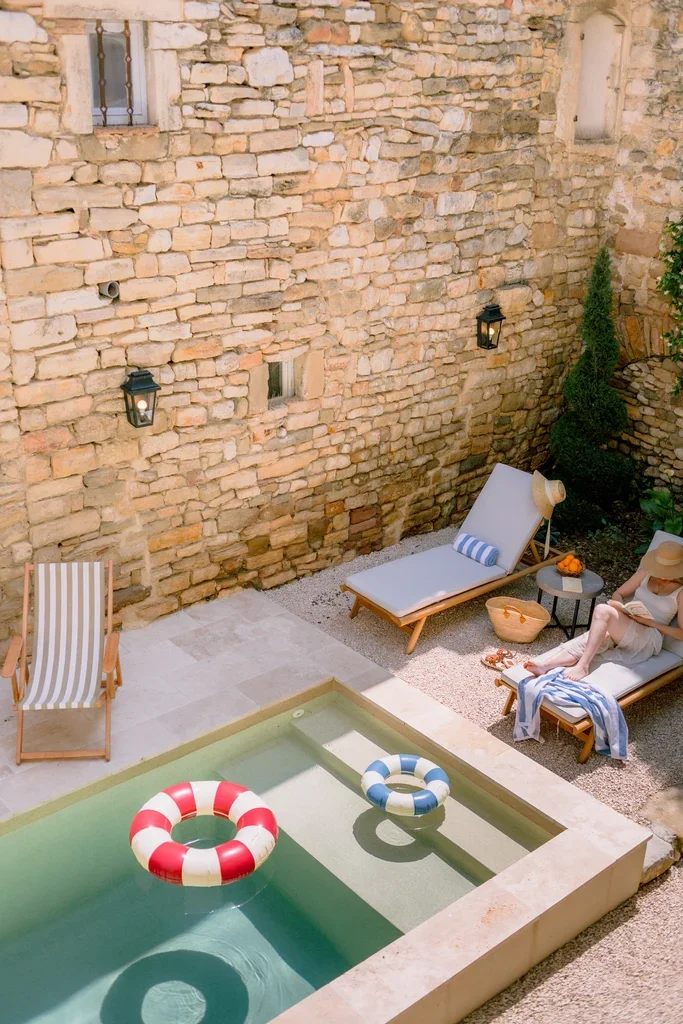
THE FARMHOUSE
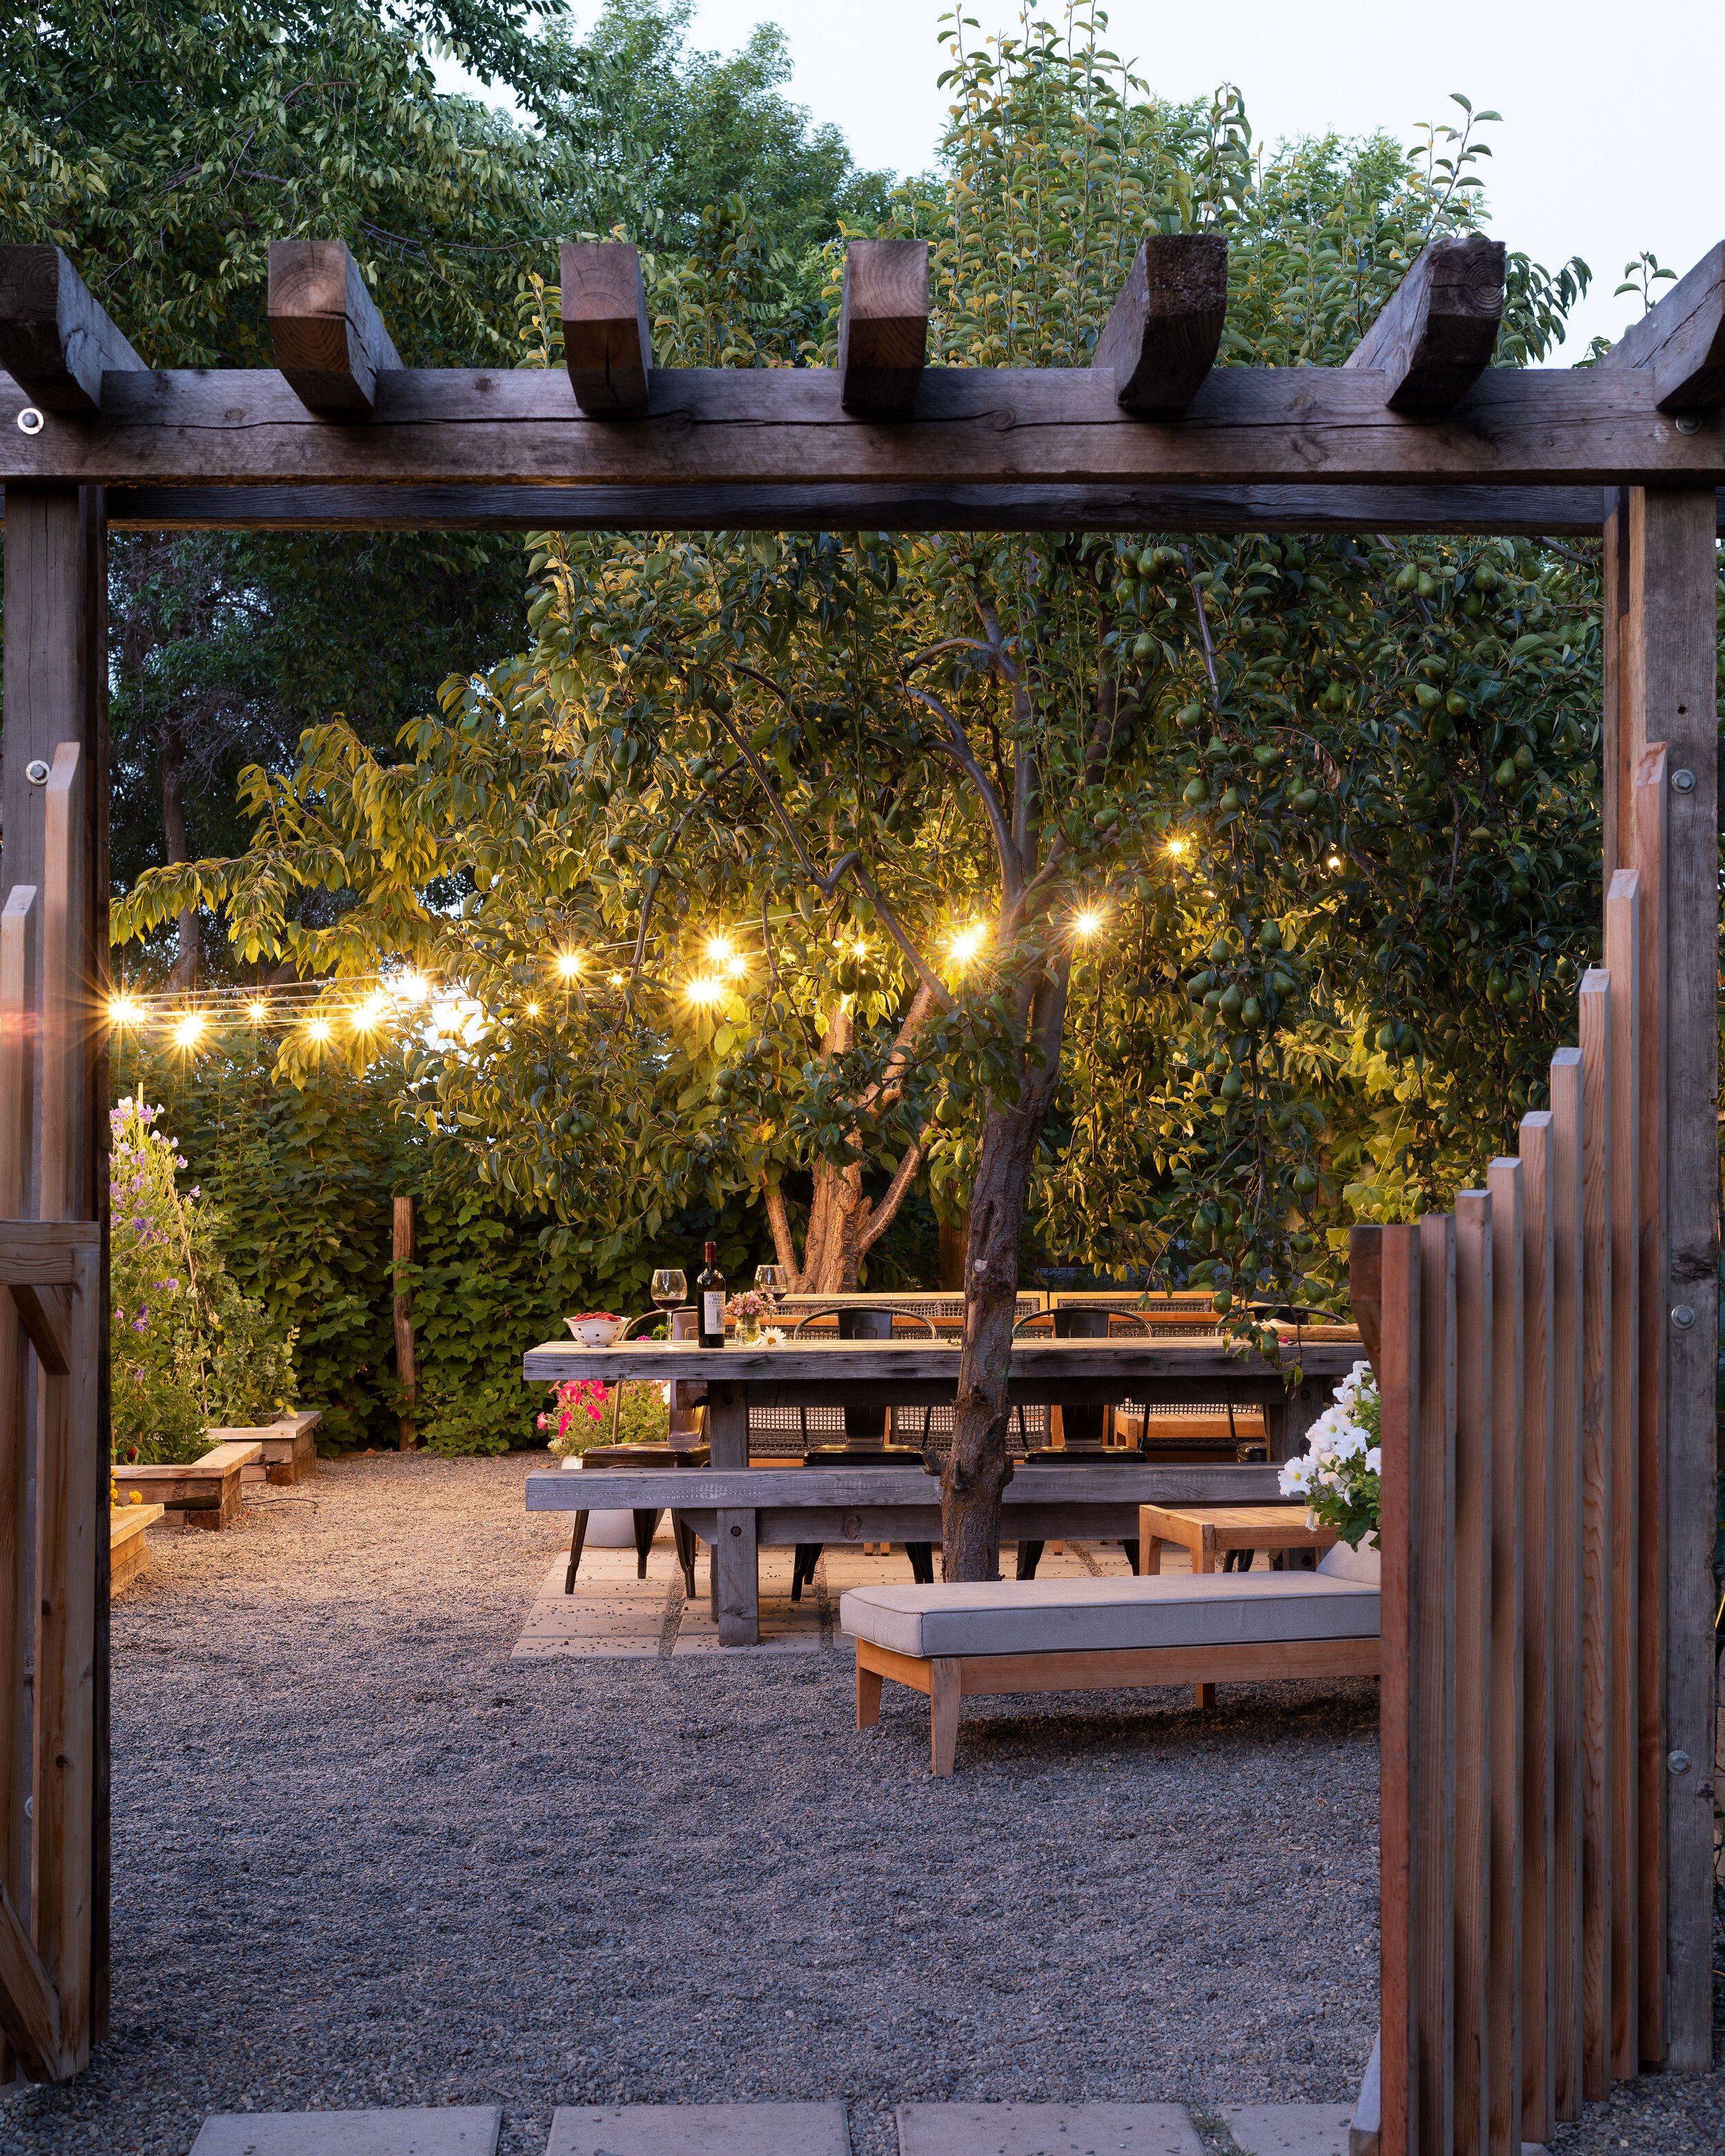
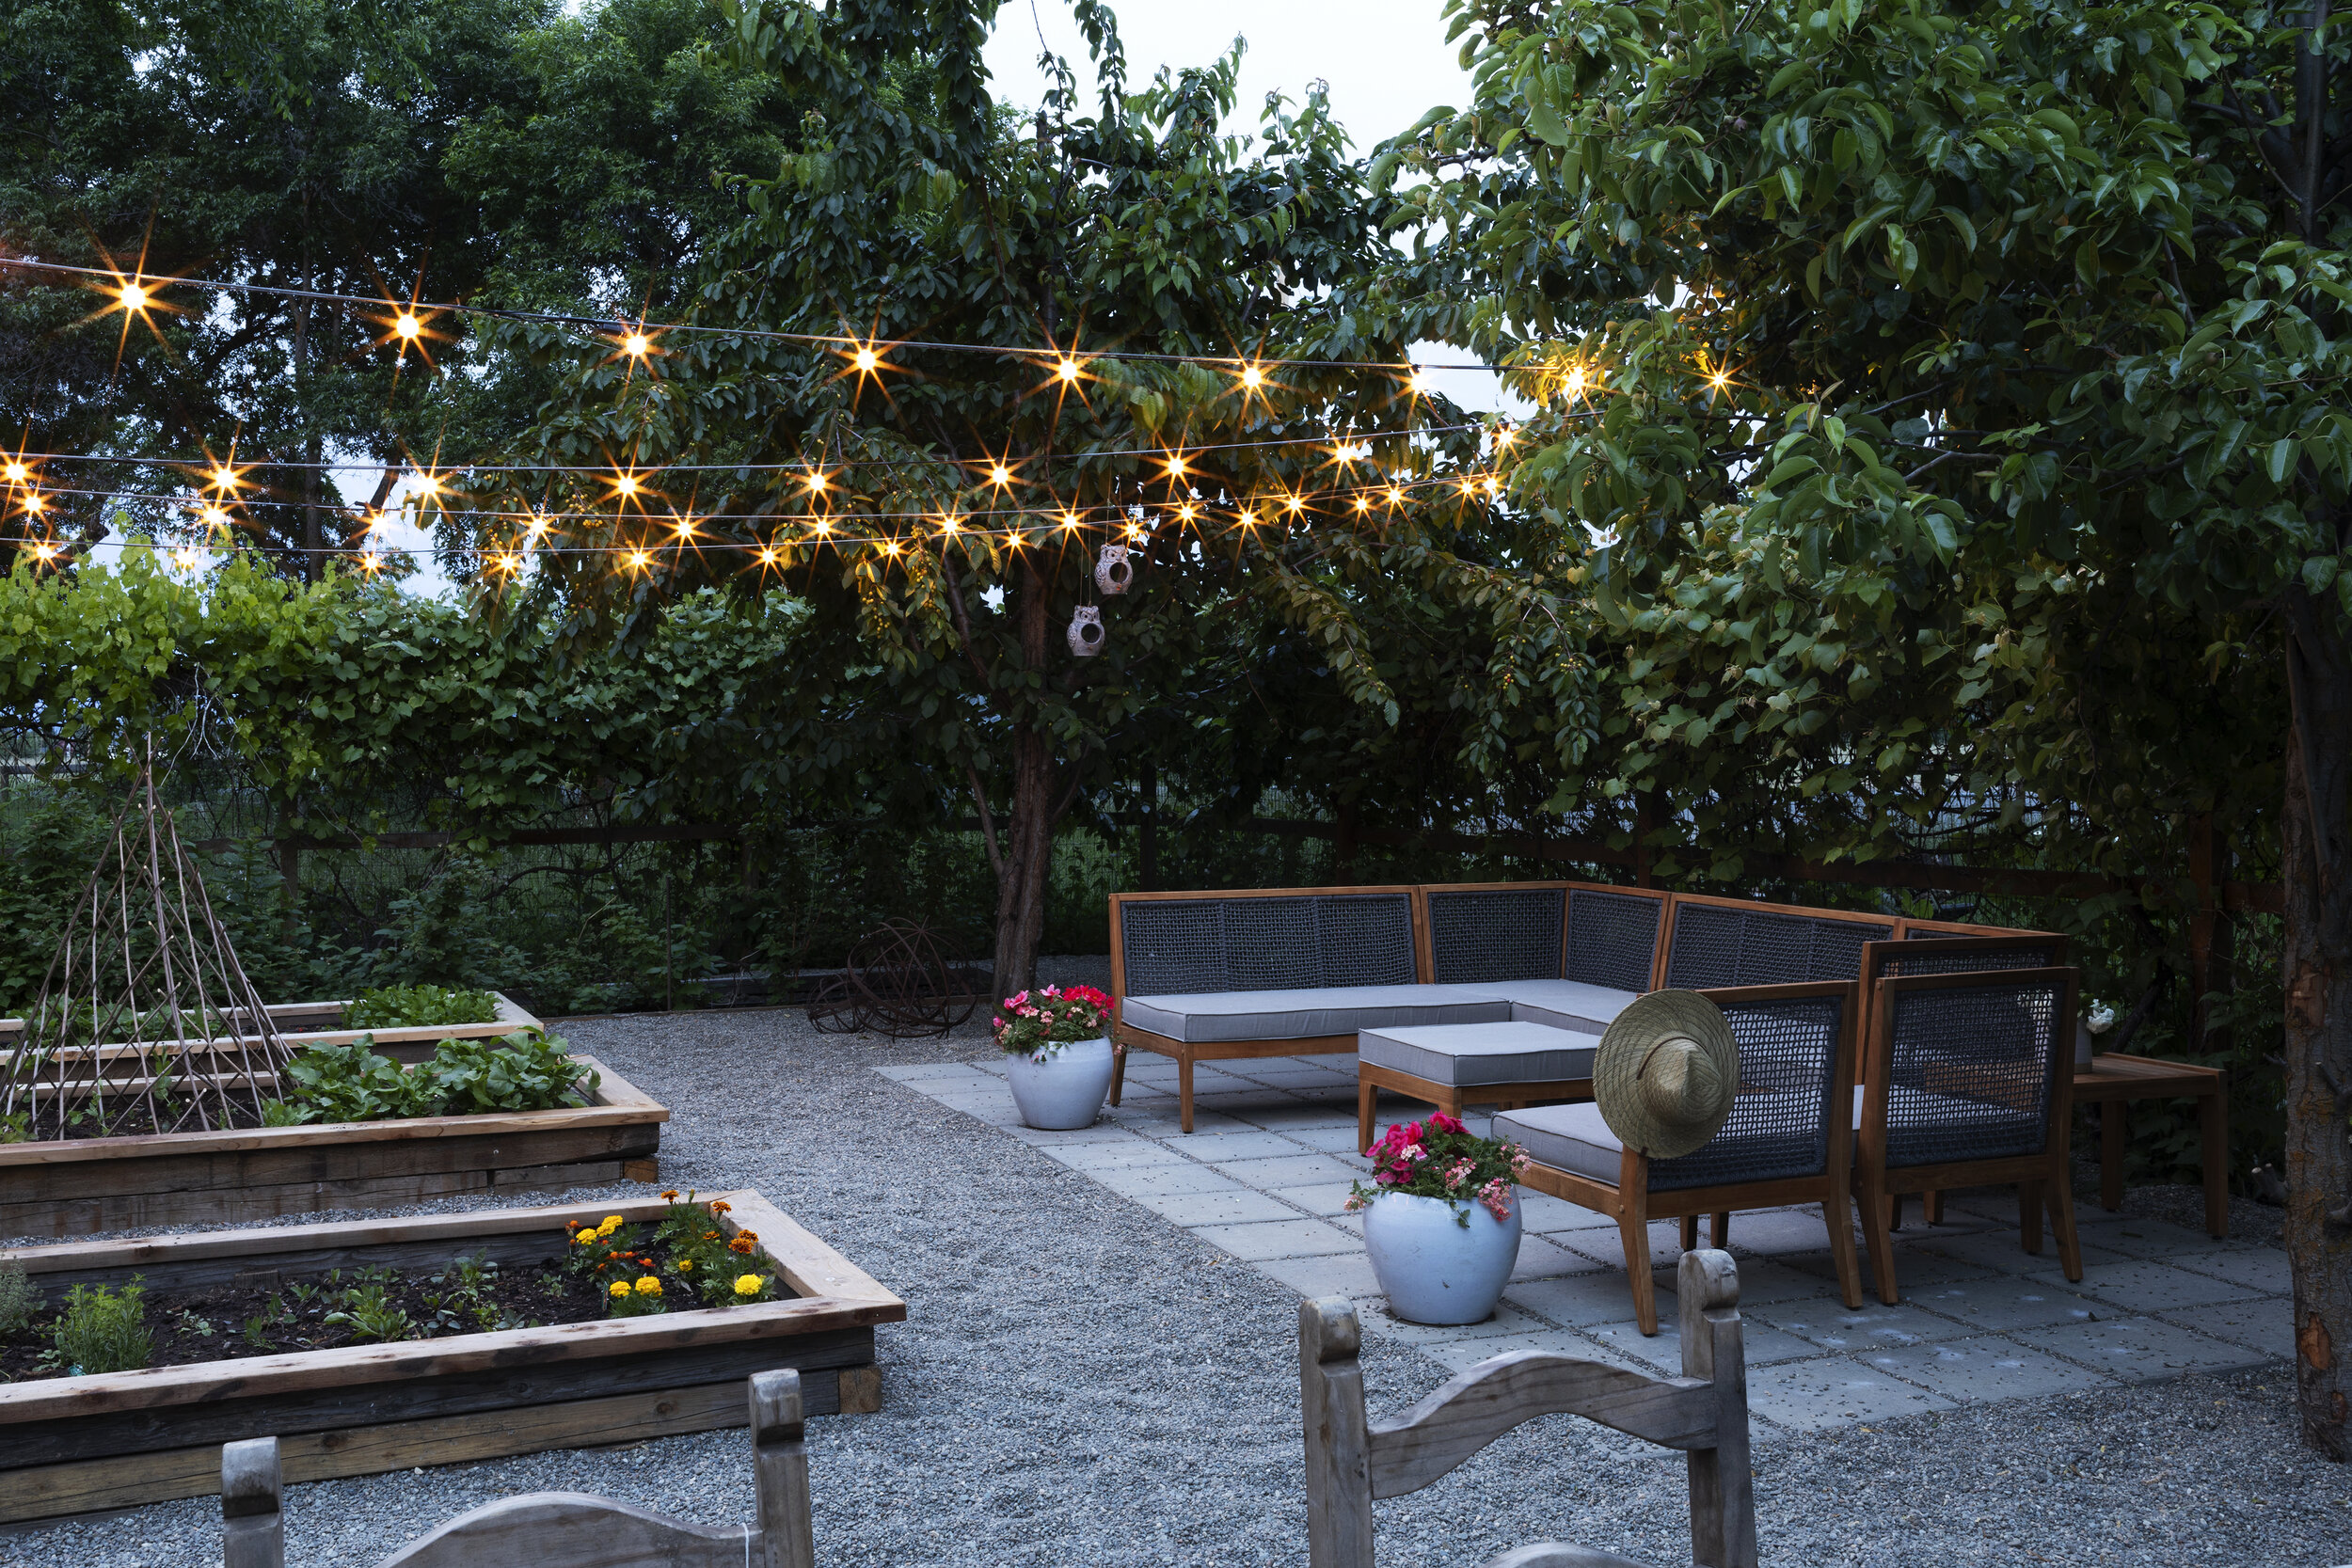
We have been waiting for some nice warm weather and it’s finally arrived! So we’re getting our garden setup for the summer season - prepping the raised beds for seeds, bringing out the furniture, and restringing the string lights. String lights add the best ambiance out here all summer long and I love the metal hooks Garrett built to hang our’s from. So today Garrett’s sharing the simple DIY for building your own metal string light hooks.
*this post is sponsored by Bernzomatic
We found our 1/2” metal rod from our local metal shop, but you can find them at most hardware stores.
This DIY is relatively easy but it’s best done with two sets of hands. The hardest part is bending the metal and requires strong arms. The second set of hands is helpful to hold down the rod.

DIY Metal String Light Hook
Materials and Tools
1/2” metal rod (length depends on how high you need it to stand above the post)
Bernzomatic MAP-Pro Gas (MAP gas gets hotter than propane, which helps with bending the metal)
Video
Here’s a video sharing all the steps of this relatively easy DIY (plus a sneak peek at what our garden looks like in early springtime!).
Step 1
Secure the rod to a sturdy work surface with your clamp. We used our beefy outdoor dining table. You’ll also want to make sure you have enough fuel using a gas gauge. We’re using the new Digital Fuel Gauge from Bernzomatic, which is carefully crafted to display the amount of fuel remaining in your portable Propane or MAP-PRO cylinder.
It is super simple to use, just simply slide it onto your opened cylinder, lift the attached device straight up with the cylinder attached, and read the result. This way, you can use your cylinders to the last drop while avoiding an unexpected outage. Whether you’re cooking on the patio, gathering in the great outdoors or tackling a DIY project like this one, the Fuel Gauge is a perfect accessory to have on hand!

Step 2
Heat the rod at about 10” from one end using the Bernzomatic torch. (Make sure you’re wearing gloves for this DIY!) Once the rod starts to turn red, use your pliers to grip the end of the rod and bend upwards and into a curve. The most even curve will be achieved by distributing the heat along the rod at the curve. By working the heat along the rod as you slowly bend, the early part of the curve will start to cool and harden while the leading edge will become more flexible allowing a larger radius to form (if the TS8000 torch is held at a single spot a sharper bend can be achieved). Check out the video to see how I made my curve in more detail.
The rod may try to move in the clamp, so have a second set of hands hold the non-heated end of the rod in place.


Step 3
Once you’re happy with the first curve, work on the crook at the end of the shepherd’s hook. Heat the rod a few inches from the end and use your pliers to pull back on the rod in the opposite direction as before. Continue the bend until you’re happy with the look.


Step 4
Use a hack saw to cut the rod to length. Make sure to account for the length of rod that will be set into your post (we sunk ours 8” into the fence posts).
Step 5
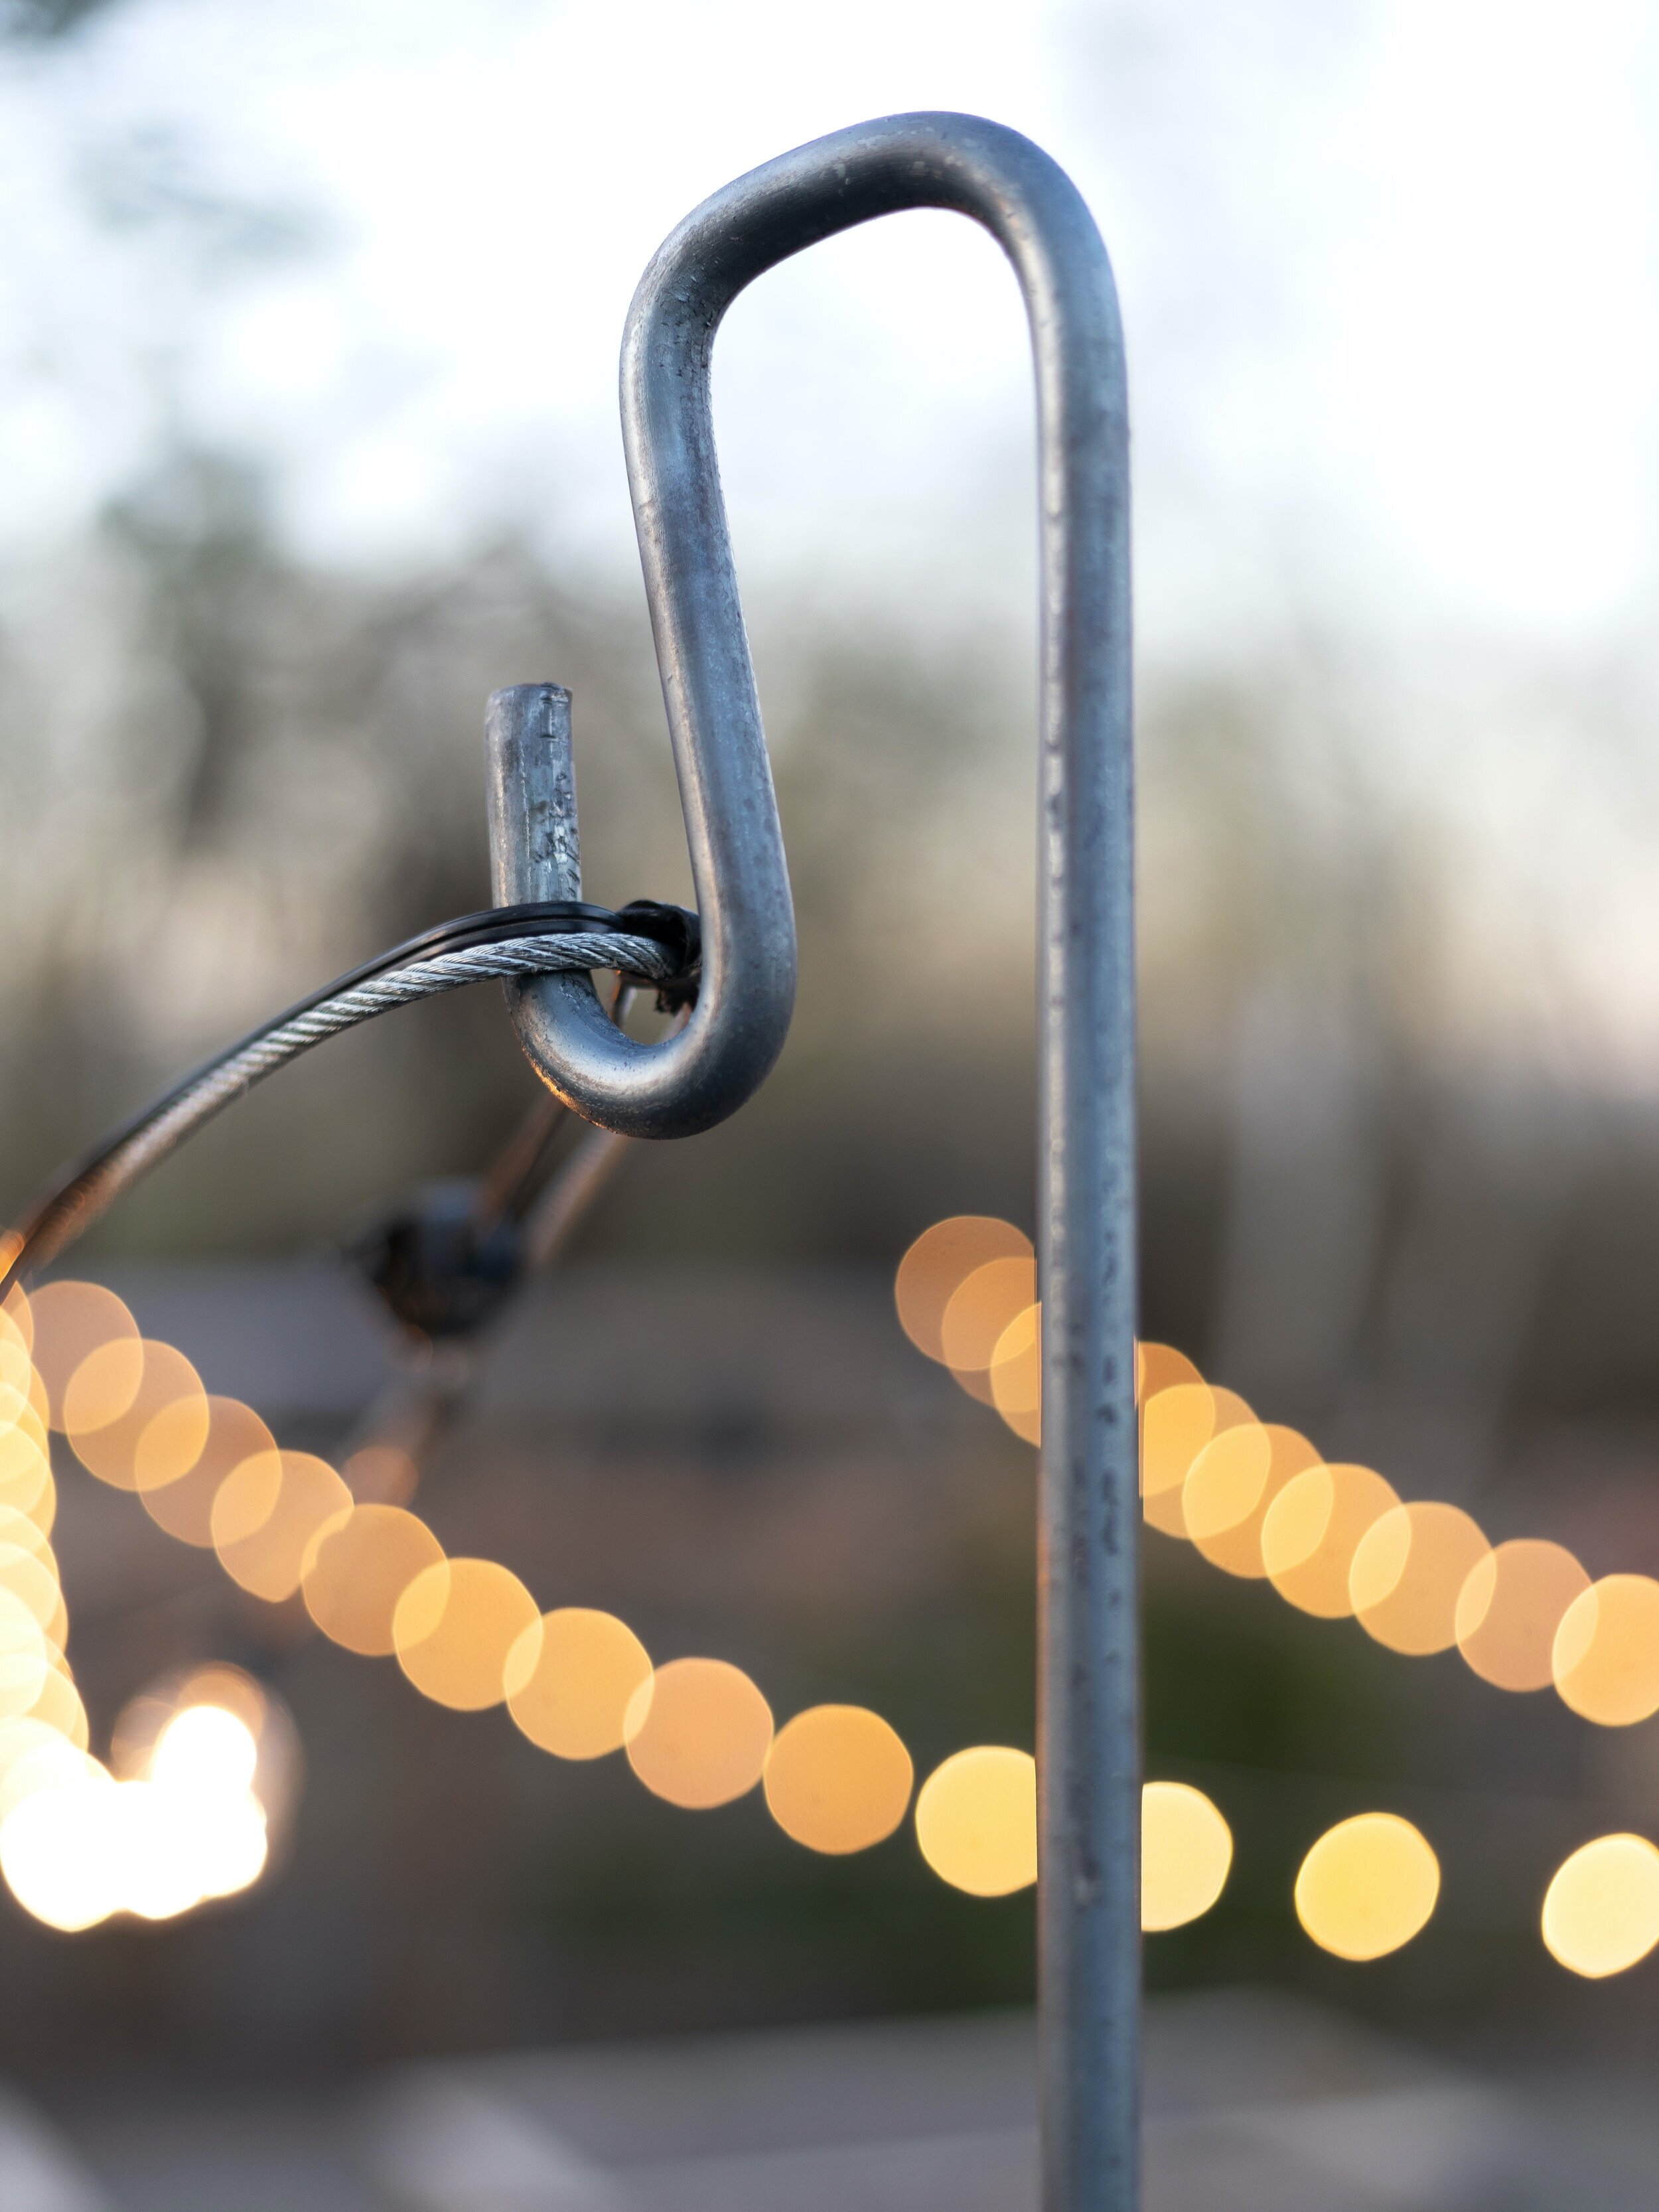
Drill down into the top of your post about 8” with a ½” drill bit and set the metal hook into it. Hang up your string lights and voila! Instant ambiance!
Notes
As the length of the rod increases, the string lights will bend the rod more. So keep them as short as possible (but well above your head!) to keep your lights from sagging too much.
We strung our lights with a metal cable since they have a long span.
Use a drill bit extender if your bit isn’t long enough to fit into your post 8”.
We’d love to hear if you try this DIY. Tag us on Instagram or wherever you share your project!
Thanks to Bernzomatic for sponsoring this post!