
Let's Make Sourdough Bread!
THE FARMHOUSE
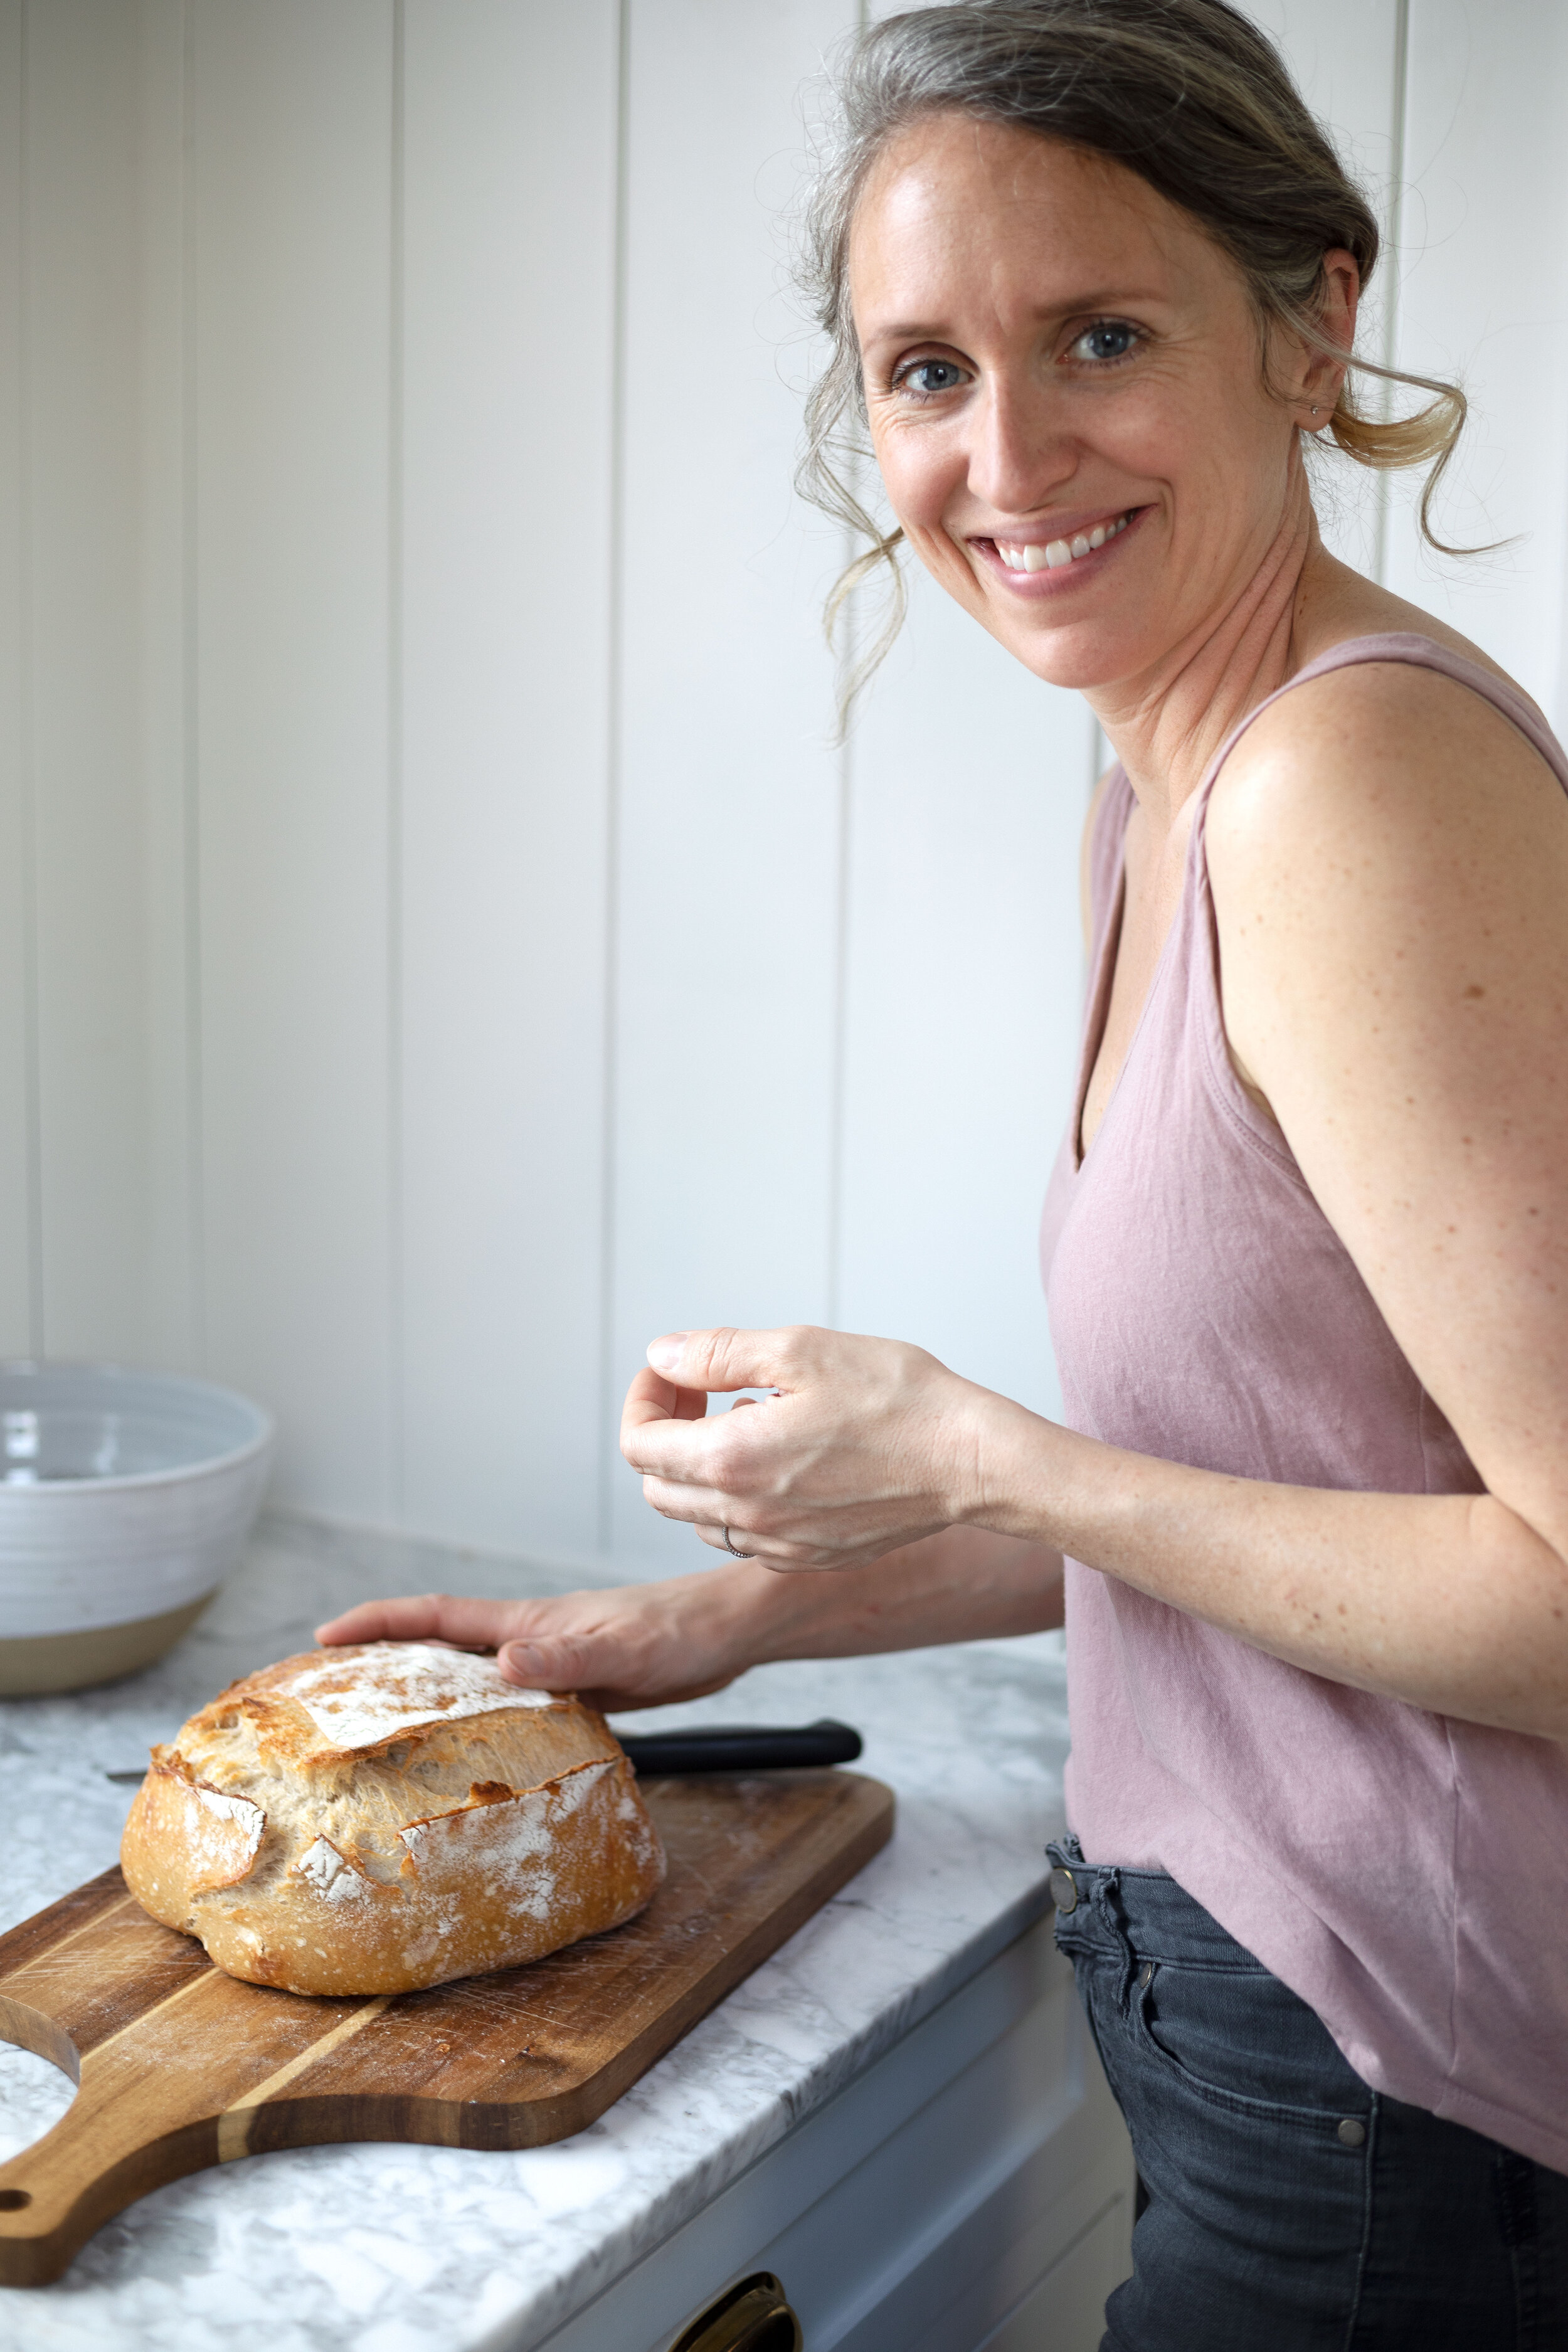
Today I wanted to talk about one of my favorite things…sourdough bread! With so many people stuck at home right now, anxiously wishing this pandemic away, I thought sourdough might be just the thing. Not only is the bread delicious and nutritious, but the process of making it is calming and joyous and full of that everyday magic we could all use a little of right now. So let’s get into it…

Cathy’s tank, dutch oven, pantry sources
Today we’re going to share the recipe we use, the tools we swear by, a video of the entire process, how we started our own starter, and all that good stuff… but first, let’s talk about why we love sourdough so much!
the magic
Learning to bake sourdough bread was Garrett and my joint 2018 New Years resolution and I loved it so much that I’m still baking sourdough 2 and a half years later. Garrett made our starter from scratch (we’ll explain below) using the microbes from the grapes growing in our backyard. And that’s one thing I love about sourdough, how local it is. Bread made at my house might taste different from bread made down the street because we all have different bacteria and naturally-occurring yeast in our homes and on our hands. And I find that so cool!
Other wonderful things about sourdough: watching it rise. Like how does it do that without any added yeast?! It feels like magic every. single. time! The crackle of the cooling bread when it comes out of the oven. The smooth-but-taut feeling of the dough in your hands. The smell that fills the house when the loaves bake early in the morning. And the fresh-out-of-the-oven taste, slathered with homemade preserves or buttered and lightly salted and toasted on the stove top (YUM!). And this may sound funny, but I swear sourdough is easier on my sensitive tummy than yeast breads.

Essential tools
Here are the tools we use to make sourdough bread. There are definitely more things you can buy and use for convince, but this is the bare minimum for us.
kitchen scale (highly recommend this $10 version)
dutch oven (we love this 4qt one, but I’ve heard this budget option is great)
bowls
towels
large cutting board
pie scraper
patience ;)

Ingredients
We’re not too fussy about our ingredients - at least right now - balancing convenience, affordability, and accessibility with quality. Someday I may become a flour snob (and proudly so) but that day hasn’t come. I realize that flour is a hot commodity right now and hard to find, so you might try smaller health food stores and boutique groceries - bread uses a TON of flour. We use 900g white and 100g whole wheat per batch in addition to the starter maintenance. We usually use Costco’s organic all purpose flour, Bob’s Red Mill whole wheat flour, and Himalayan pink sea salt. Here are the ingredients for one batch (two loaves) of our favorite sourdough recipe (recipe shared below).
ingredients for one batch (two loaves)
200 g leaven (we use our starter rather than make a leaven)
700g warm water + 50g
900g white flour
100g whole wheat flour
20g salt

Our favorite recipe
We use the basic country bread recipe from Chad Robertson’s ‘Tartine Bread’ cookbook. This is one of those ‘knead by hand’ recipes - but it’s not overly difficult (read: my biceps are still tiny) - so no mixer required. And I can’t recommend Tartine’s book enough. It’s part recipe, part textbook and filled with answers to all your questions and answers to all your future questions. It’s amazing that a recipe with so few ingredients could be so complex, but it really can be! Sourdough it part art, part science, and having a good guide is super helpful!
But if the cookbook isn’t an option for you, the recipe was shared on the New York Times and linked below:
We have developed a slightly different method and instead of creating a leaven, we use the starter itself. We also maintain more of the original starter than the Tartine recipe does after using it, but don’t let these details bog you down. Sourdough it about doing what works for you - whatever that is. I’d highly recommend following a recipe a few times and adjust from there. Honestly, I’m still baking the same loaf that I did 2 1/2 years ago and I still find myself making tweaks. That’s part of the fun of sourdough!


Let’s Make Sourdough Bread!
Rather than try to tell you how to we make sourdough bread, I thought we’d show you. Here’s a video of the ENTIRE process from start to finish - from adding the starter to removing the loaf from the oven. We left explanations and words off of this video because it’s strangely meditative to watch as is. So you can read more about the timeline and an explanation of what I’m doing below.
Here’s what our timeline looks like for a batch of bread:
remove the starter from the fridge and feed it (see ‘maintaining a starter’ below for feeding instructions). I usually do this mid day and then leave it out on the countertop overnight
in the morning, feed starter again, let grow for 3 or so hours (starter will about double in size and be bubbling)
start bread - mix starter, water, and flour and let sit for 30 minutes
Add in salt and remaining water, transfer to a thick bowl and cover. It’s time for bulk fermentation
3-4 hours of bulk fermentation. During this stage, you turn the dough every 30 minutes
lay dough out on a lightly floured work surface, cut in two, gently shape bread and let sit for 20 minutes (“bench rest”)
Shape bread with a series of folds and transfer each loaf into a lightly floured towel inside a bowl. Transfer to refrigerator
12 hours in fridge
In the morning, remove the dough from fridge and let it warm up on the oven while the oven warms to 500.
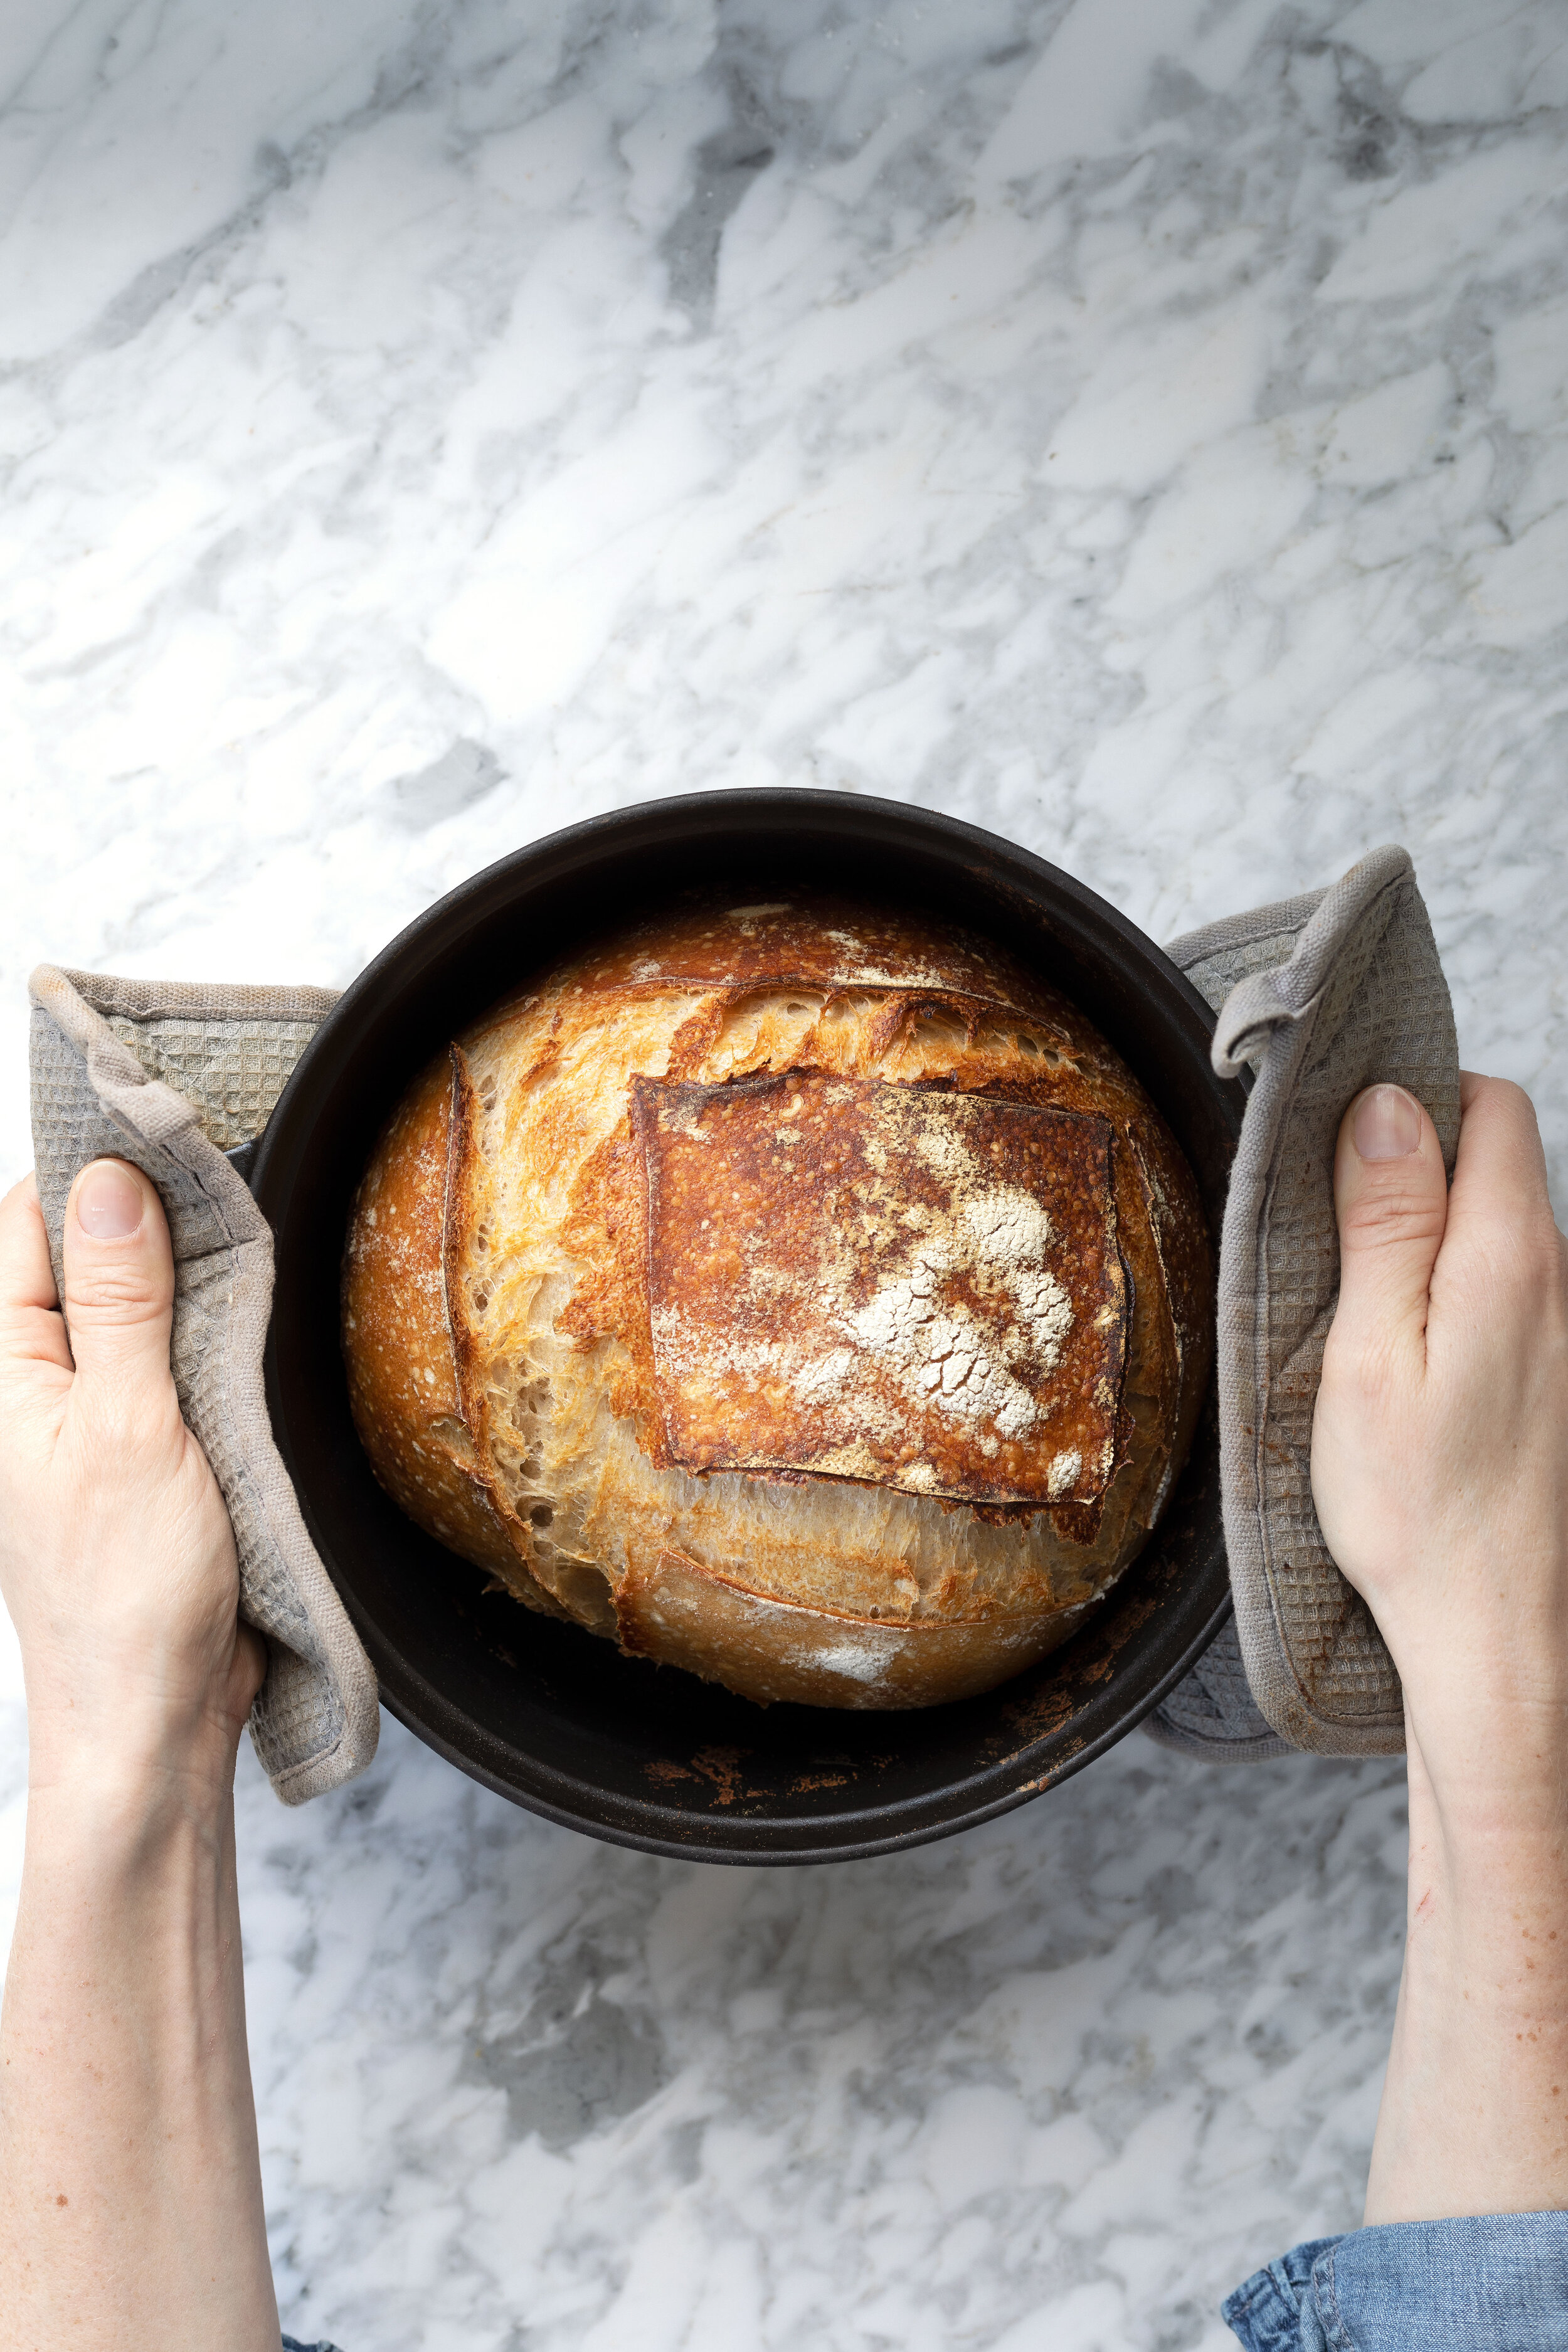
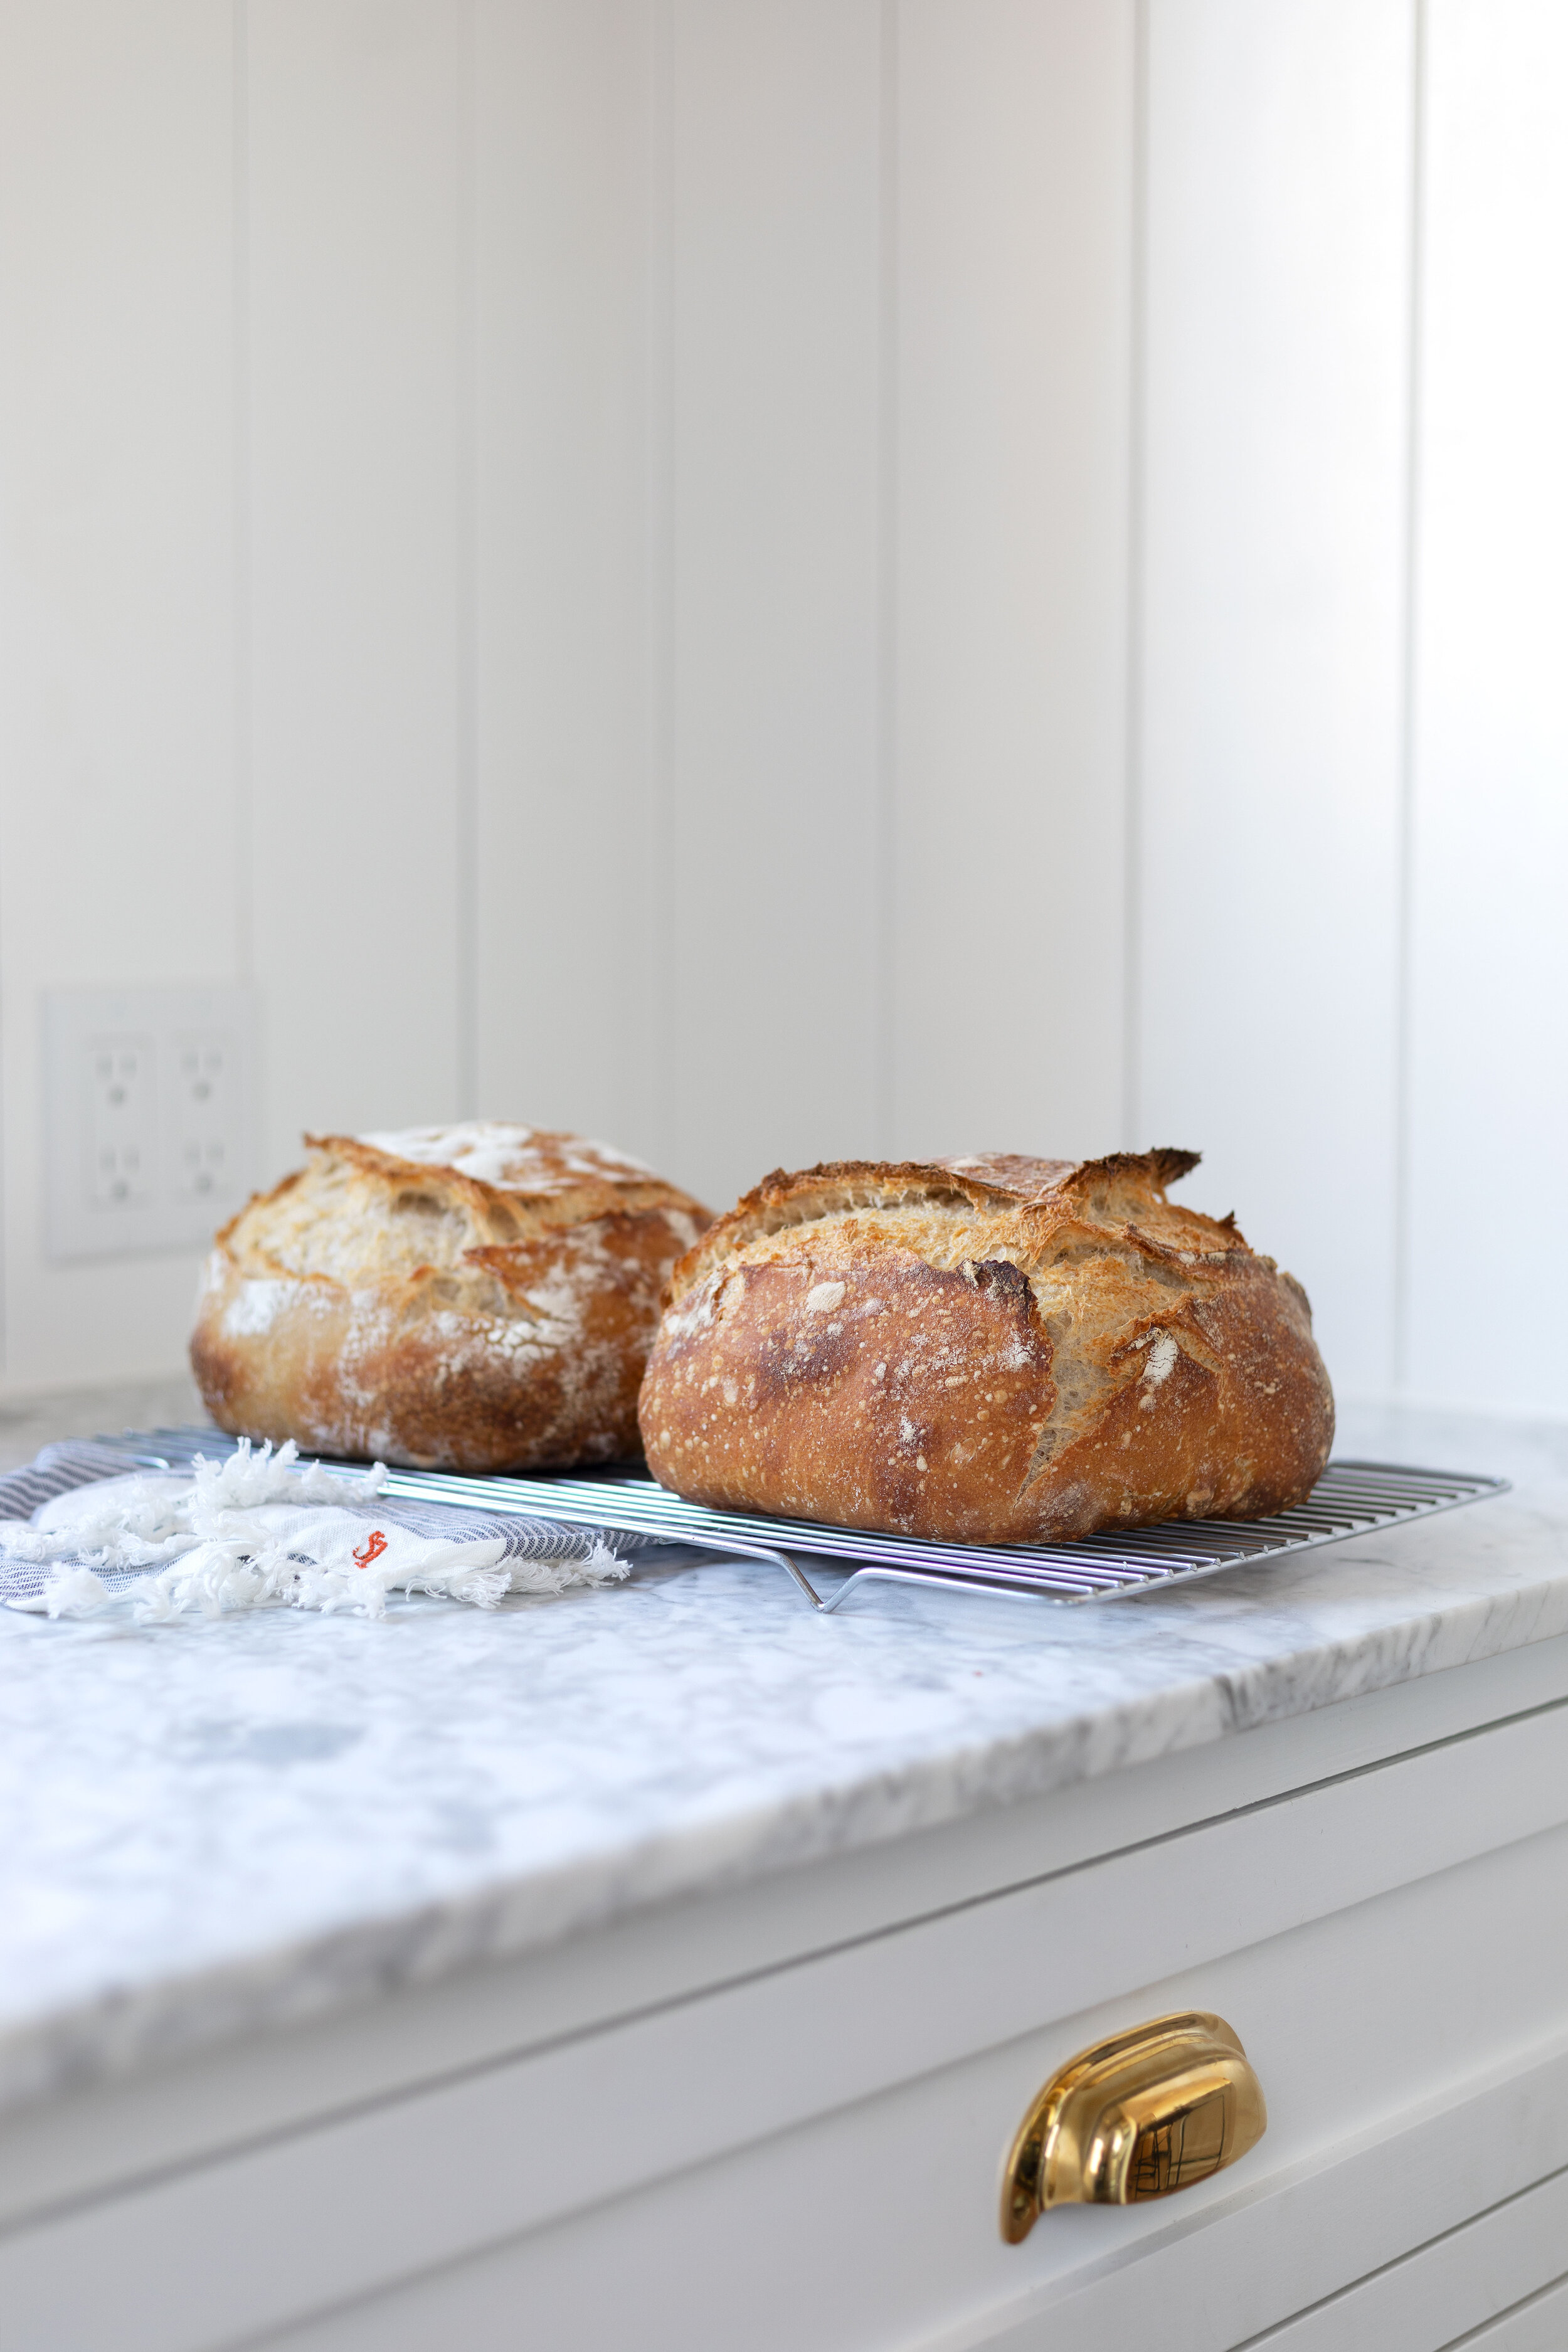
Reduce oven to 450, transfer bread to dutch oven, score tops, and bake for 40-45 minutes, with the lid on for the first half (the longer the bake, the crispier and darker the crust)
In total - from removing the starter from the fridge to baking the loaf - the process takes about 36 hours or more. Most of that time is hands off, but you do need to be around for the 3+ hours of bulk fermentation. I try to plan bread making for a day I know I’ll be home and pull the starter out the day before.

Making a starter of your own
A lot of people have asked how we made our own starter and the Tartine recipe lays out the process really well. The short version: combine water and flour and leave it out in your house for a couple days, watch it come alive, feed it…etc etc. But we took a page from Leslie Mackie’s ‘Macrina Bakery & Cafe Cookbook’ (one of my all time favorite bakeries and favorite cookbooks!) and added a satchel of crushed grapes into the starter, which we were lucky enough to pick from our backyard. I think the idea behind the grapes is that it adds naturally-occurring yeast and sugars to jump start the culture. We discarded the satchel a few days in and then the process was similar to Tartine’s.
Maintaining a starter
We feed our starter with equal parts water and flour, and always use 50% wheat, 50% white flour (which makes it possible to make whole wheat breads). So a feeding might look like…
feeding recipe
75g white flour
75g wheat flour
150g warm water
We’ll increase or decrease that recipe depending how much starter we have and how much we want to add, but this is the ratio. And yes, weighing the ingredients is essential. I’ve found that a kitchen scale is a MUST HAVE tool for baking sourdough.
We store our starter in the fridge in a container with the lid propped on but not air tight. Sometimes it stays in there for a few days and sometimes for a couple weeks. Sourdough starter is resilient!
We try never to use more than 1/2 our starter (we differ from the Tartine method on this), but will discard some of the starter if the volume gets too big. Our starter about doubles in size when it’s fed. And if your’s doesn’t grow that much yet, remember that our starter is 2+ years old and it wasn’t that active when it was young.

A few things that have helped us
Time - sourdough takes time to get the hang of (at least it did for us) and we’ve refined our process to make it work for our family and schedule and kitchen. A starter also takes time to become really active and we had lots of flat loafs at the start.
retarding the bread overnight - when we switched our final rise from room temperature (lasting 3 to 4 hours) to the refrigerator for 12 hours, our loves just turned out better.
Consistent proofing temperatures - we live in an old house with old windows and drafts and we found that our bulk fermentation was always taking different amount of time. Last year we added a built-in microwave/second-oven with a bread proofing feature and it’s upped our bread game tremendously.

Enjoy that sourdough! xoxo


