
Homeowner Basics: How to Solder Copper Pipes
THE POPLAR COTTAGE
*this post is sponsored by Bernzomatic
Being able to solder copper pipe is one of those gritty skills like being able to drive a manual transmission or wire a light fixture that are not often used but come in really handy sometimes! Today we’re sharing the simple process of soldering copper pipe in partnership with Bernzomatic.


We’re on our 8th old home renovation now and in every single project we’ve run into some copper plumbing (often mixed with galvanized steel). It’s so great to be able to temporarily cap or adapt the copper piping so we can continue renovating without having to call in a plumber. The steps for soldering copper plumbing are pretty simple and if you watch the video and read this post I’m highly confident you’ll be able to do some basic copper pipe repairs in no time!
The Basics of Soldering Copper Pipe
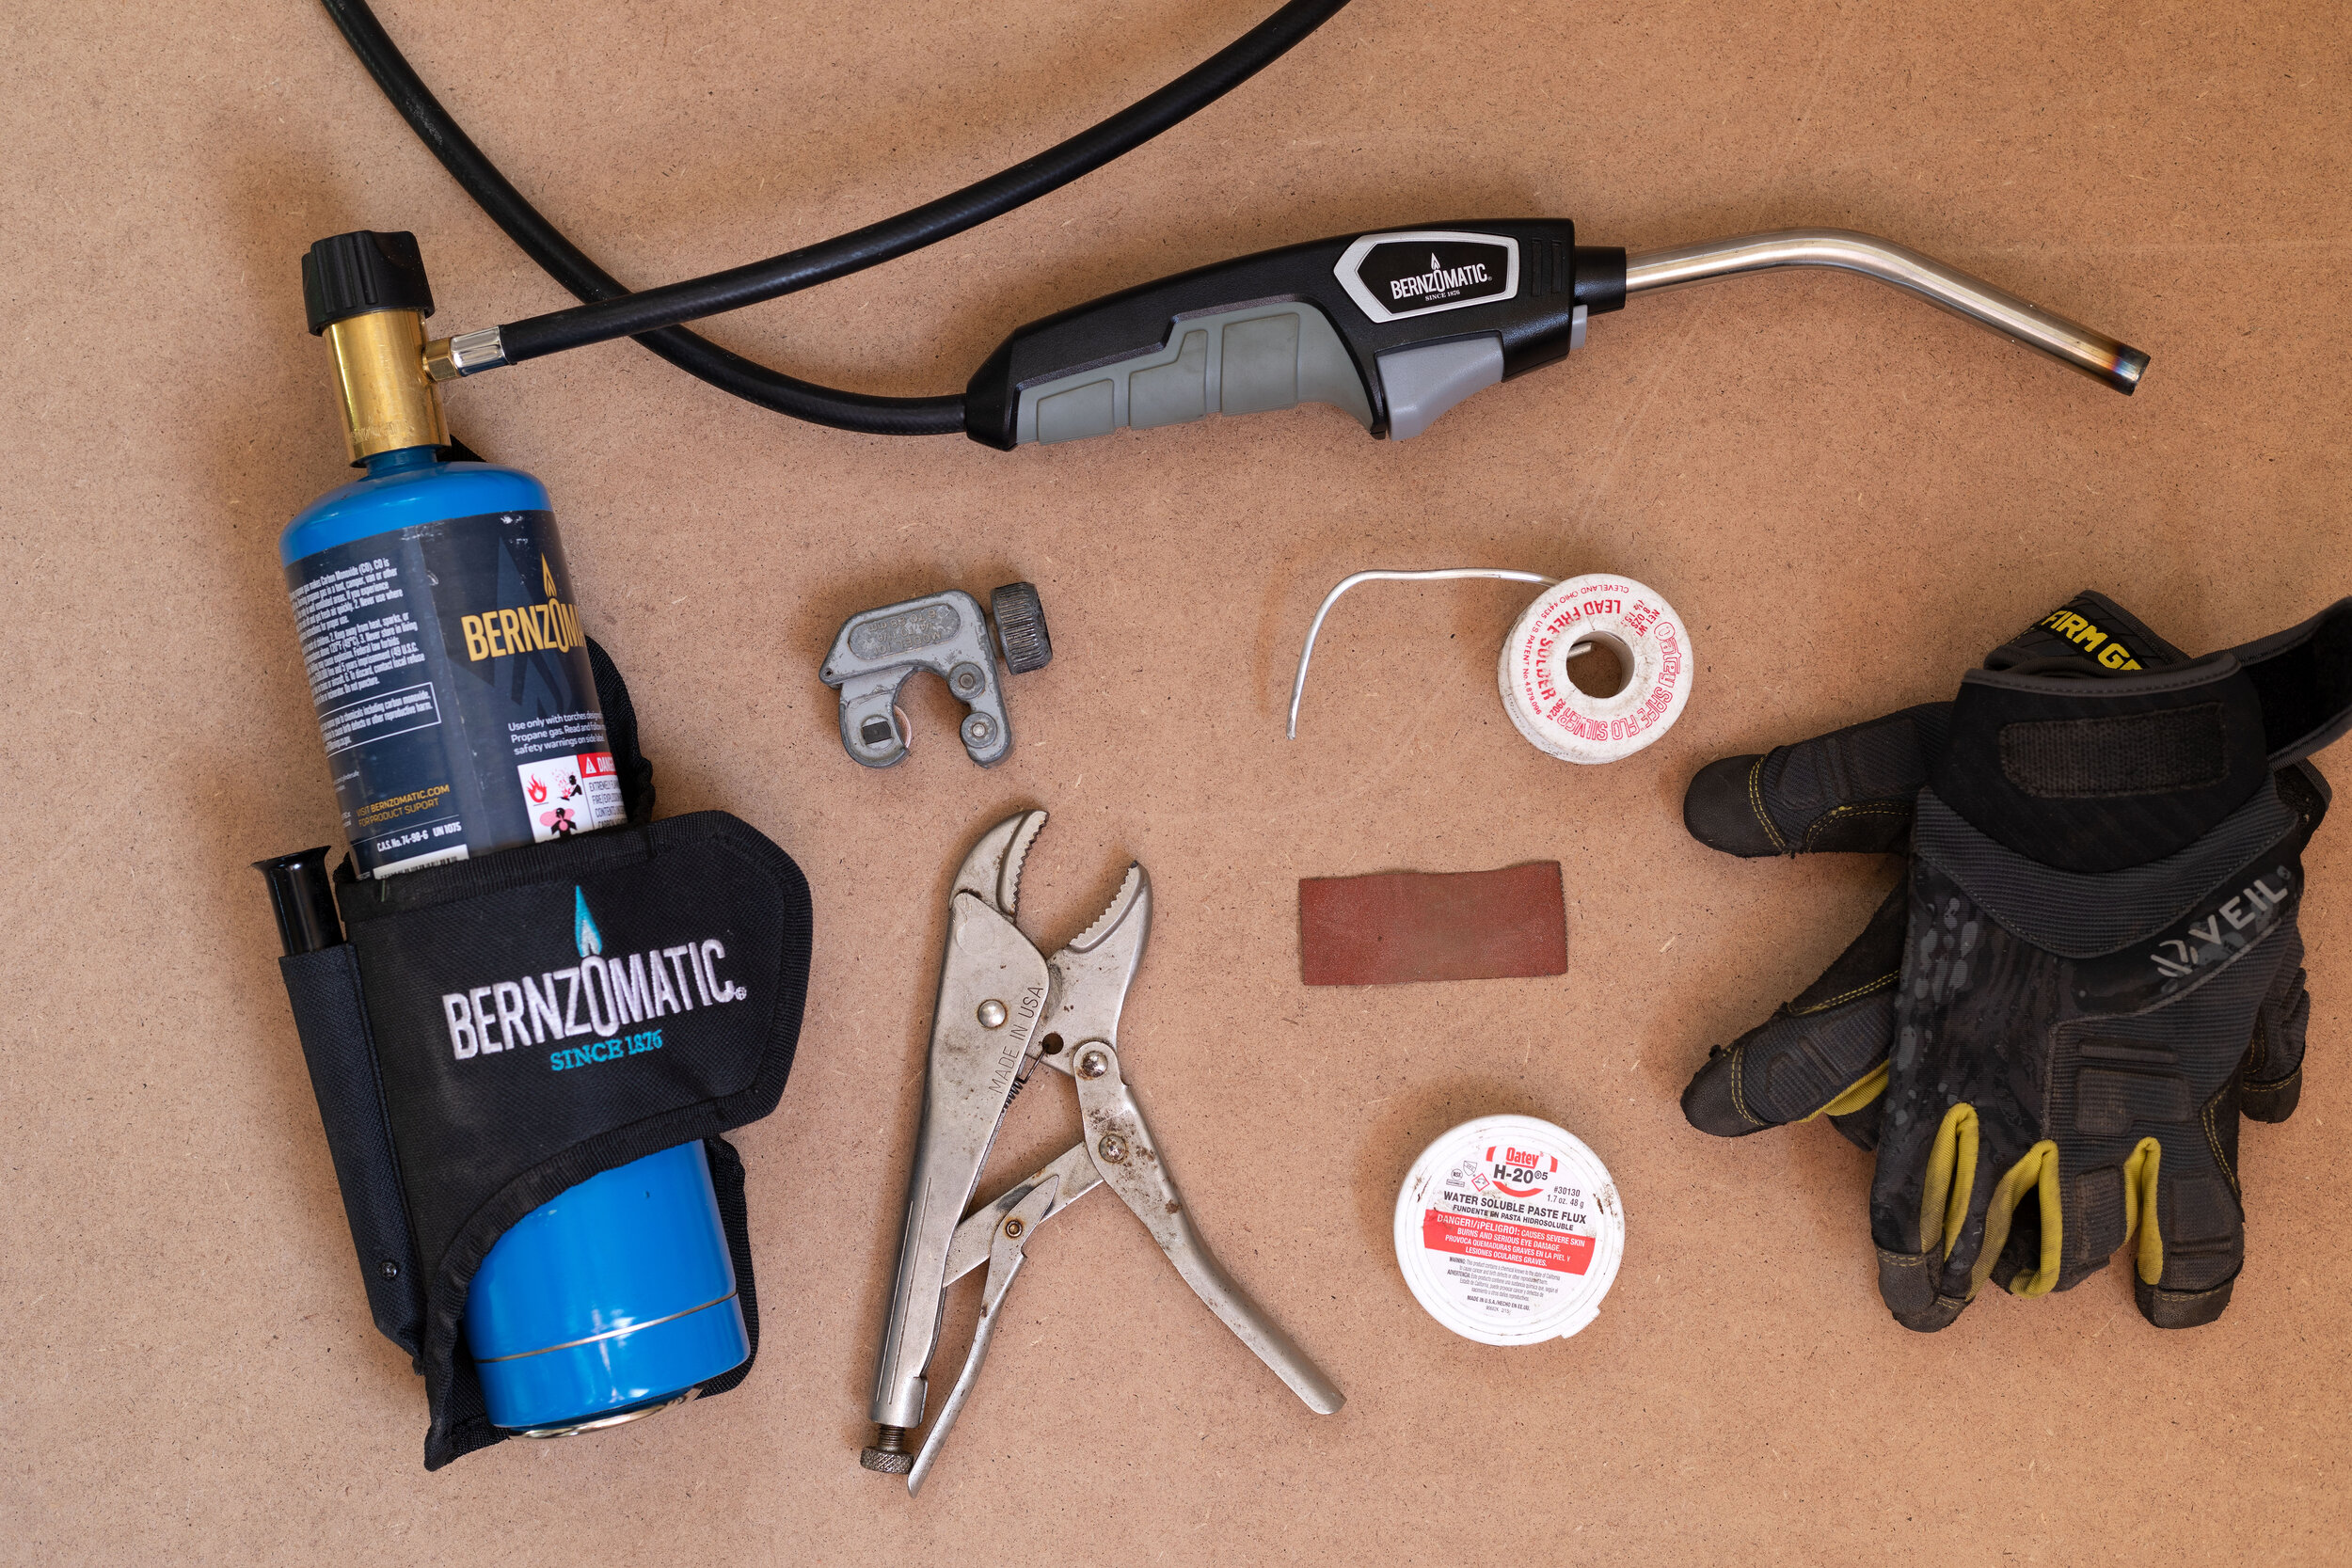
Tools & Supplies
Paste flux
Copper fitting or adapter


Video Tutorial
Steps
Step 1
Shut off the water supply to the house and release the backpressure by turning off a faucet or hose bib (*if possible open a faucet below the level of the pipe you’ll be cutting so the water drains out of the pipe and into a sink or outside).
Step 2
Cut the pipe using a pipecutter, demo saw, or hacksaw.

Step 3
Clean up the end of the cut pipe and remove the oxidized finish with a fine sandpaper (~>120 grit). If you are adapting to the copper make sure you ream out the inside of the pipe so it’s smooth and free from lips/copper pieces that could impede water flow. I use a pliers or other hand tool with a square edge to twist inside the pipe.

Step 4
Apply an even coating of paste flux around the newly polished pipe end.

Step 5
Place the copper fitting onto the end of the pipe. Here I’m using a cap but this could be a 90, a coupler, or an adapter. Whatever fitting you need to keep your project moving forward!

Step 6
Use a Bernzomatic torch to heat the fitting. I used the BZ820HT which has a trigger igniter and a flexible connection to the tank. This makes it really convenient for tighter spaces and for projects with frequent starts and stops. Propane has a slightly lower temperature flame vs. MAP fuel and works well for soldering copper pipes.

Heat the fitting just until you notice the flux paste bubbling out and there’s a slight green tinge to the flame around the copper. I like to test the readiness by lightly touching the solder to the joint on the side opposite the flame. If the pipe is hot enough the solder will liquify and be drawn into the joint. If it’s not quite hot enough the solder stays solid.
It’s not good to overheat the joint since this can burn out the paste flux leading to a leak from poor uptake of solder into the joint. You’ll know if this happens because the solder will just break/ball up on the outside of the pipe and won’t be drawn into the joint. There’s a little bit of a goldilocks temperature where it’s just hot enough to liquify the solder but not so hot the flux gets nuked. Once the pipe reaches temperature, applying the solder only takes a couple seconds. (The video captures this process much better than photos can!)

A couple of follow-on tips:
Before you tackle a solder onto your supply lines take a scrap piece of pipe, and practice with a cap or other fitting a time or two to get a feel for the process. And start with the torch dialed back a bit so there’s less chance of overheating the joint.

Over the years I’ve found that any leaks after soldering have been due to one of two things: poor preparation of the pipe meaning I didn’t do a nice even sanding or the pipe was dented or gouged preventing a watertight seal after soldering. Or, paste flux issues: either my paste flux was old and suboptimal or I overheated the joint.
With good prep and a little practice any handy homeowner can solder copper pipes! And let me tell you that crafting a well-soldered copper joint is highly satisfying. Not unlike landing a silky smooth upshift or turning on that brand new light for the first time I suppose. Let me know if you find soldering as enjoyable as I do!