DIY // The Easiest Way to Install Crown Molding, Ever!
THE FARMHOUSE
Last week Garrett finished up the crown molding in the pantry and we’re really happy with how it turned out! So today we wanted to share a DIY tutorial and include all the tips and tricks we’ve learned along the way. This is basically the easiest possible method of installing crown molding, EVER (at least that we’ve found). It makes use of a flat crown profile and a shadow line and we’ll explain all of that in this post. Bonus: this method works great in old houses where the ceilings aren’t perfectly level. This DIY is really do-able, even for beginners, so let’s get into it!
sources: pendant light , sconce, drawer pulls, cabinet latch, faucet, paneling, flat crown, paint color
the shadow line
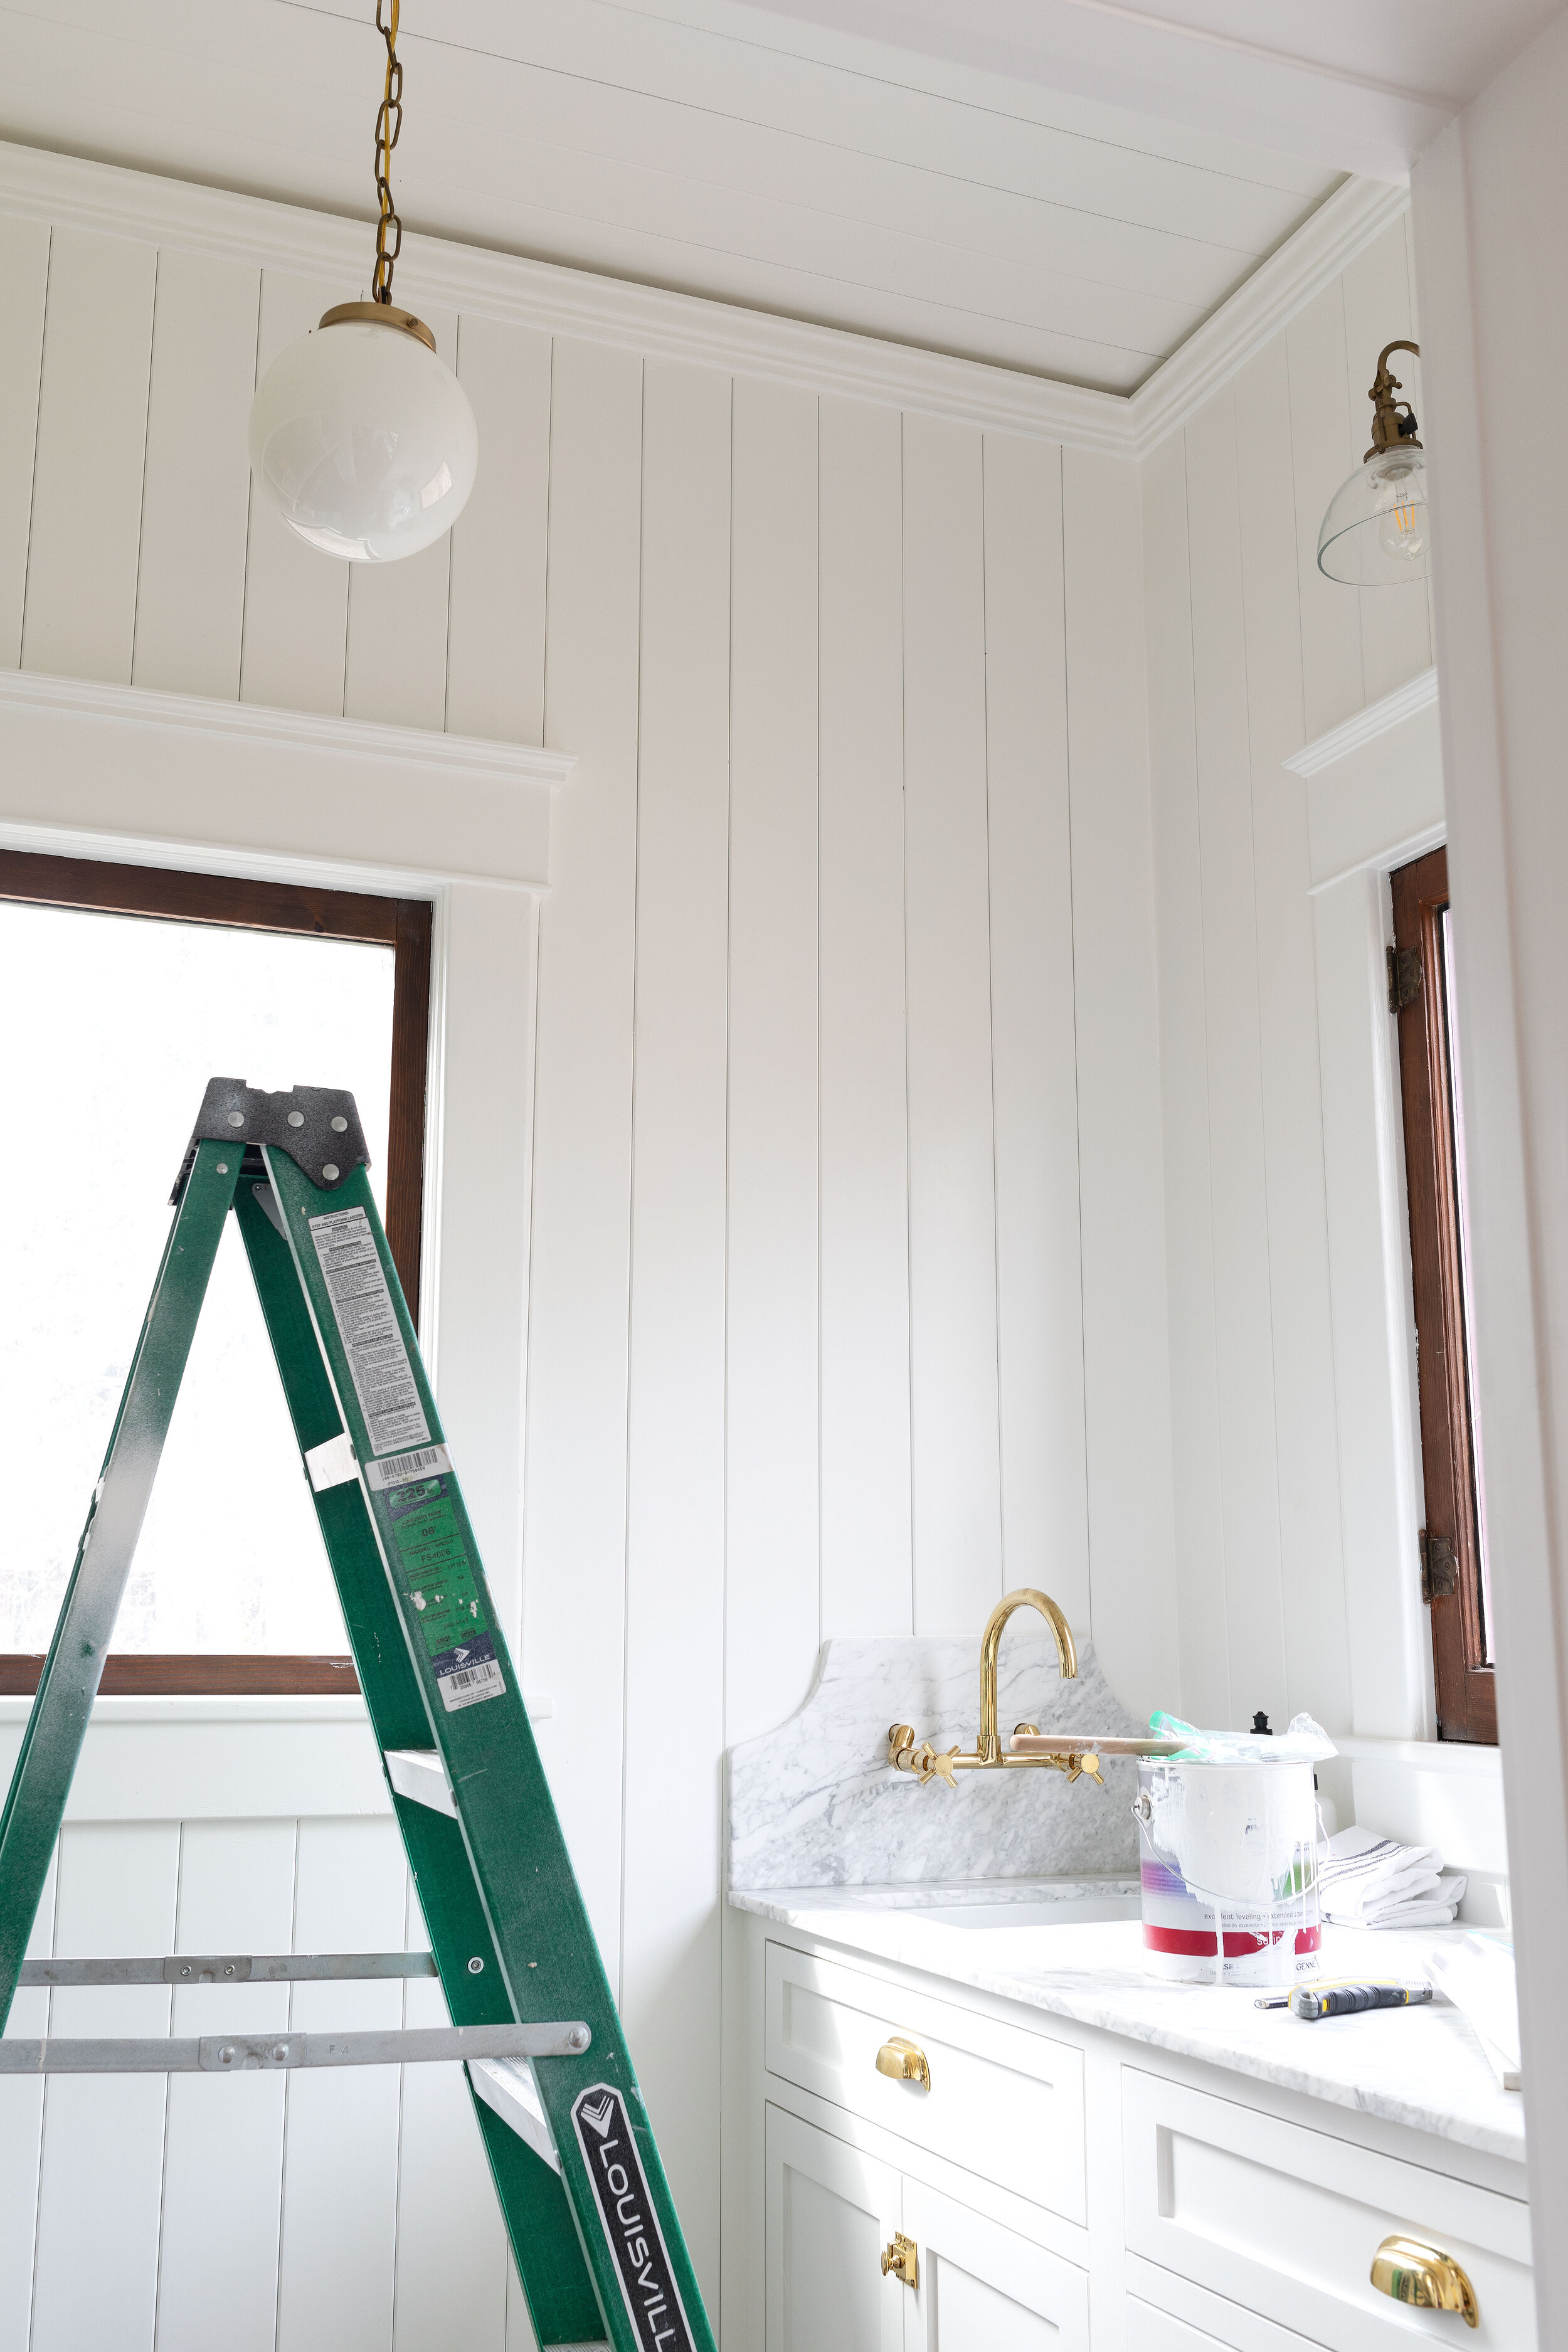
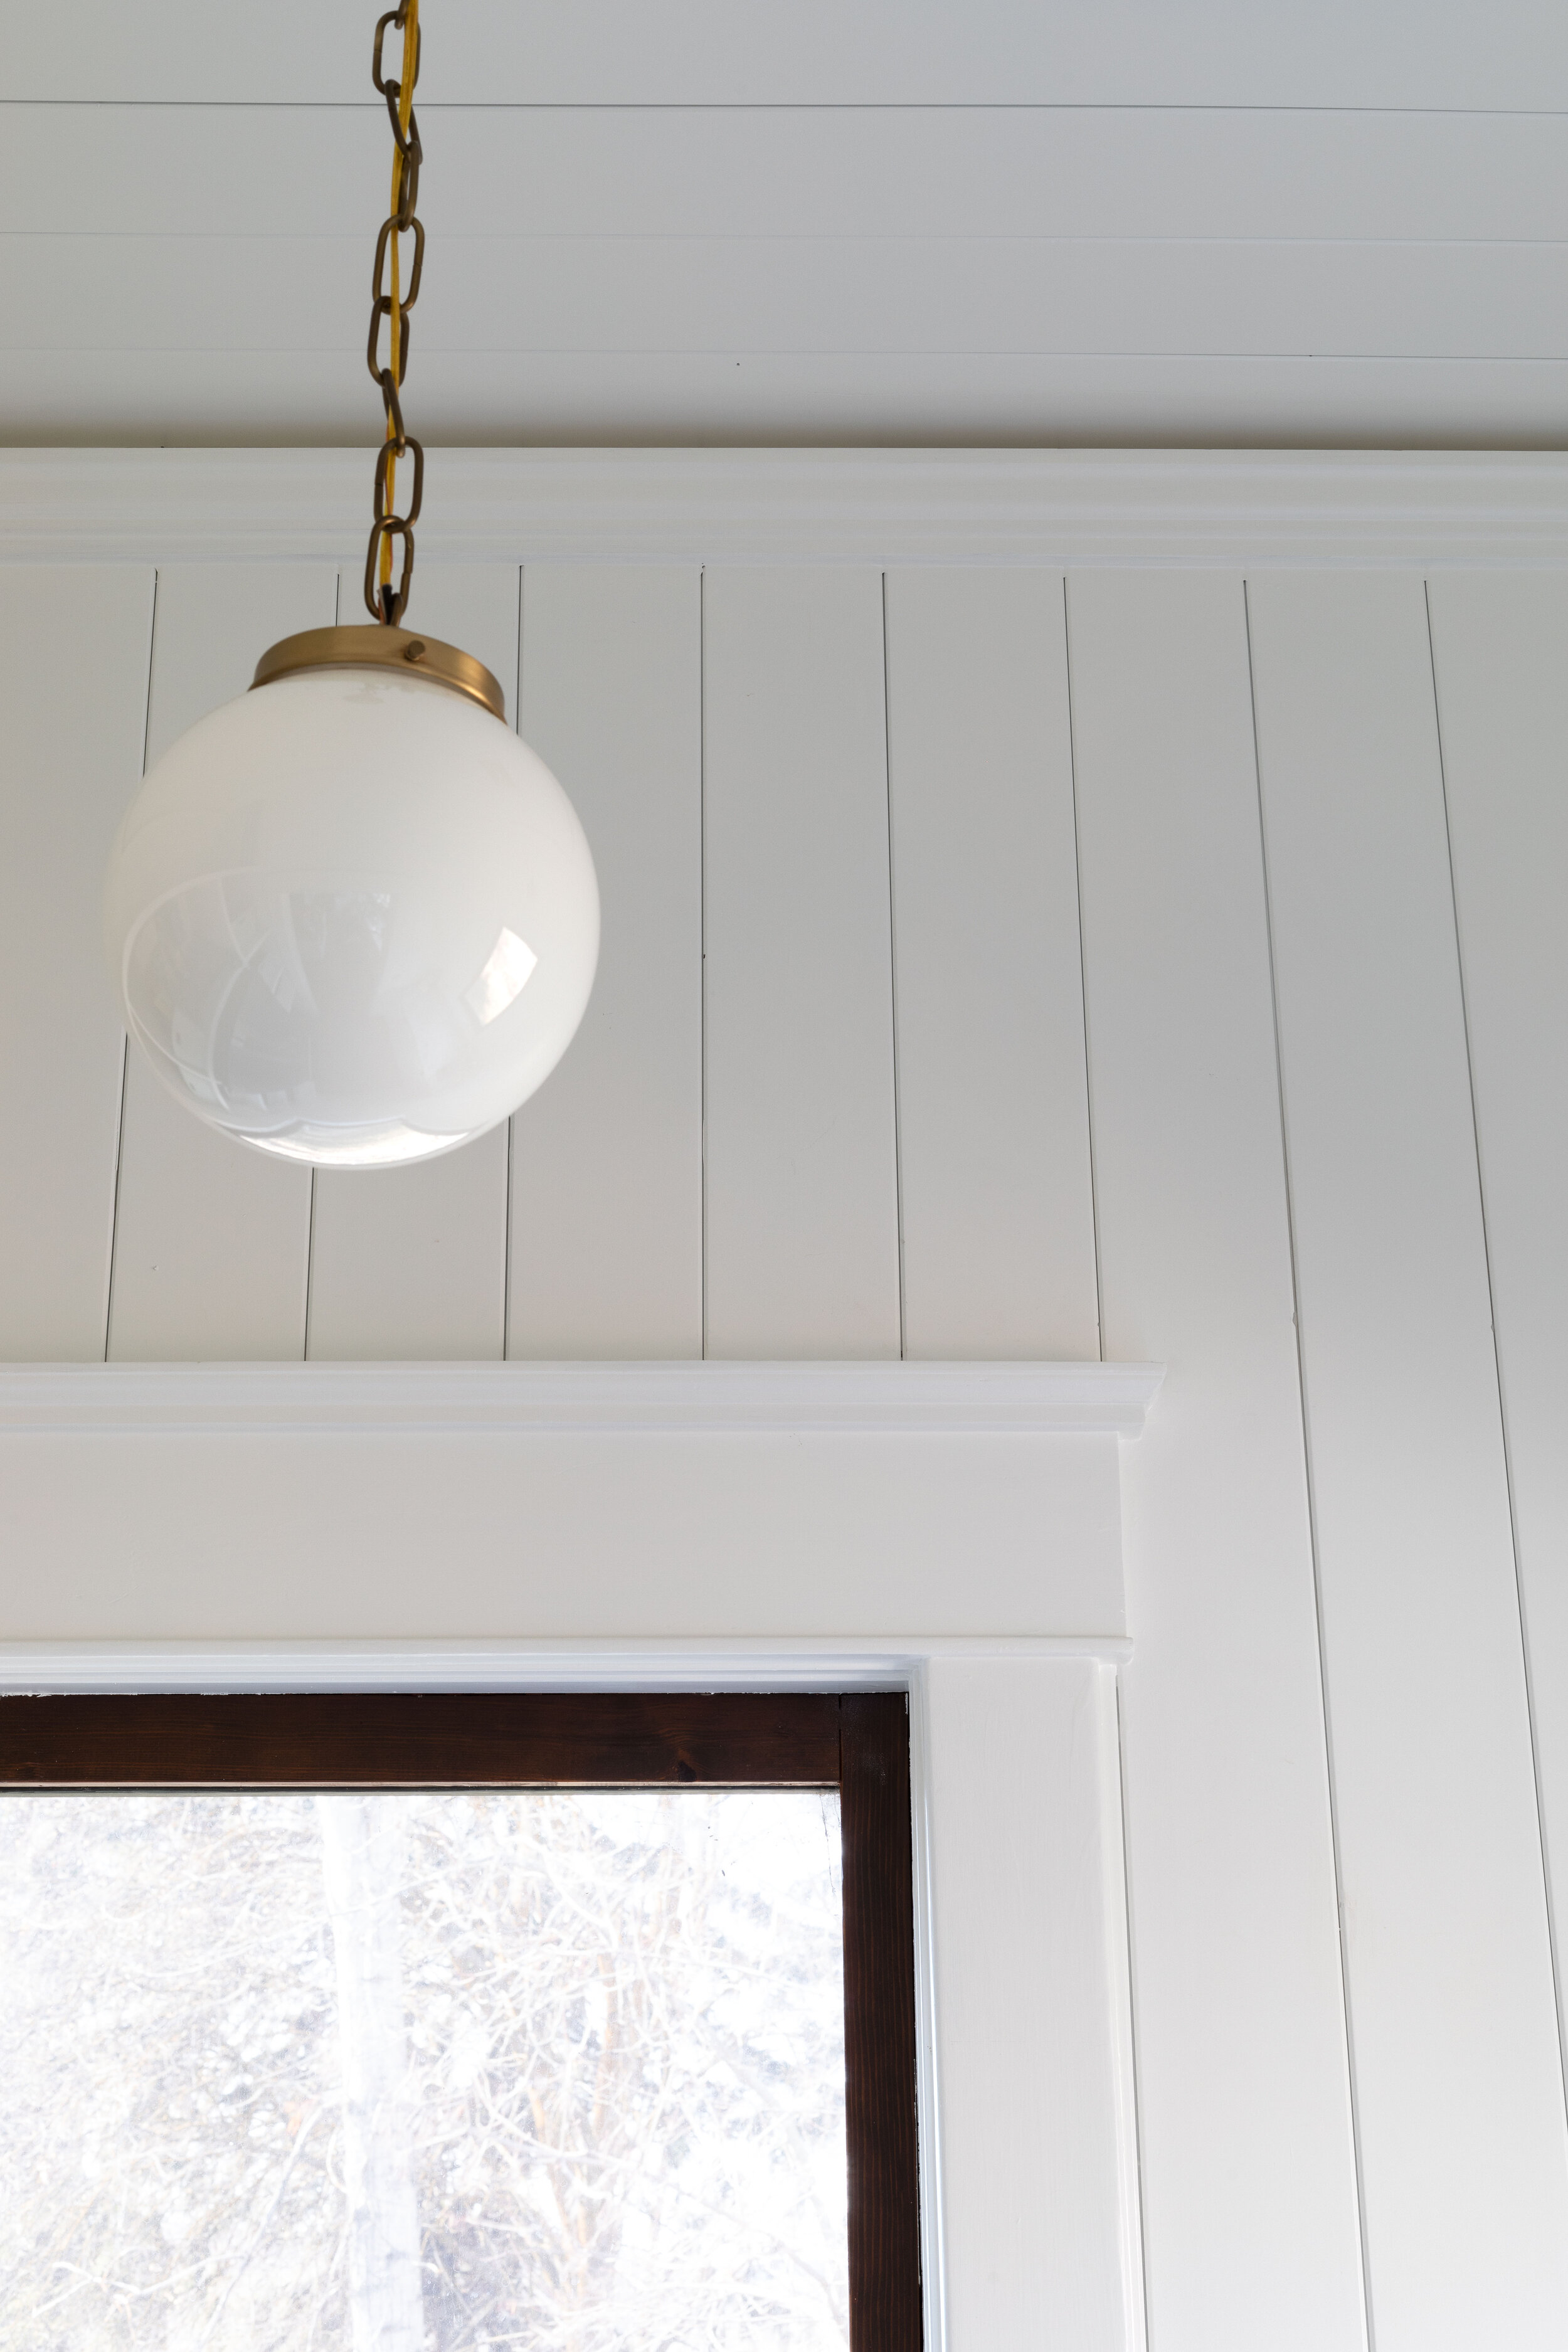
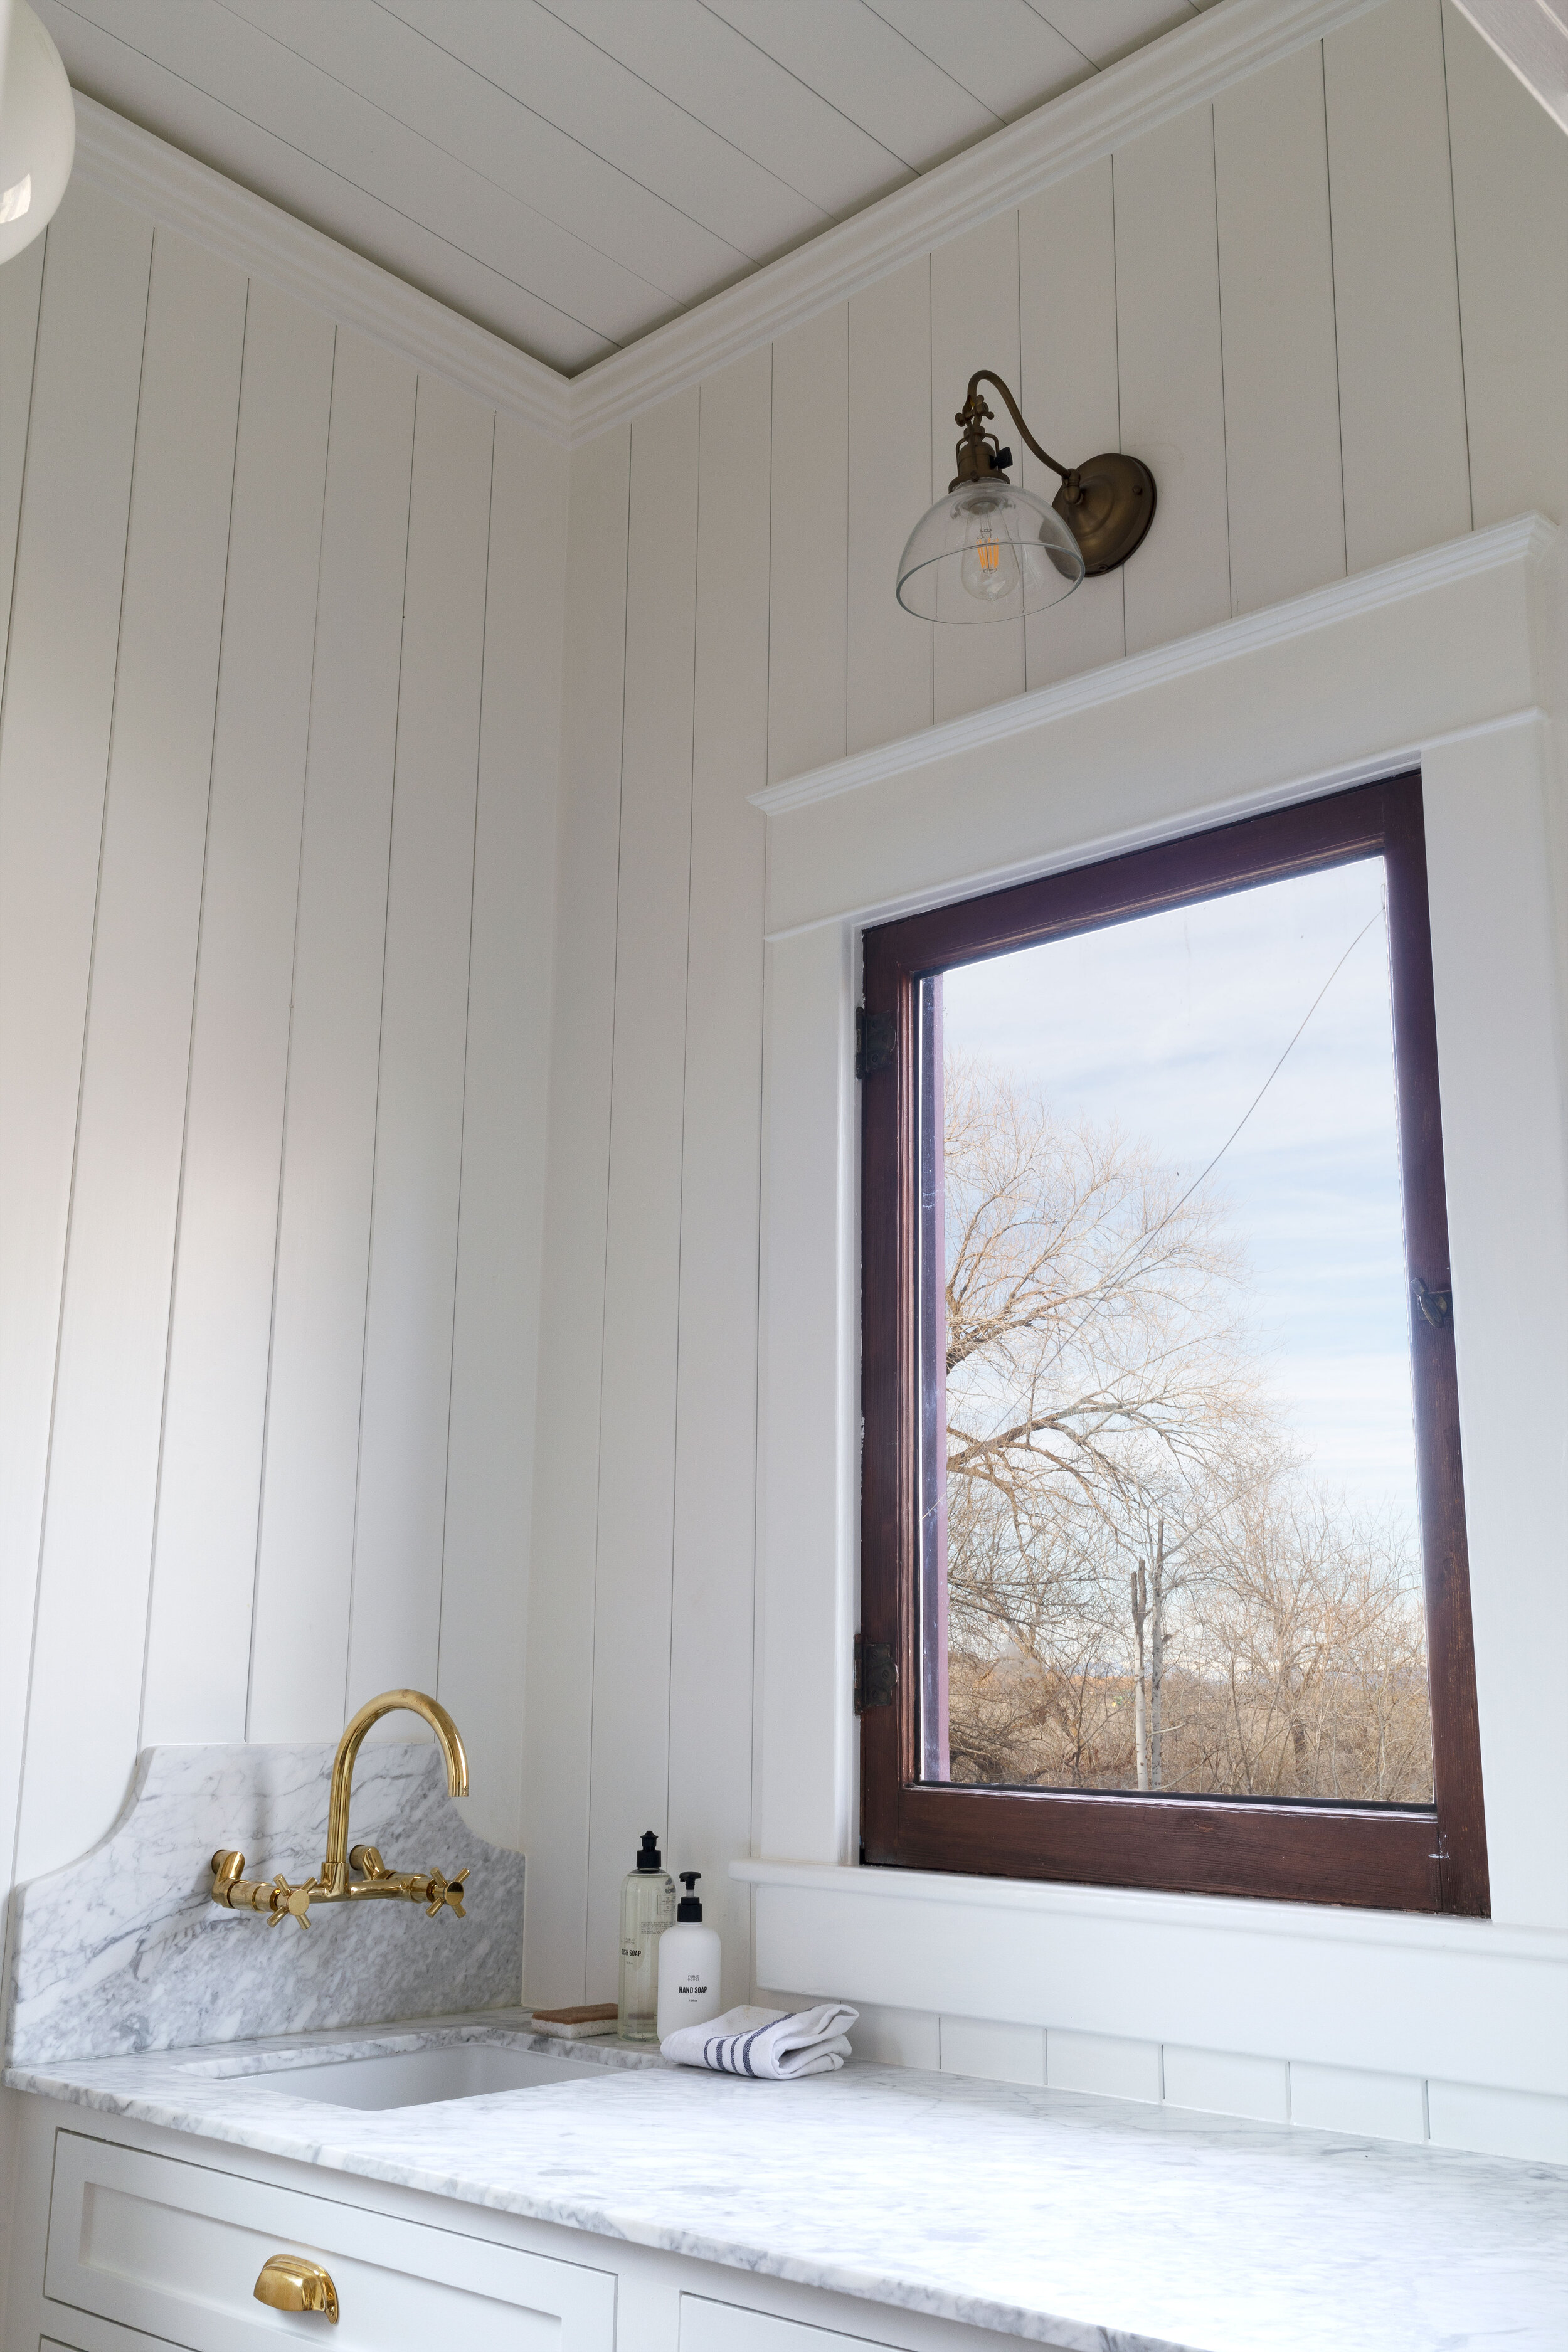
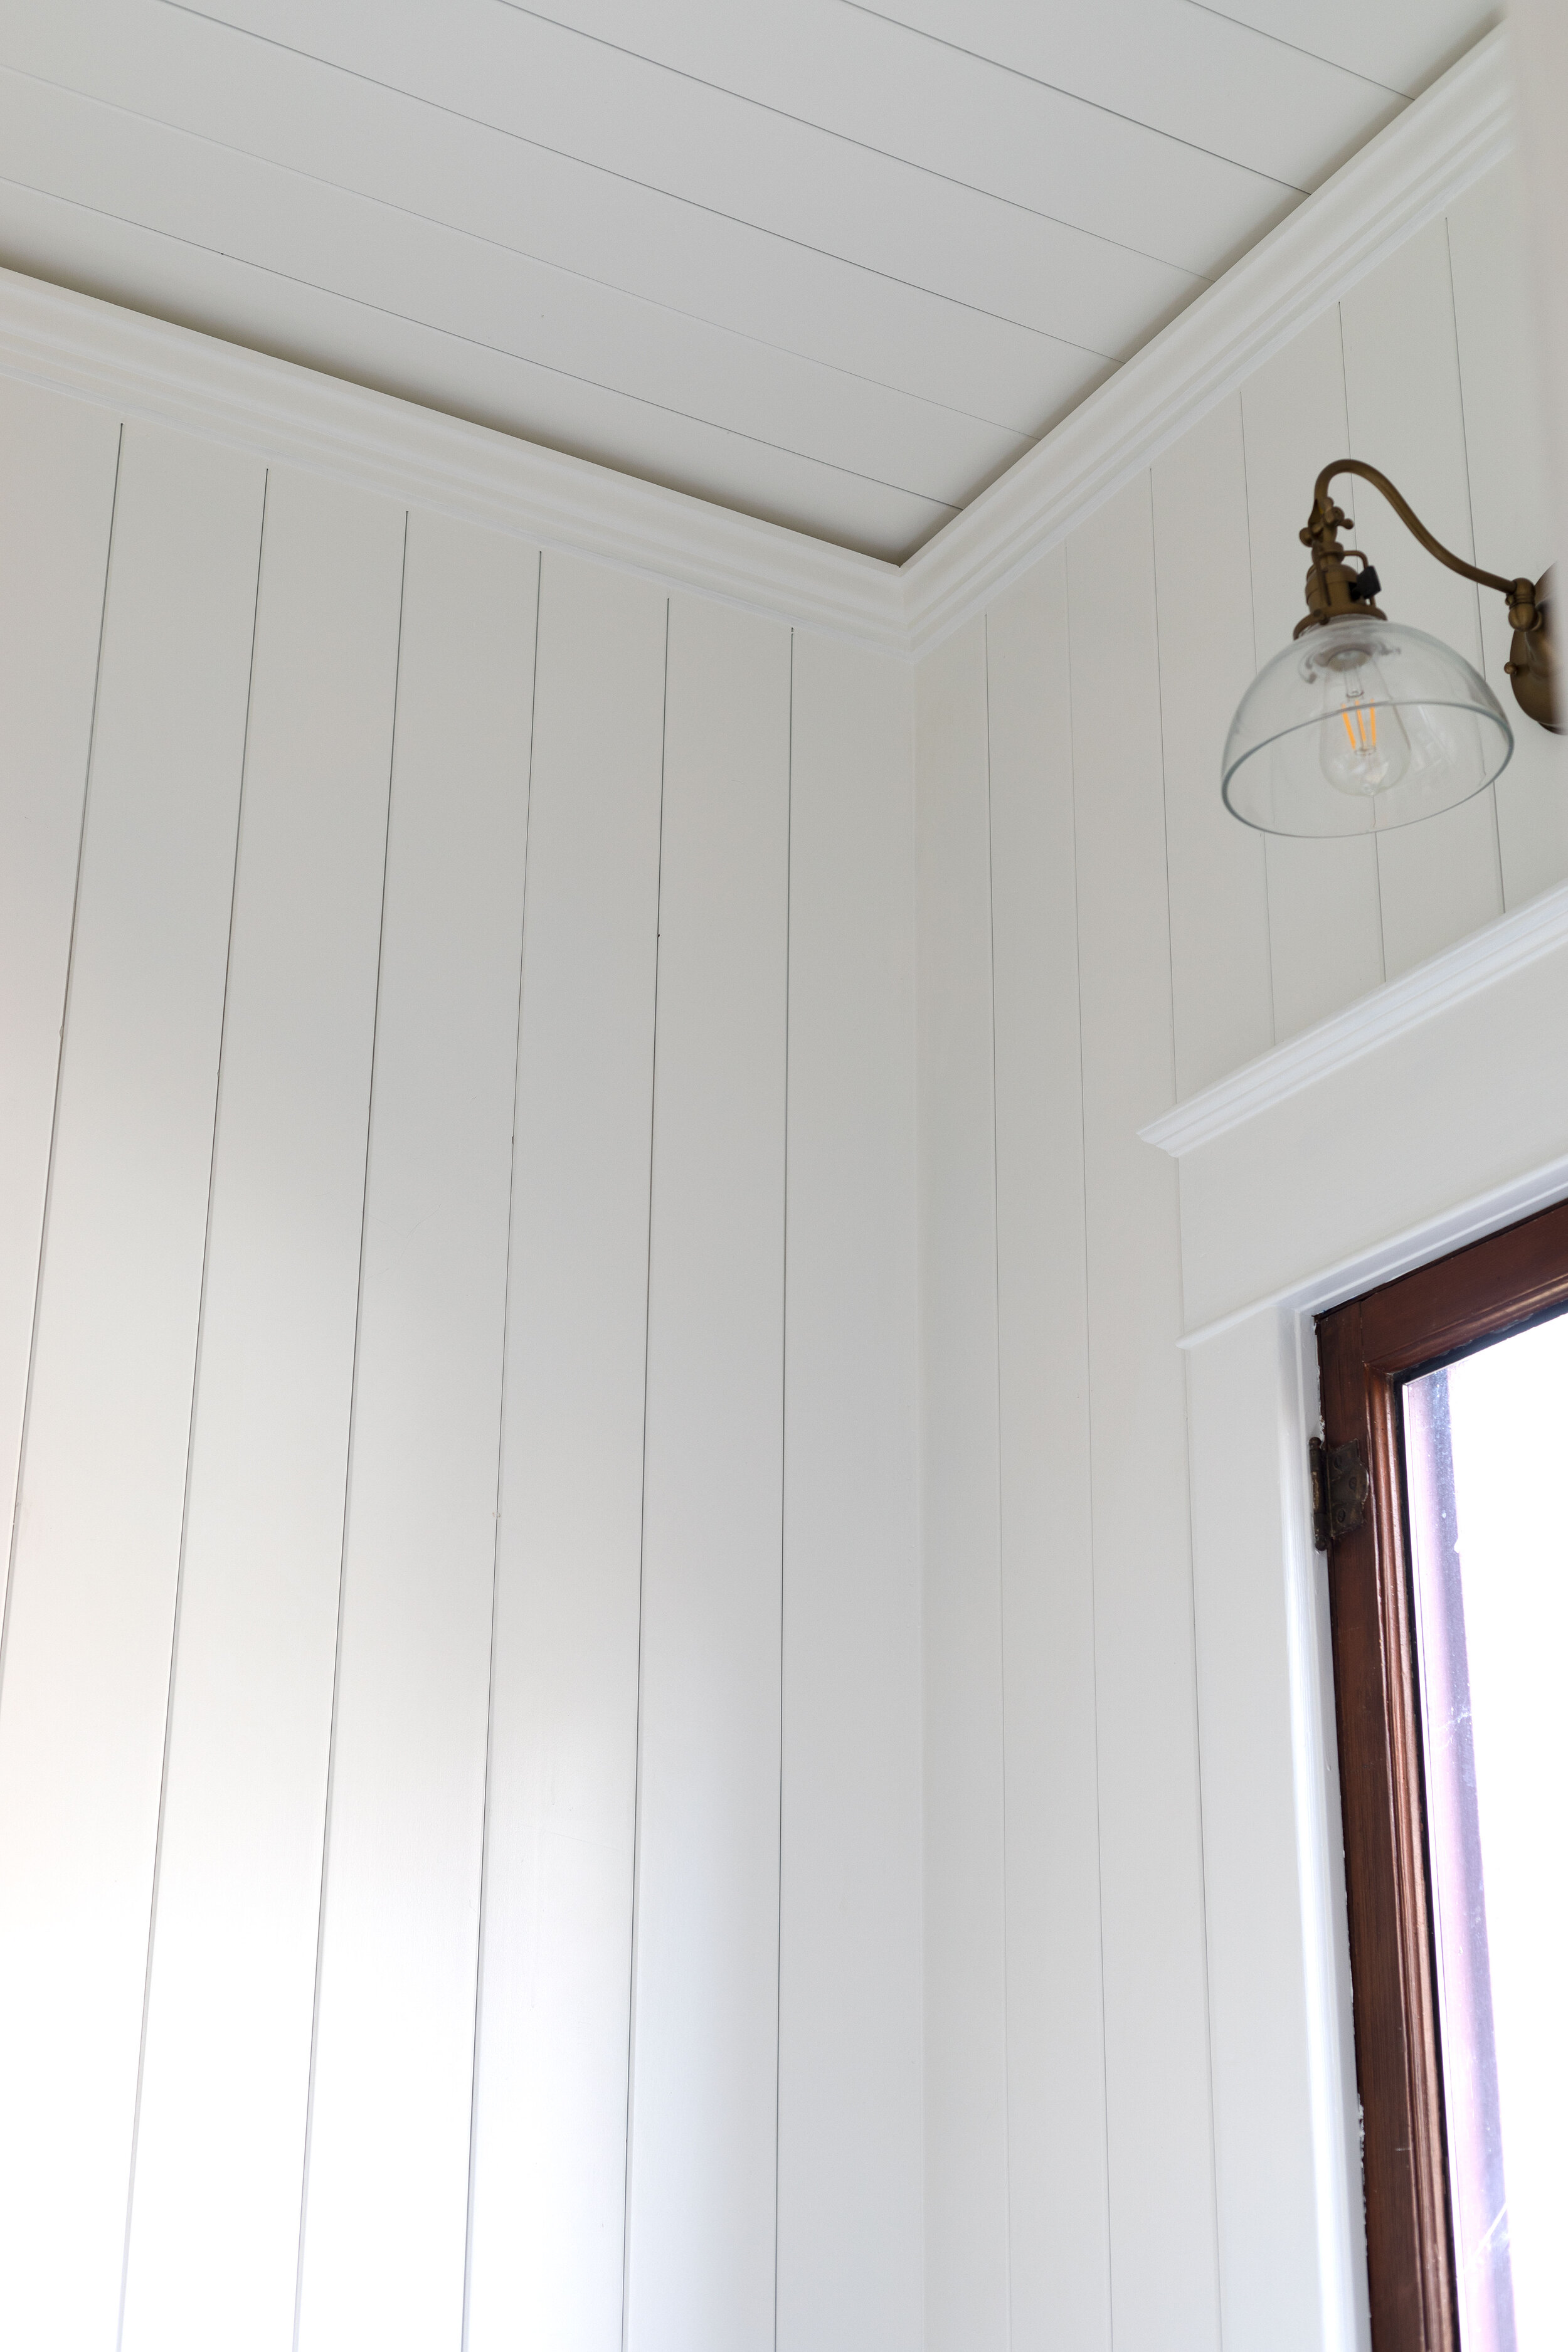
Old houses are notorious for having uneven ceilings. Nothing is perfectly level and nothing is perfectly square. And that can make installing crown molding super frustrating. Enter the shadow line. Holding the crown down below the ceiling a bit (around 1/2”) allows you to keep the crown molding level around the entire room. And that means no tricky compound angles to cut (Garrett will explain that more in the video).
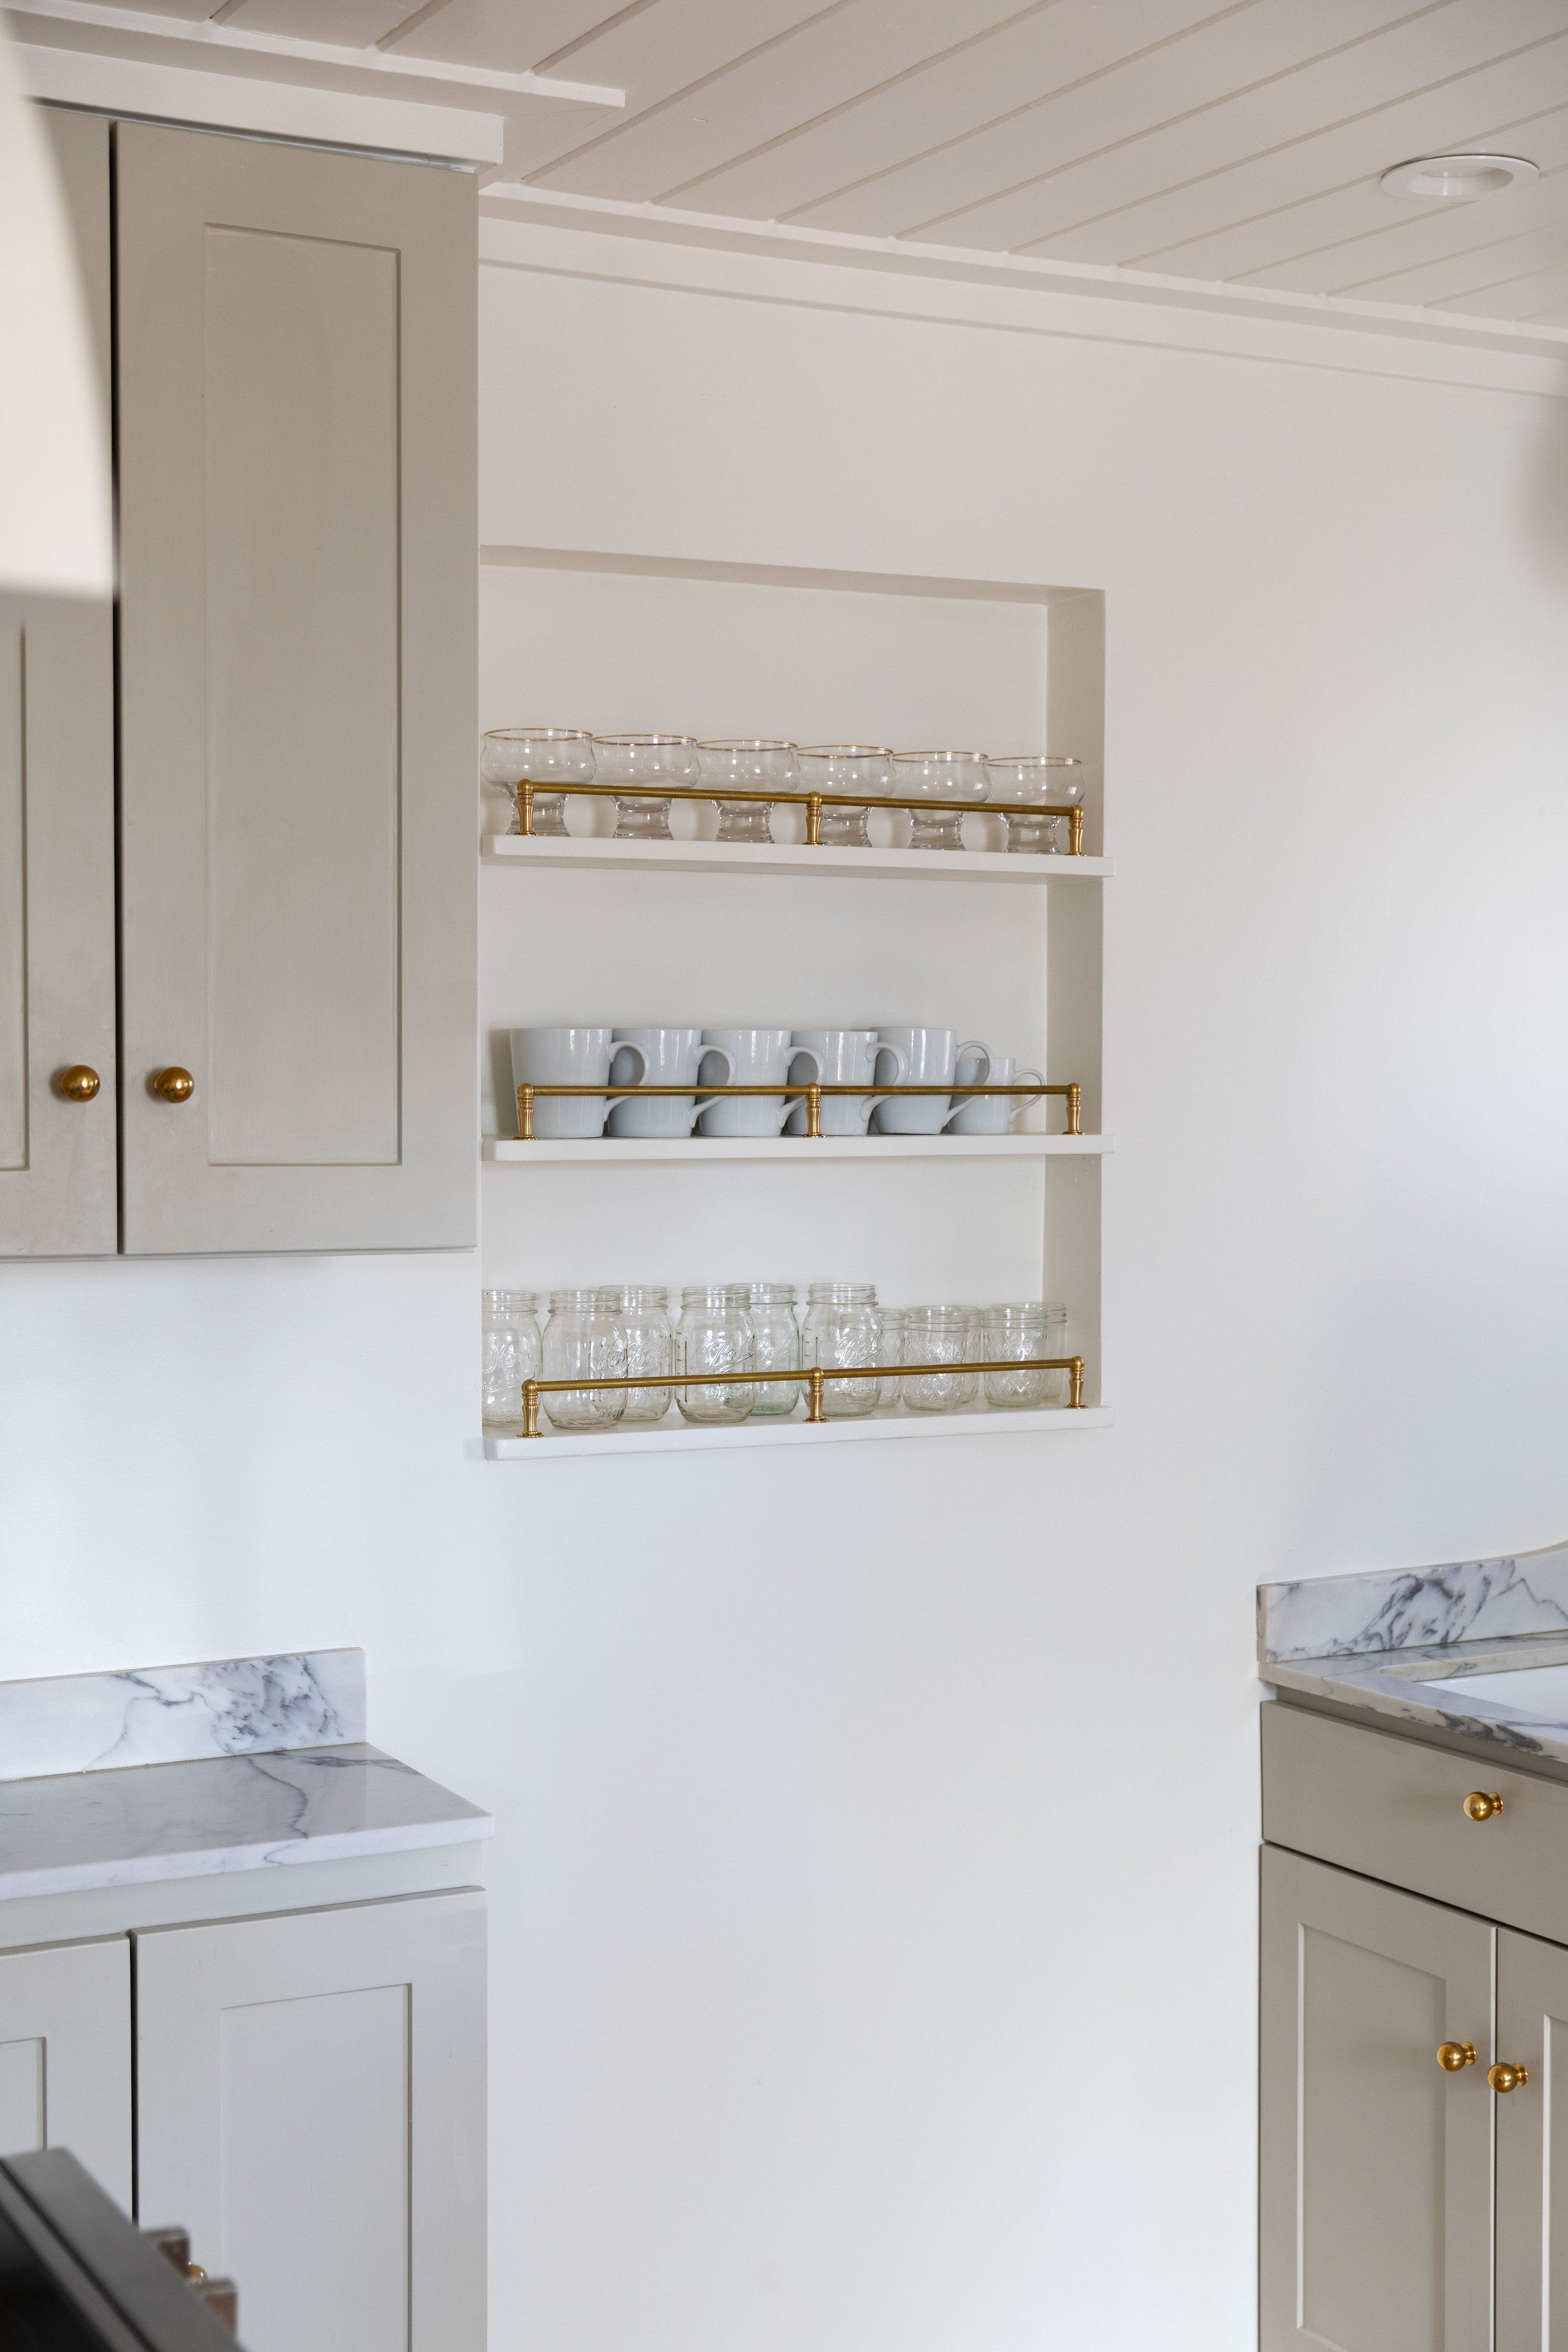
Using level, flat crown also means that the gap between the crown and ceiling will change if your ceilings are uneven. Ideally the gap will change gradually and not more-than-double in size. We had a fairly big change in the gap in our kitchen (you can see it in the first picture in this post) and that’s about the biggest gap I’d want. If your ceilings are really uneven, I’d consider skipping the crown or leveling the ceilings.
Another reason we like holding the crown down is aesthetics. I think the shadow line feels historic and dramatic, and gives the molding a traditional picture-molding vibe. And I’m definitely not the only one who likes it, because it’s one of the features we got complimented the most on in our kitchen reveal.


Flat Crown & Stacking profiles
Flat crown is awesome because it has a flat back (traditional crown has an angled back). So instead of cutting two angles at every corner, you just have one. Again, that’ll make more sense in the video, but trust us when we say this stuff is the easiest crown to install.
Our flat crown isn’t very tall (under 3”) so we added a piece of flat stock underneath it. Stacking profiles is a great way to beef up the molding! Once the two profiles are caulked and painted, they look like one, big expensive piece of molding.


Okay, it’s time. Let’s get into this easy DIY…
DIY // The Easiest Way to Install Crown Molding, Ever! (aka How to Install Flat Crown Molding)
Timeline: 1 Day +
Level: Beginner
Format: Video
Tools & Materials
Here are all the tools and materials we used for this project:
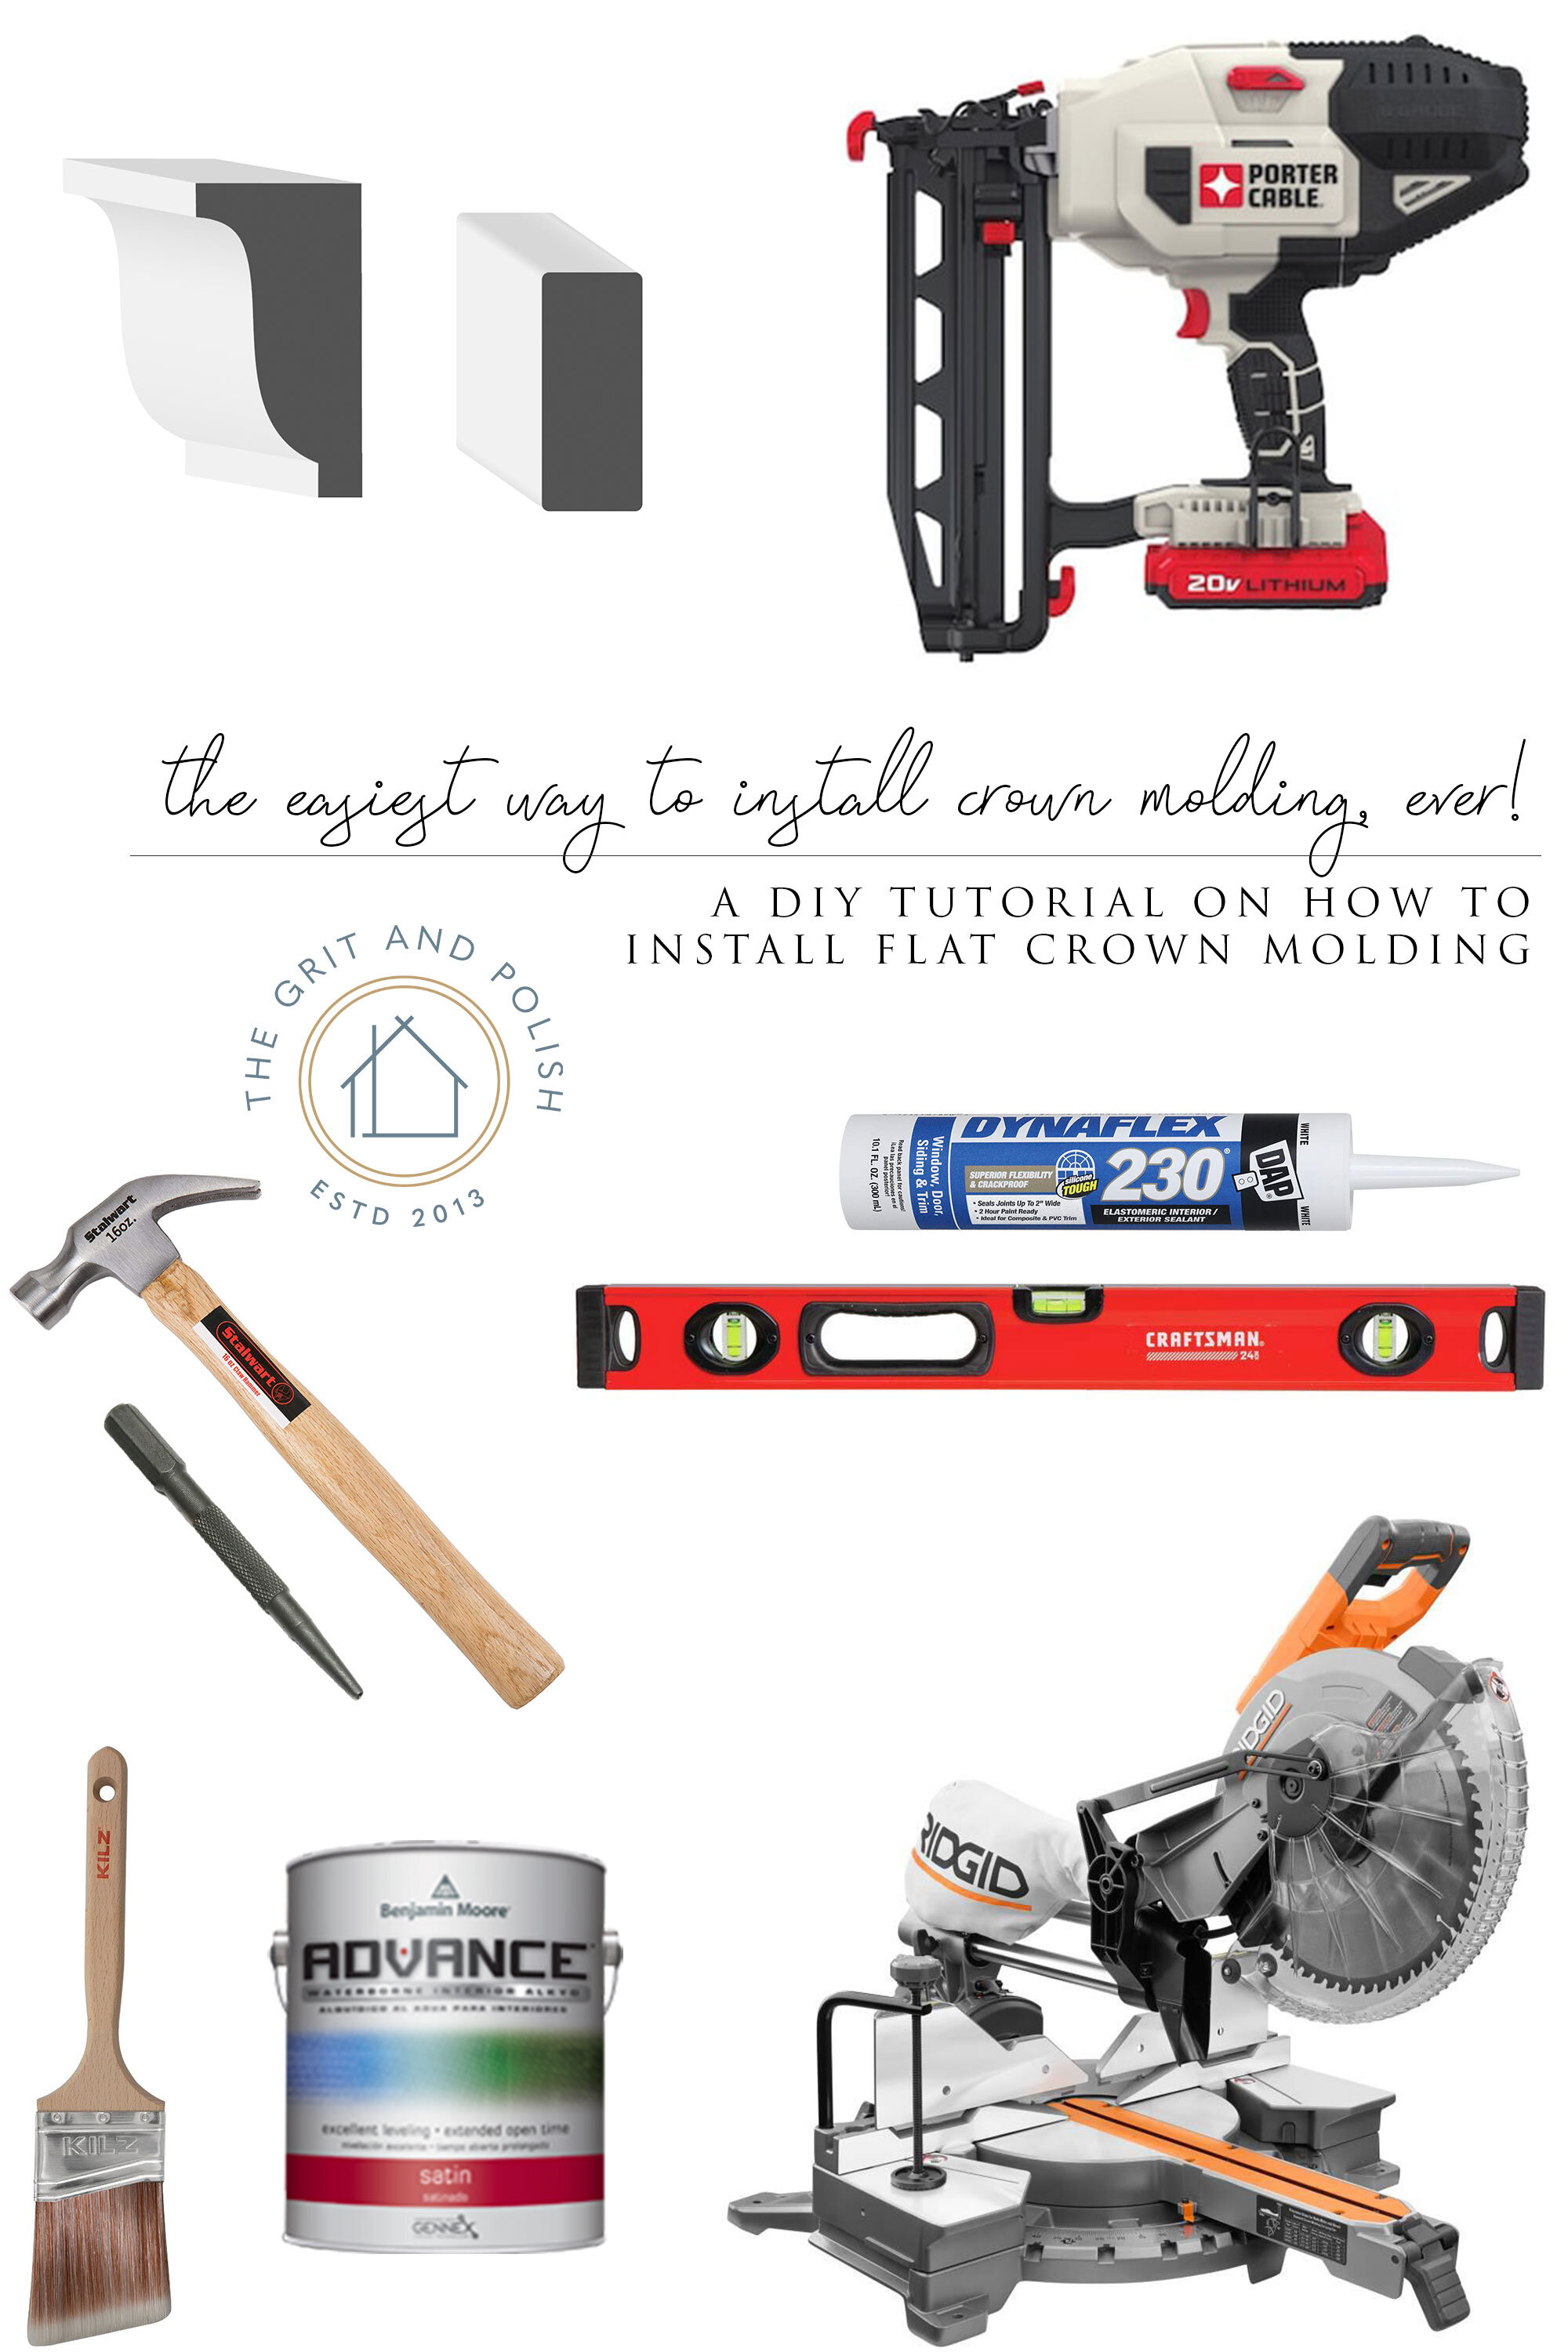
flat stock (optional; makes the crown look beefier)
paint (and primer if your molding isn’t pre-primed)
Compound miter saws are definitely the most expensive part of this DIY. And unfortunately it’s really hard to do crown molding without one. Garrett and I tried crown molding for the first time without one (we opted for a hand saw and sh*t tons of caulk) and it wasn’t pretty. It’s definitely worth renting or borrowing a compound miter saw if you don’t want to invest in one. And BTW, we’re still using the same compound miter saw we bought over 10 years ago and it’s still in the top 3 tools we use.


Steps
Garrett put together a 6-minute video on the install and you can watch it below.
Pretty do-able, right?!


our best tips and tricks for an easy install
use flat crown. Let me repeat that: USE FLAT CROWN!
hold crown down about 1/2” to mask uneven ceilings (we have yet to meet an old house that doesn’t have uneven ceilings!)
start install in the most-visible corner and work around the room from there. That way, if you end up with some wonky angles and less-than-perfect cuts, they won’t be super obvious.
Use paintable caulk to fill holes, seams, and small gaps in corners
Painting the wall and crown the same color and with the same paint means you don’t have to tape and it’ll hide any ups and downs in the crown (I should probably call this ‘the lazy girl’s guide to crown molding’ 😉)
we didn’t have one, but if you have access to a laser level it would be helpful to check where your ceiling is high and where it’s low before you start this project. Once you know those elevations, you can start your crown in the middle of the two (well 1/2” below the middle elevation). That way you won’t end up too close or too far from the ceiling.

Okay, that’s everything we’ve learned about crown molding since we first did a horrible job installing it a decade ago (for the record it was angled crown and we were using a hand saw 😬). We’d love to hear from you! Leave a comment with any questions, tips, or anything that will make us smile, laugh, or cringe. And if you use this tutorial, we’d love to see it! Tag us on Instagram.