how to build a diy marble top side table - the Grit and Polish
a step-by-step tutorial for how-to create one of our marble-topped side tables, including how we cut and hone marble at home

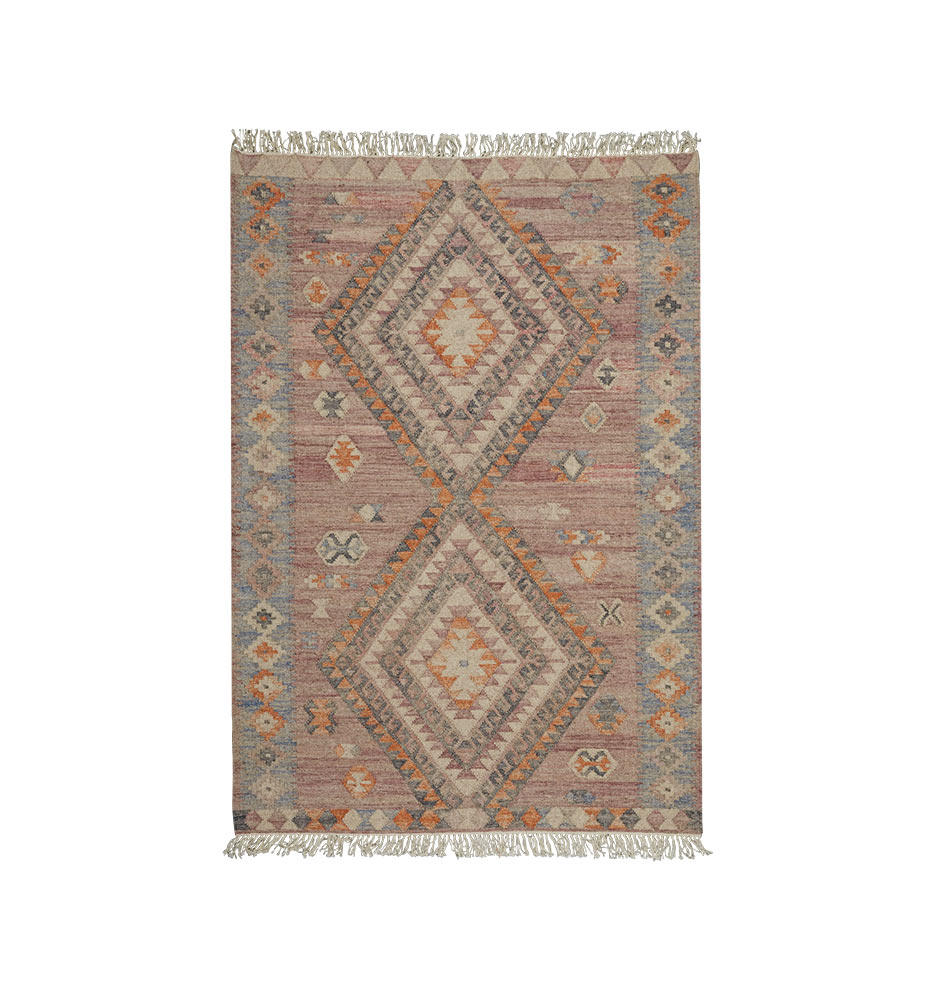
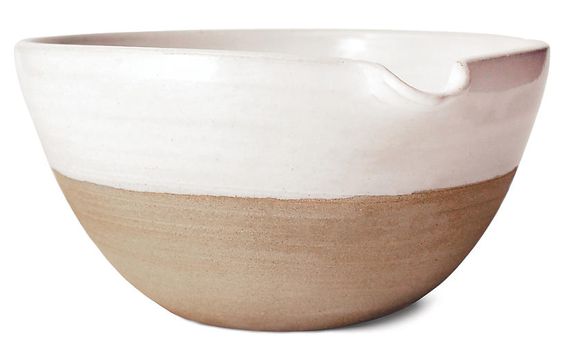
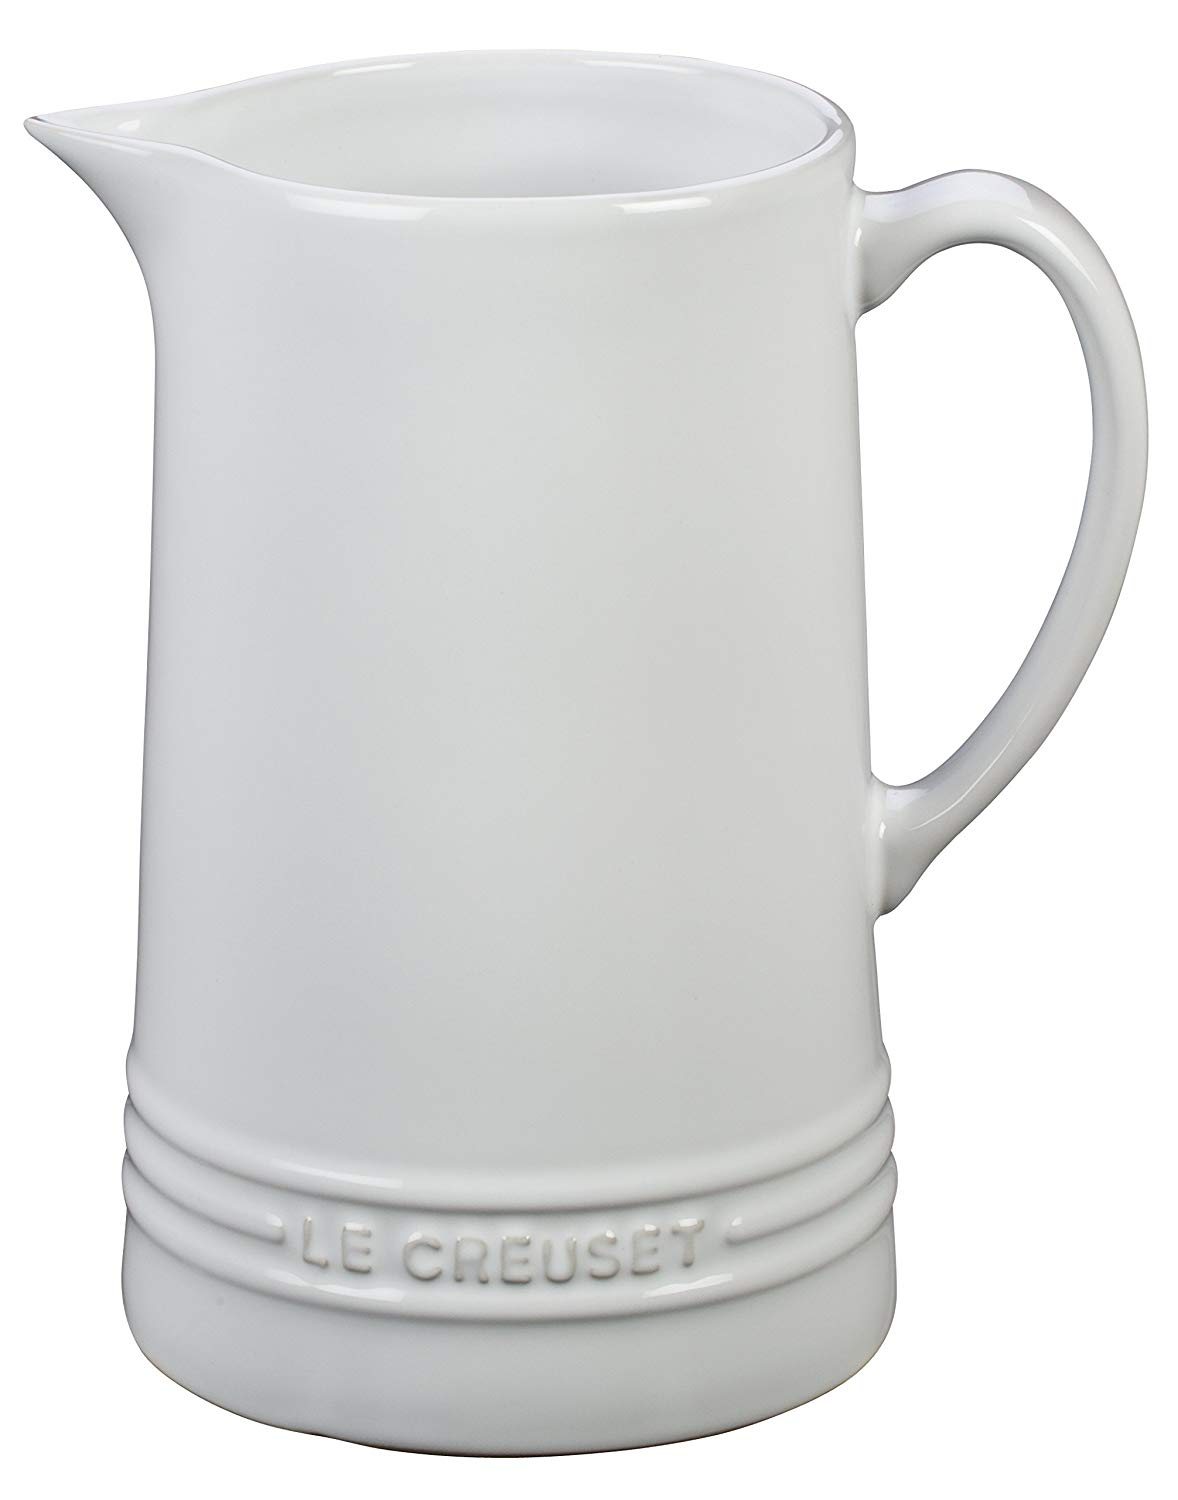
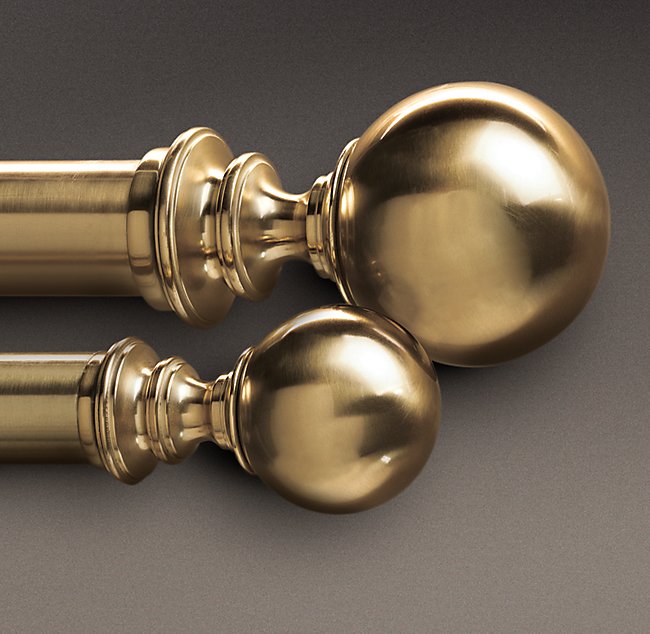
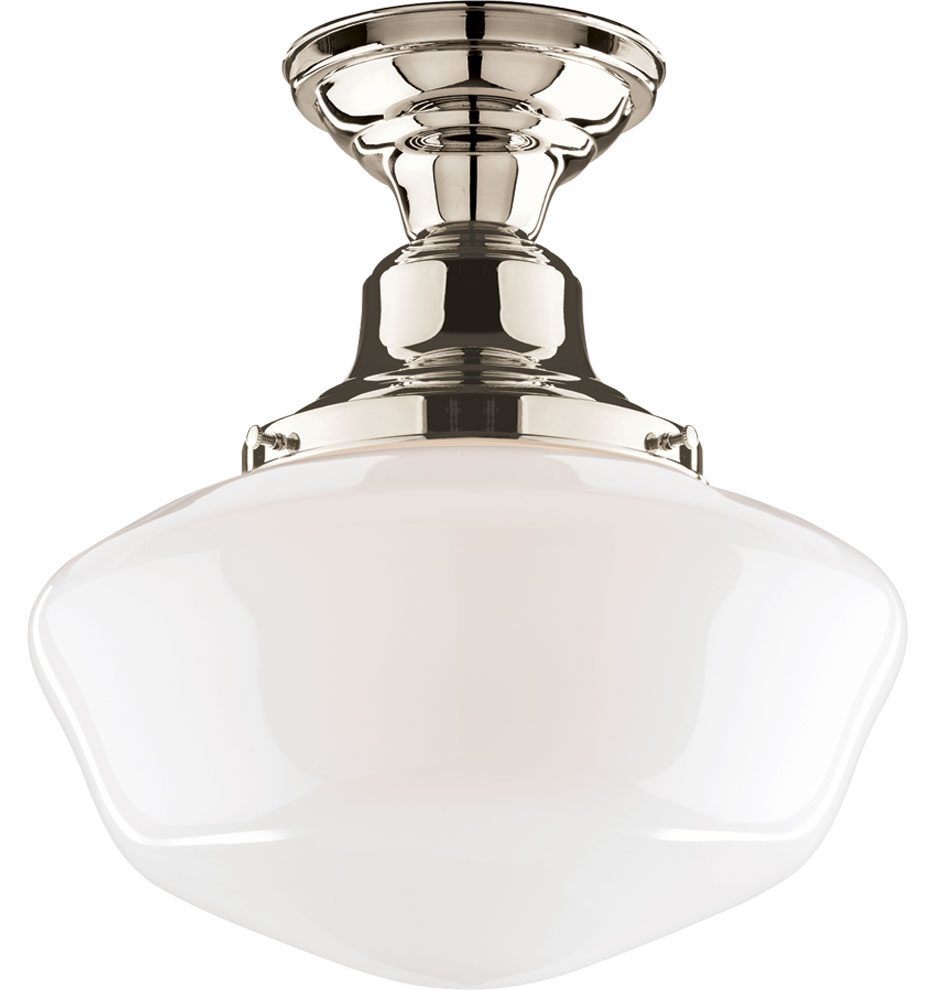
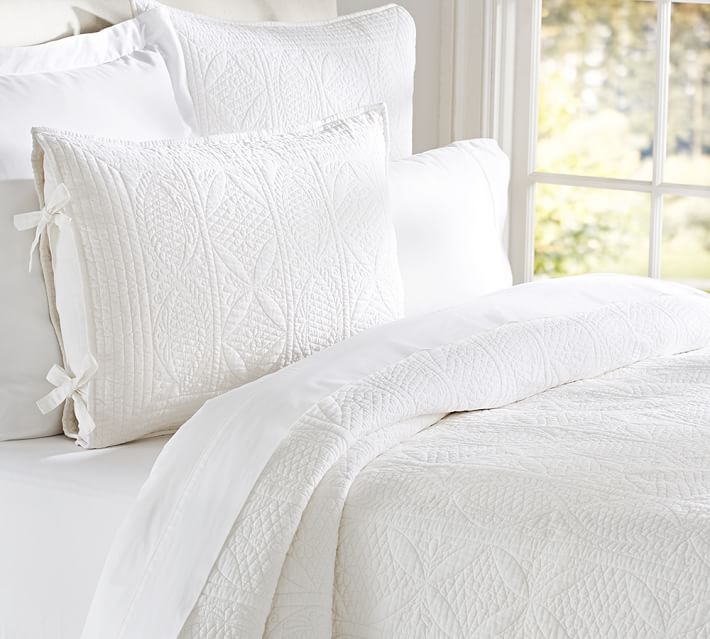
sources: rug, striped duvet, white blanket, sconce + cord cover, stripped rug, pitcher, bowl, Habitat book
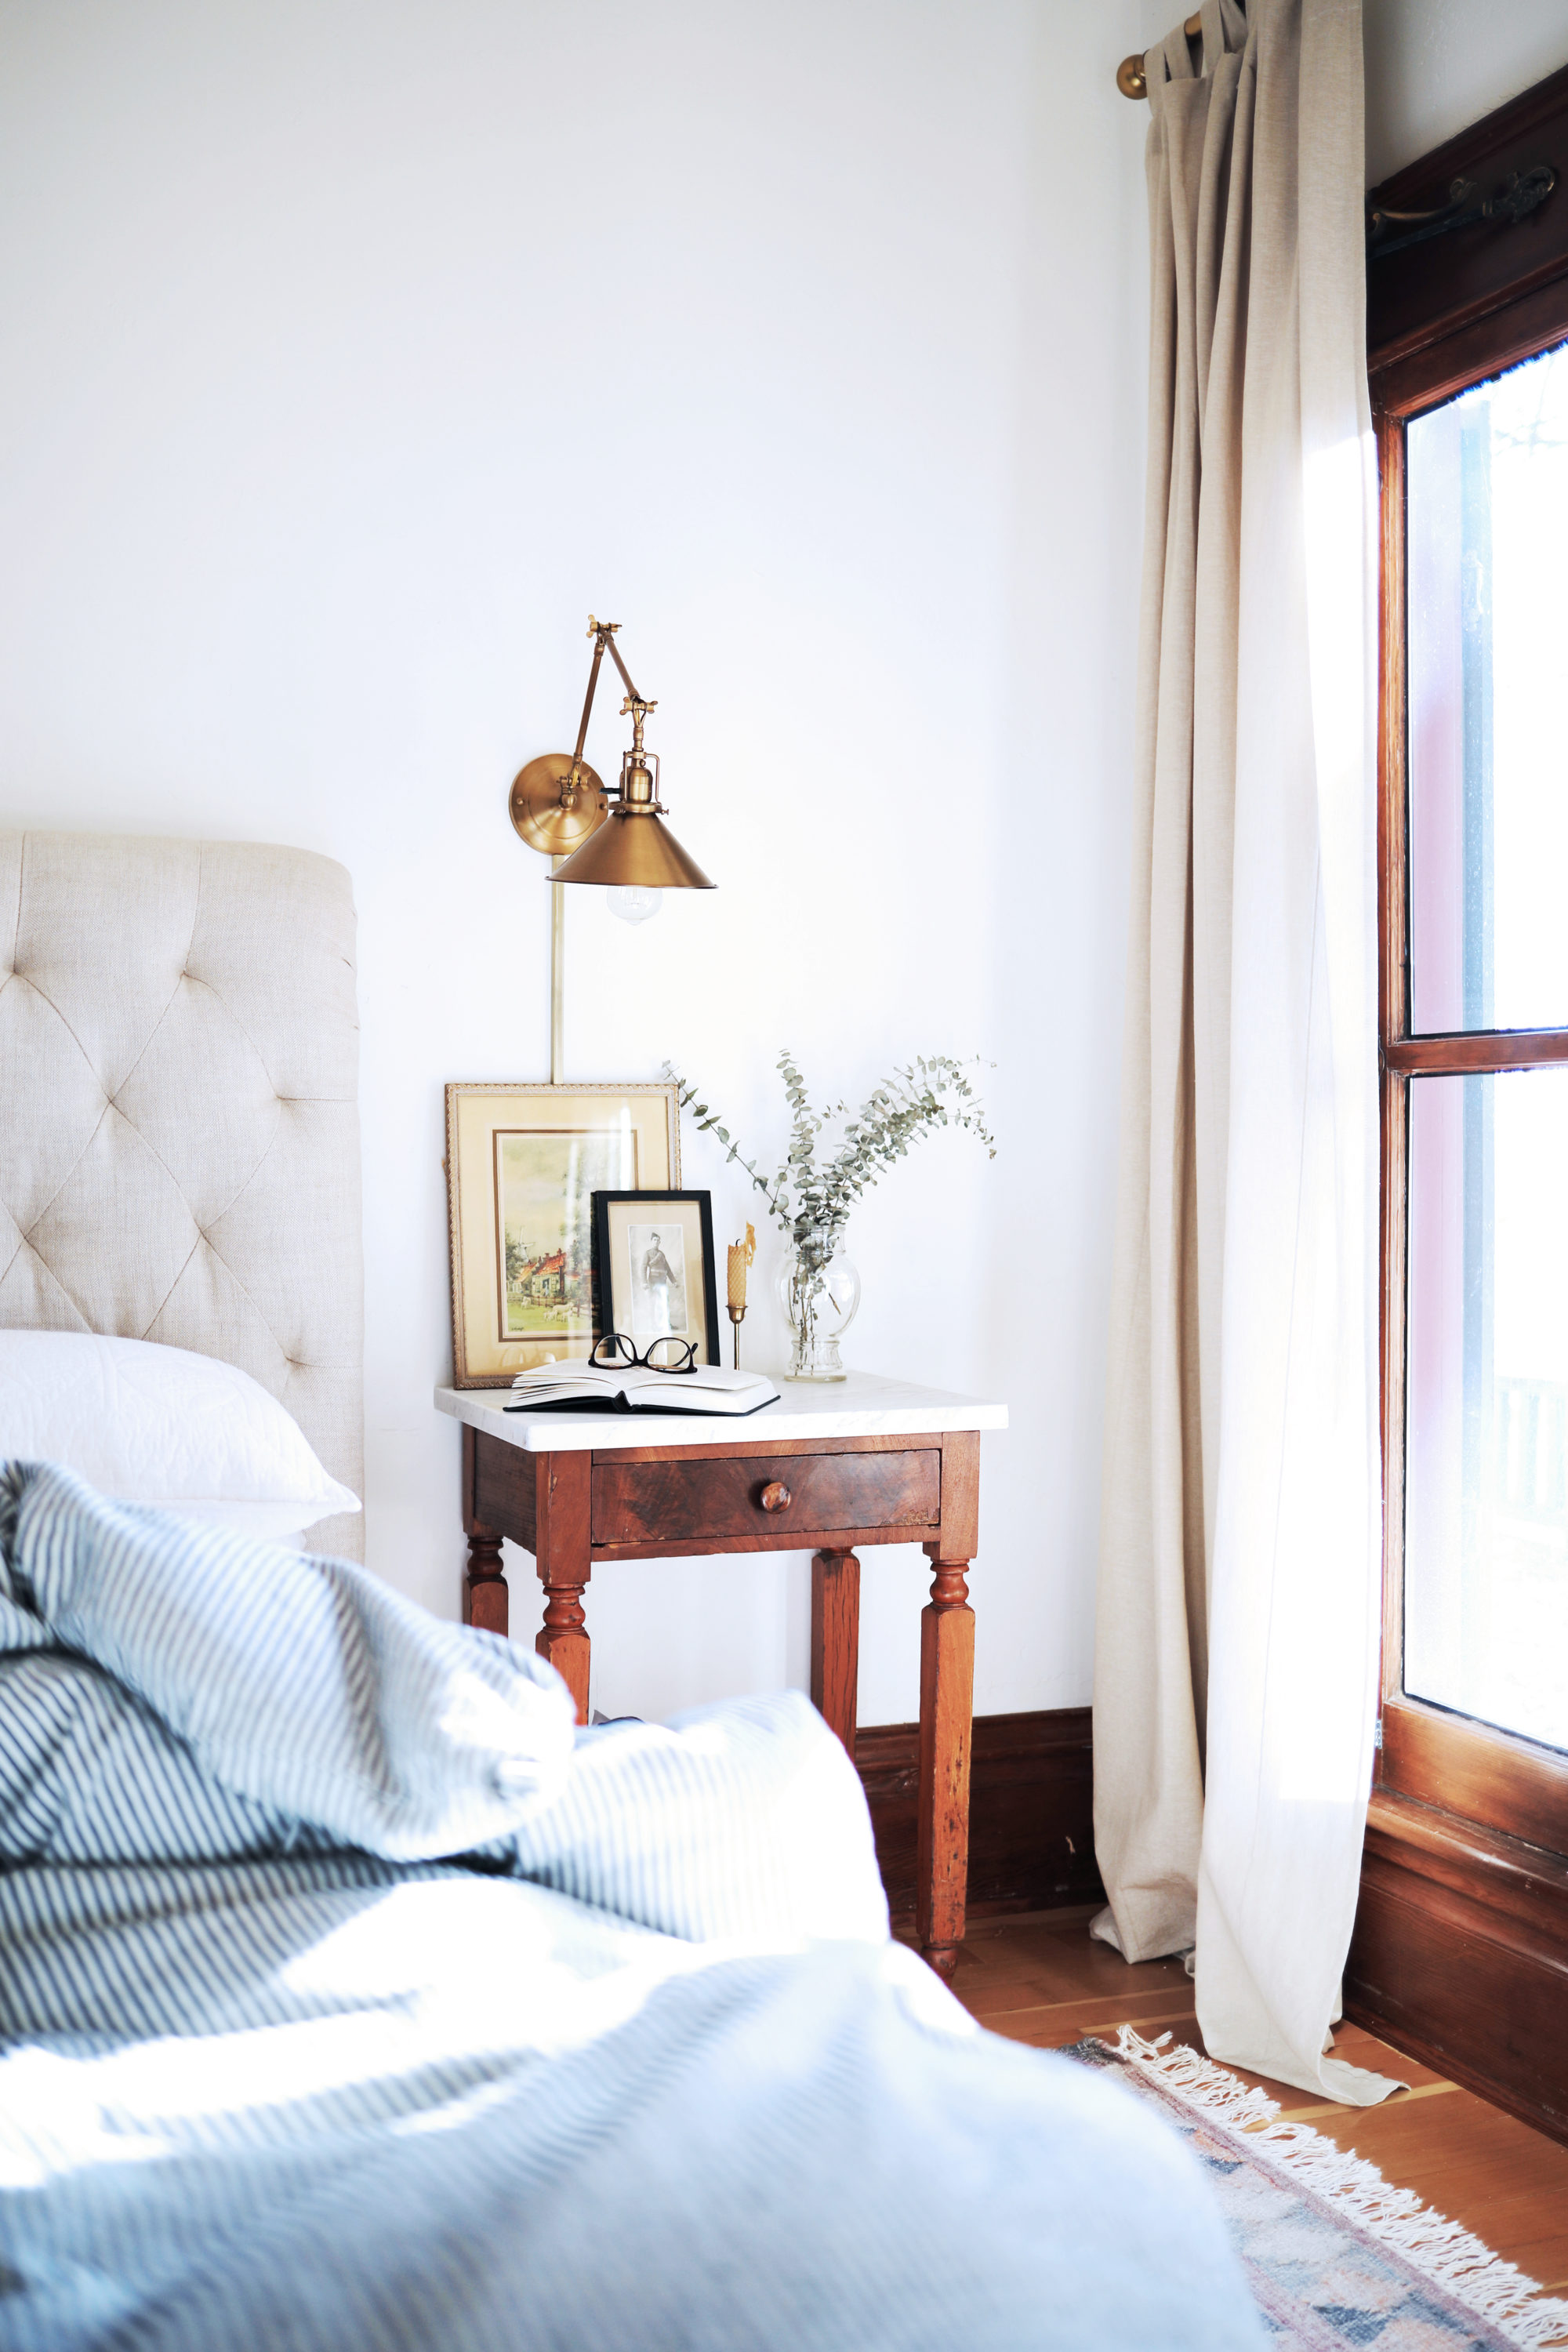
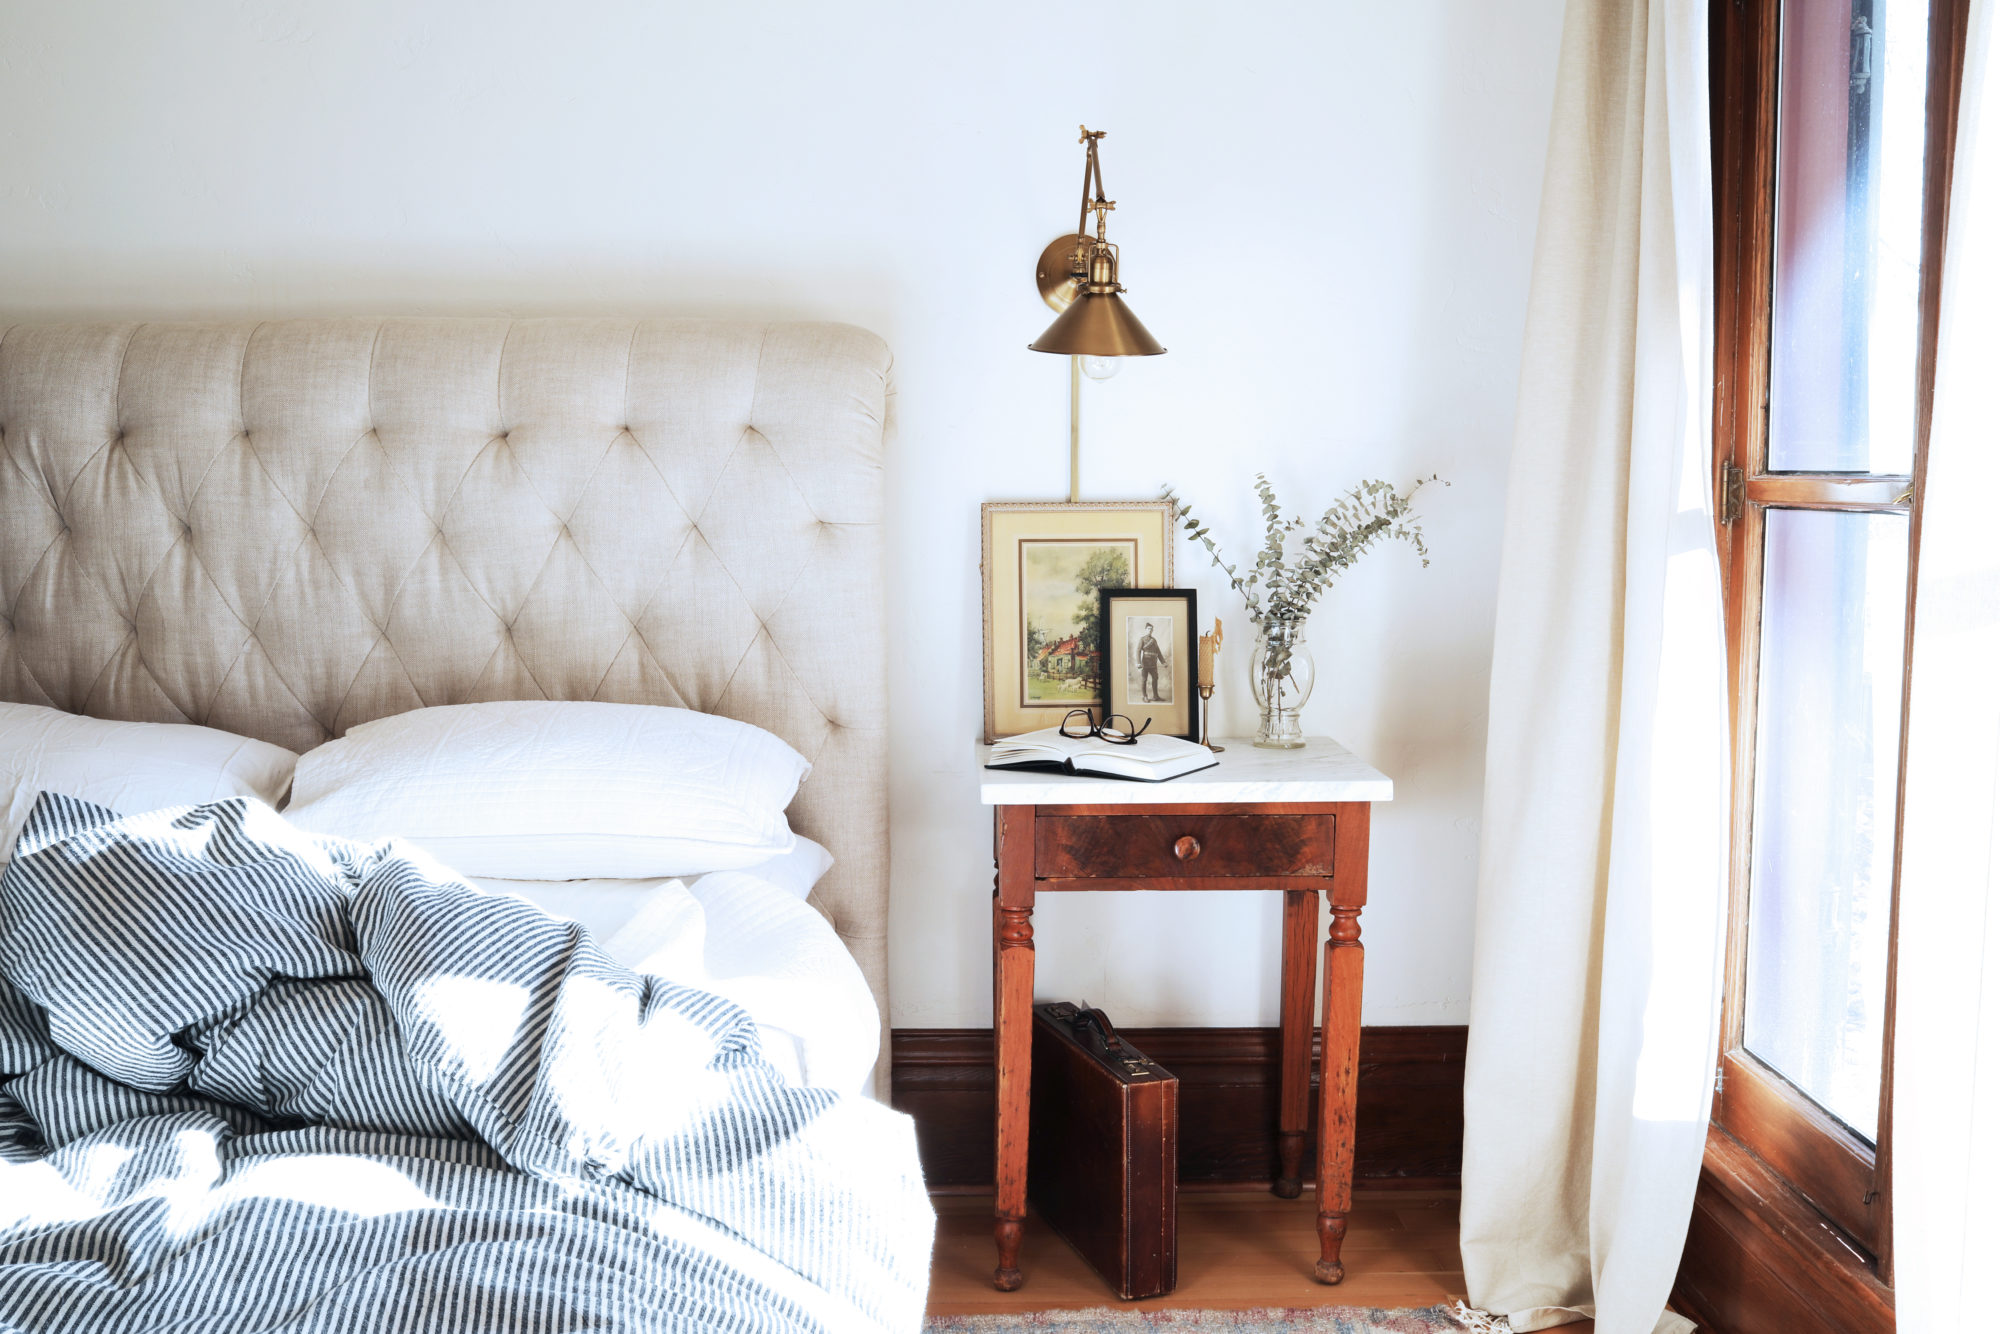
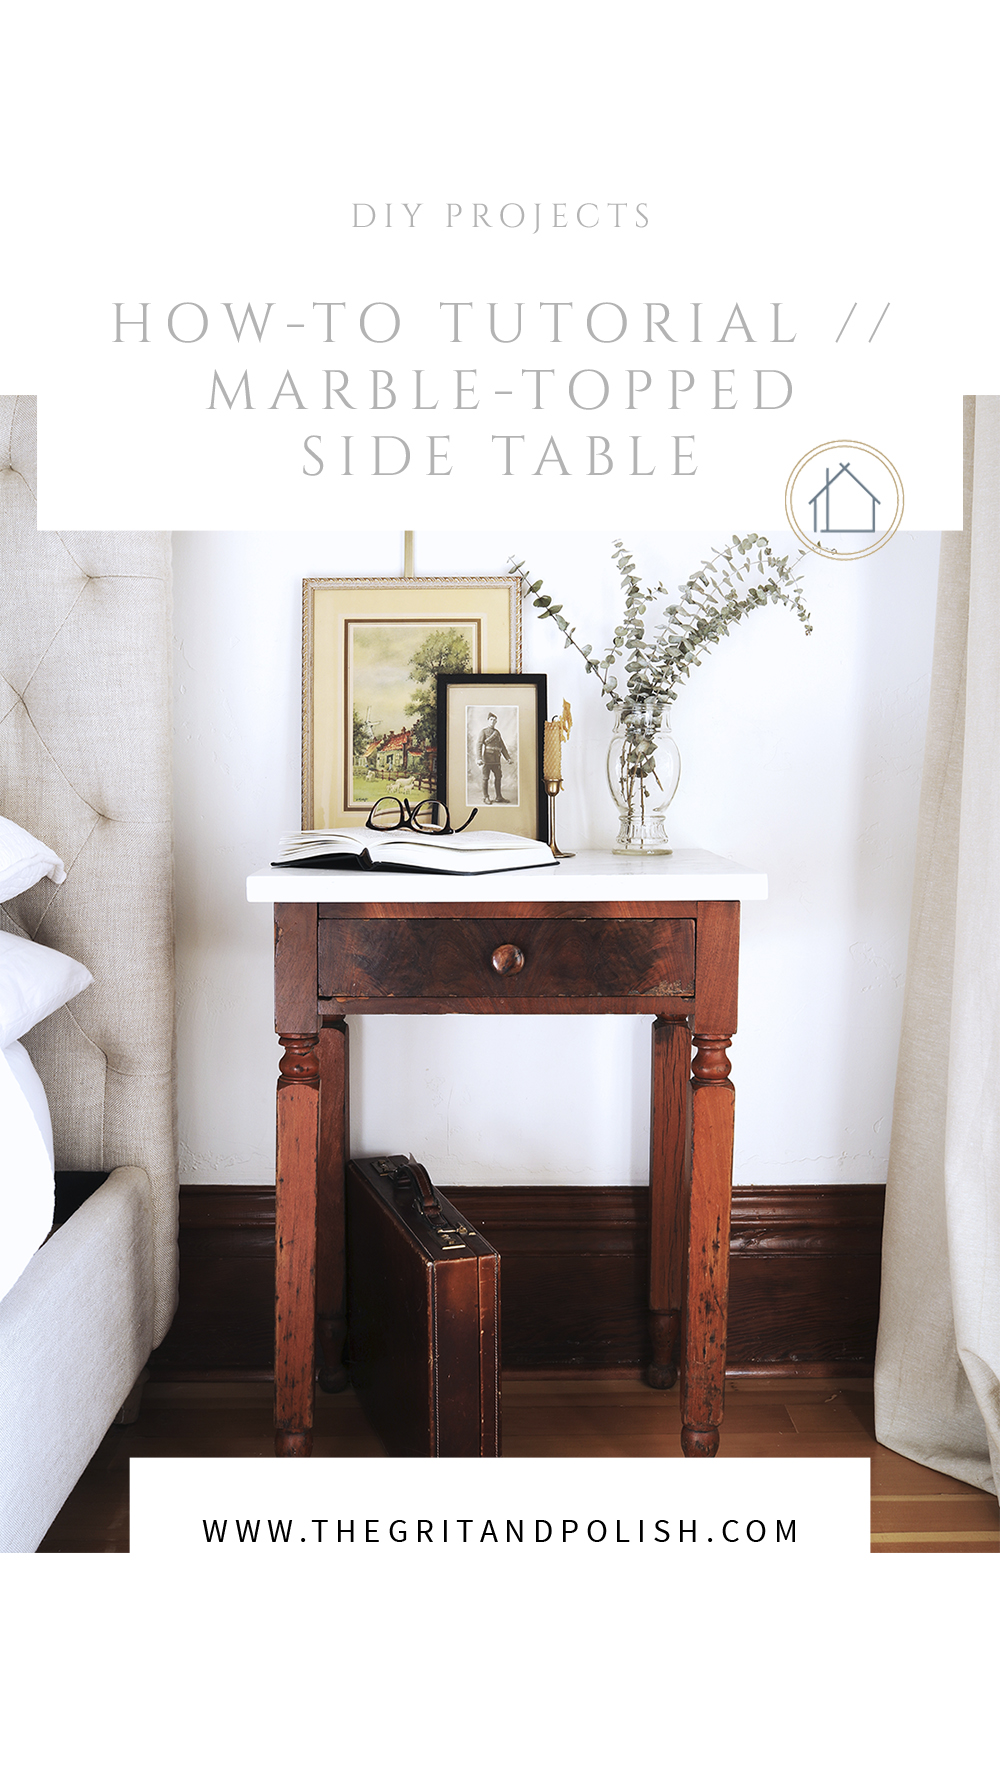
The marble top side table in our master bedroom (aka my nightstand) is a popular one. Every time I post it, we get a ton of questions about it. So today, we're putting out a long-overdue DIY and walking you through exactly how to build a marble top diy side table of your own. Read on for all the details.

We’re going to walk through this DIY using Garrett’s new side table. I found the base of the table on Craigslist and the stone top of the table was leftover from the Porch House countertops. If you’re going to take this DIY on, I highly recommend you watch the video below as well as the read the tutorial. There’s some good footage on the marble cutting and honing.
DIY: stone-topped side table
Time: 3+ hours
Level: advanced (must be proficient with a circular saw)
Format: video + blog post
Materials:
Antique base - these solid wood table bottoms can be found on Craigslist, Facebook marketplace, antique stores, Goodwill, family hand-me-downs, etc.
Stone remnant - your stone piece needs to be big enough to cover your base with an overhang to your liking. Stone remnants like marble, granite, or quartz can be found at architectural salvage shops, second hand building stores, or local countertop fabricators. Or if you know anyone getting new countertops, ask them for their leftovers!
Liquid nails or another high-quality adhesive - we used and recommend this one
Stone sealer (optional) - we like to leave our marble raw to allow for a natural patina, but if that’s not you, you’ll want to find a stone sealer.
Mineral Spirits - this isn’t 100% necessary, but nice to have on hand to blot spills of adhesive
Tools:
Pencil
Stone polisher with polishing pads or orbital sander (see step #3 for more details)
Circular saw with diamond blade
Water source - a garden hose works nicely
Eye and ear protection
Sawhorses + 2x4's or something to set the stone on for cutting
Clamps + board for the guide
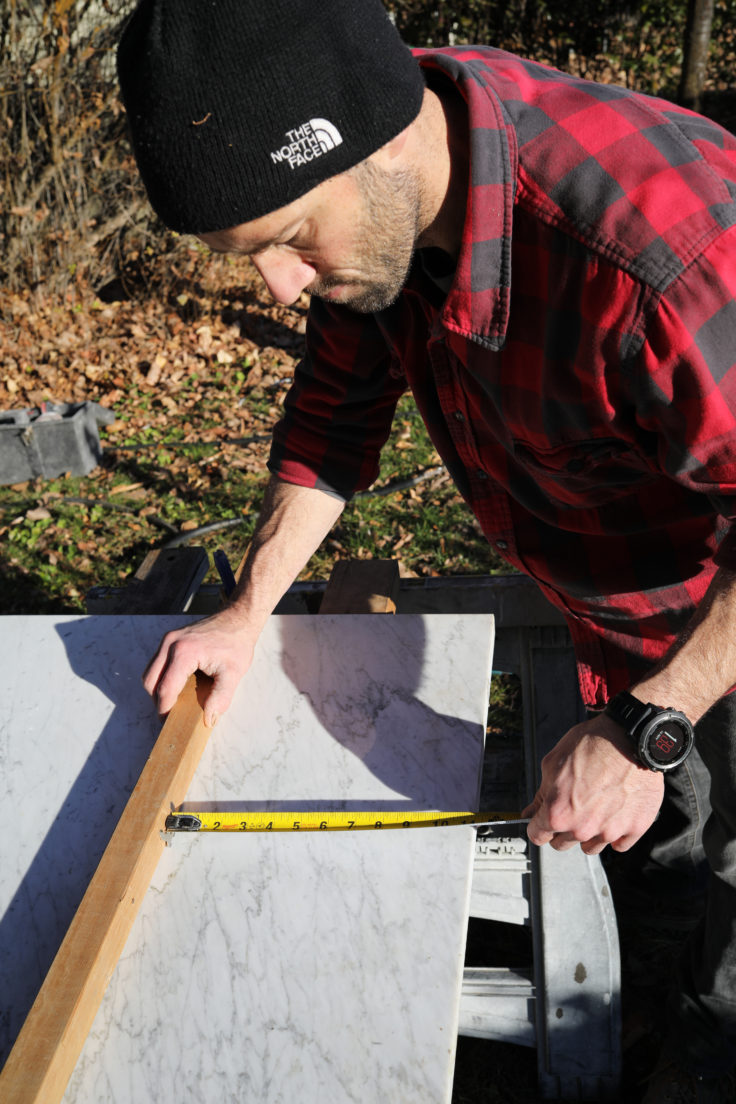
Step 1 // dimensions + prep the marble
Determine the dimensions of your stone top. We usually opt for a 3/4" to 1" overhang on all 4 sides but it is totally location and person dependent. We like when the table top sits flush with the wall, so if we know where our table is going to go, we account for base molding and quarter round when determining the overall dimensions. Once you know your dimensions, it’s time to prep the stone for cutting.
Cutting stone is messy, so find a spot to work that can get dirty and wet. We set up saw horses on solid ground in our front yard and ran 2x4s in-between them. You'll also need a water source such as a hose at the cutting location. Place the marble on the 2x4s good side up.
The softer the stone, the more chipping will occur during cutting (and marble is pretty soft). Our marble ended up with quite a few chips this go around, but they were minor enough that we could sand them out in step 3. We shared a few tips on cutting and minimizing chipping below.
stone tips
1. Cut the stone with good side up and from front to back. Chipping is most likely to happen on the bottom side of the blade and when the blade exists the back of the stone, and with this placement, those spots would be less-viewed on the finished table.
2. place a piece of wide tape down, straddling the length of the cut line.
3. If your stone has at least one pre-finished edge, place that edge at the front of your table.
4. Position the 2x4 supports such that the stone is evenly balanced on both sides of the cut. Uneven distribution of the stone’s weight relative to the supports can cause cracking while you cut (this is especially relevant when cutting longer pieces) and definitely don’t cantilever one side! We’ve already made that mistake for you 😉.
5. Embrace imperfection. You can certainly smooth out chips with sanding, but if perfection is your end goal, you may think about having your tabletop cut by a countertop professional.
Step 2 // Cut the stone
Once you’ve placed your stone on the 2x4s, measure for your first cut and mark it with pencil. Then position your saw blade over the pencil mark to determine where the guide should be placed and clamp the guide it down (note: the guide will likely be an inch or more away from the pencil mark to account for your saw width). Before cutting, take a peak under your stone and make sure the 2x4s are appropriately positioned for your cuts to avoid cracking and excessive chipping (see ‘stone tips’ above).
Put on your eye and ear protection. It probably goes without saying, but cutting stone is more difficult than cutting wood. And this is the hardest step, so if you’ve never used a saw before or are not comfortable using a circular saw, skip this DIY or enlist the help of someone who is. Safety first!
Adjust the diamond blade depth to be just a bit deeper than the stone. It’s ok to cut through the wood supports a little bit. Turn your hose on at a slow flow and wet the stone in front of the saw (the water should be on the stone not the saw). Continue to wet the stone during all the cuts. Start the cut slowly but firmly and let the blade do the work. Since you’ve set up a guide you don’t have to worry about your line getting covered in sludge and dust. Cutting stone is much slower than other materials especially if it’s 3cm thick. Just maintain an even, solid pressure and enough water flow that you don’t get dusted out.
Once your first cut is done, mark your second cut (you may need to dry the marble in order to use your pencil), place your guides, and do your next cut.

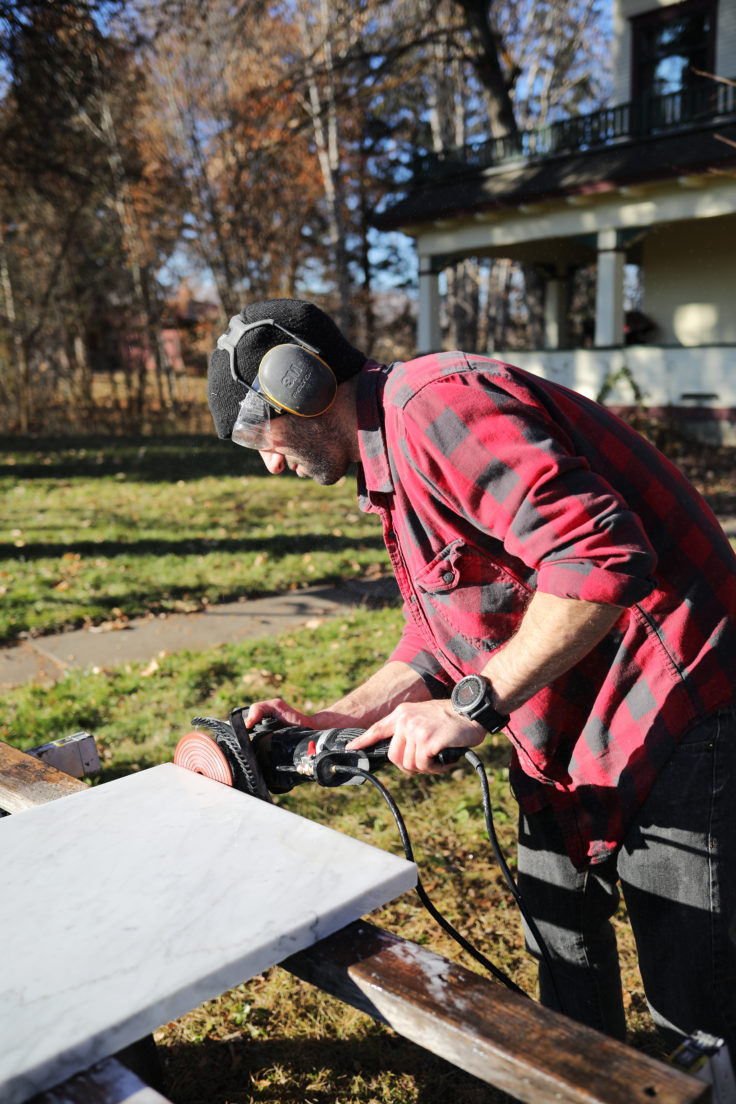
Step 3 // Hone and soften the edges
Once you’ve finished all the cuts, the edges will be rough and maybe even sharp so we’ll take these down and sand out the blade marks from the cut surfaces. We like to use a stone wet polisher with diamond polishing pads to finish out the stone but an orbital sander works as well especially for a softer stone like marble. For the stone polisher we start with 50 grit to take off the sharp edges and smooth the cuts. With an orbital start at ~60 grit. Take your time with these coarse grits to get the edges, corners and cuts shaped and smoothed to your liking. Once you move up to finer grits it becomes much harder to remove material and you end up just honing rather than shaping. Make a pass with 100, 200, and then finish at 400 grit on the polisher if you like a matte finish (haven’t tried 220 grit with an orbital for the final finish but please comment if you do and let us know what it’s like!).

Step 3 // Clean + Optional Sealing
Clean your stone with a rag and make sure it's good and dry before moving on to step 4. We have never sealed honed marble because we like the look of age and patina on marble. If that's not you, grab a stone sealer at your local home improvement store and seal it before moving on to step 4.
Step 4 // Glue
Set your base on a level surface before gluing (we set our's in place in our bedroom). You may also want to dry fit the stone and mark it’s final position on the bottom in order to help with step 5.
The glue we used is a high-quality, specialty adhesive which should provide a lasting bond for the marble. A basic construction adhesive is not recommended as stone may not adhere. One tip with the glue: put on a nice bead of it. Since the base is an antique and likely not 100% level, the glue will help even everything out.


Step 5 // Place the Stone
Set your stone as close to it's final position as possible. Moving the stone around on the glue will cause it to squish out the sides. The glue is cleanable while it’s still wet using a wet rag or mineral spirits.

Step 5 // Stage the final look
Okay, so this isn't technically part of the DIY, but now that you've finished your side table, you probably want it look like a million bucks. And the surest way to do that is with beautiful staging. I'm a big fan of topping tables with art, greens, vintage pieces, and books in a minimalist-but-well-curated. But I'm no expert. Here are a few of my favorite sources for all things styling, staging, and how to make a pretty table look even prettier:
Heather Bullard, @astylistguide, Jersey Ice Cream Co, Studio McGee, @FrancoisetMoi, Boxwood Avenue, Emily Henderson, Room for Tuesday, Pinterest, @houseofharvest

DIY Video
Garrett put together a video of this DIY, which has a lot more details on the stone cutting and honing process. Check it out below!
And there you have it, an afternoon DIY that your nightstand will love ;)

We'd love to hear from you if you tackle this DIY project! Tag us in your project on Instagram or where ever you share it. And let us know if there are other tutorials you'd like to see...we'd like to put out more of these!