DIY // How to Install Tongue-and-Groove Paneling
THE FARMHOUSE
You guys have been asking for this post and today we’re finally delivering. Get ready for a step-by-step DIY on our paneling (aka wall planking)!
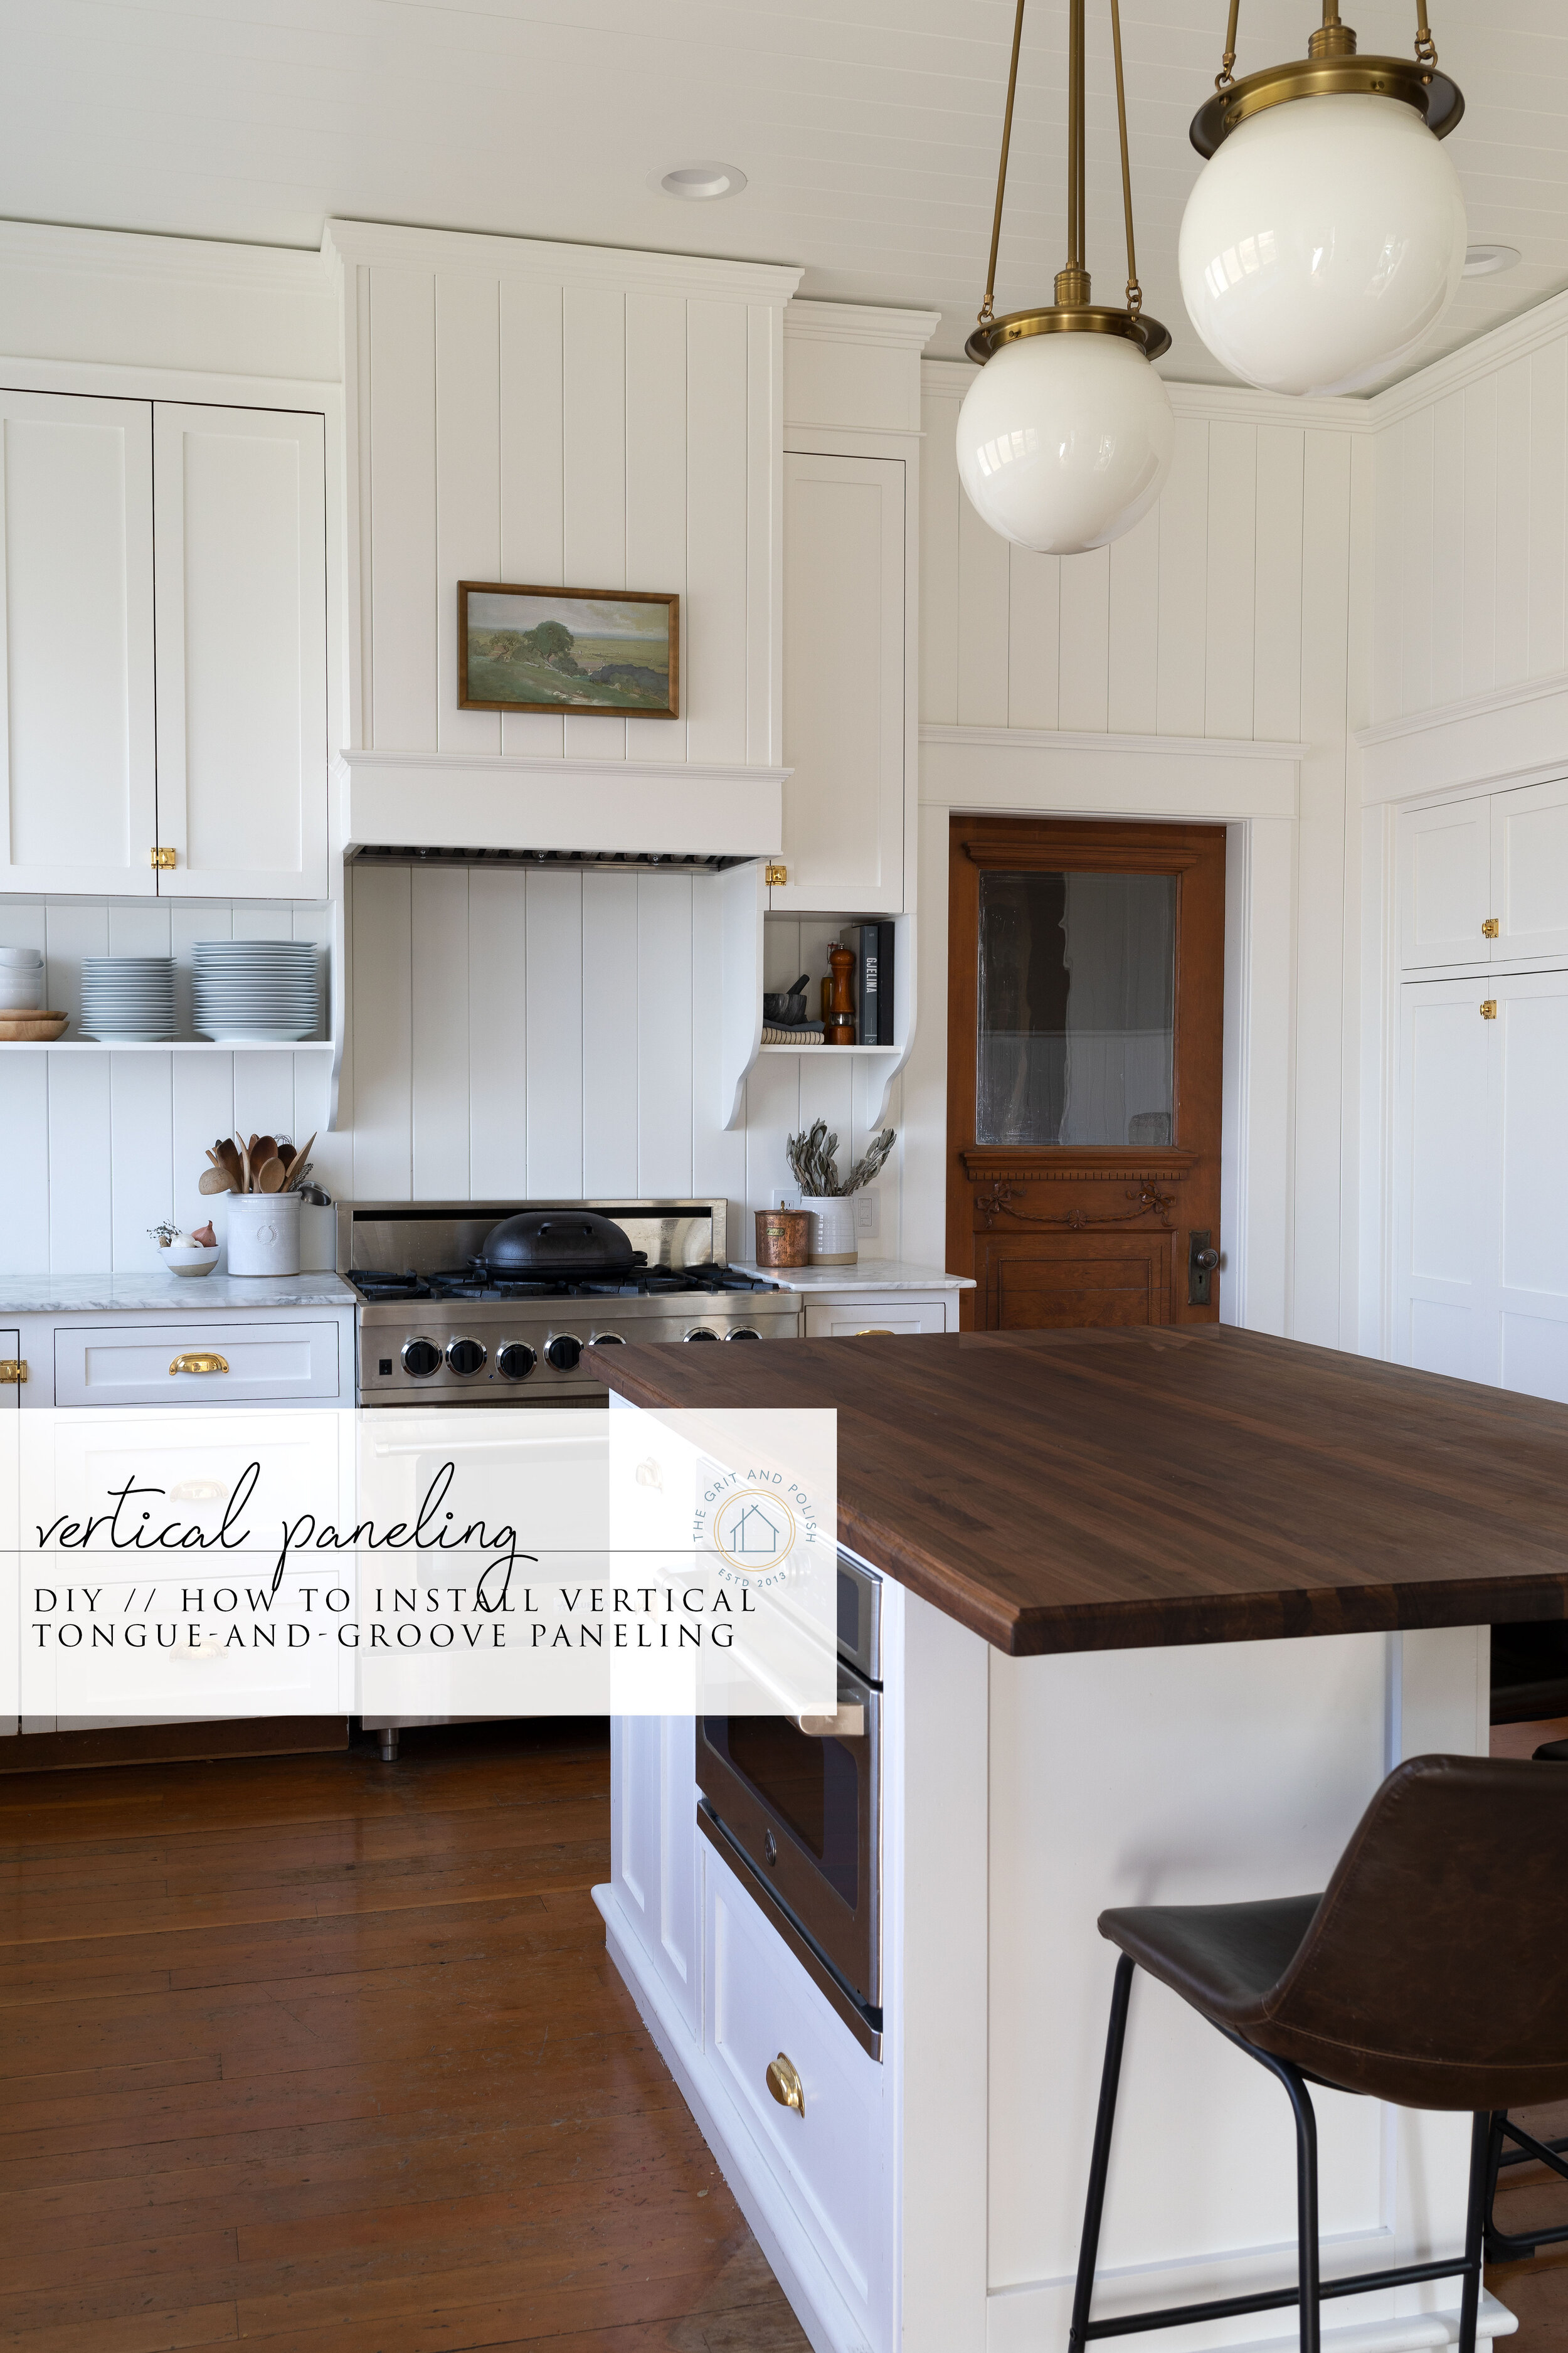
Last year we installed vertical tongue-and-groove paneling in our kitchen, pantry, and laundry room. It now covers all of the walls and ceilings. The goal was to create a sunroom vibe and add some interest to the spaces, and I think we achieved that. The paneling is a bit classic, a bit modern, and 100% full of character. We’re huge fans and I think many of you are too. So today we’re sharing a tutorial on how to install tongue and groove paneling yourself.

Our Farmhouse Kitchen | sources here
Before we get to the tutorial, let’s take a closer look at that paneling.


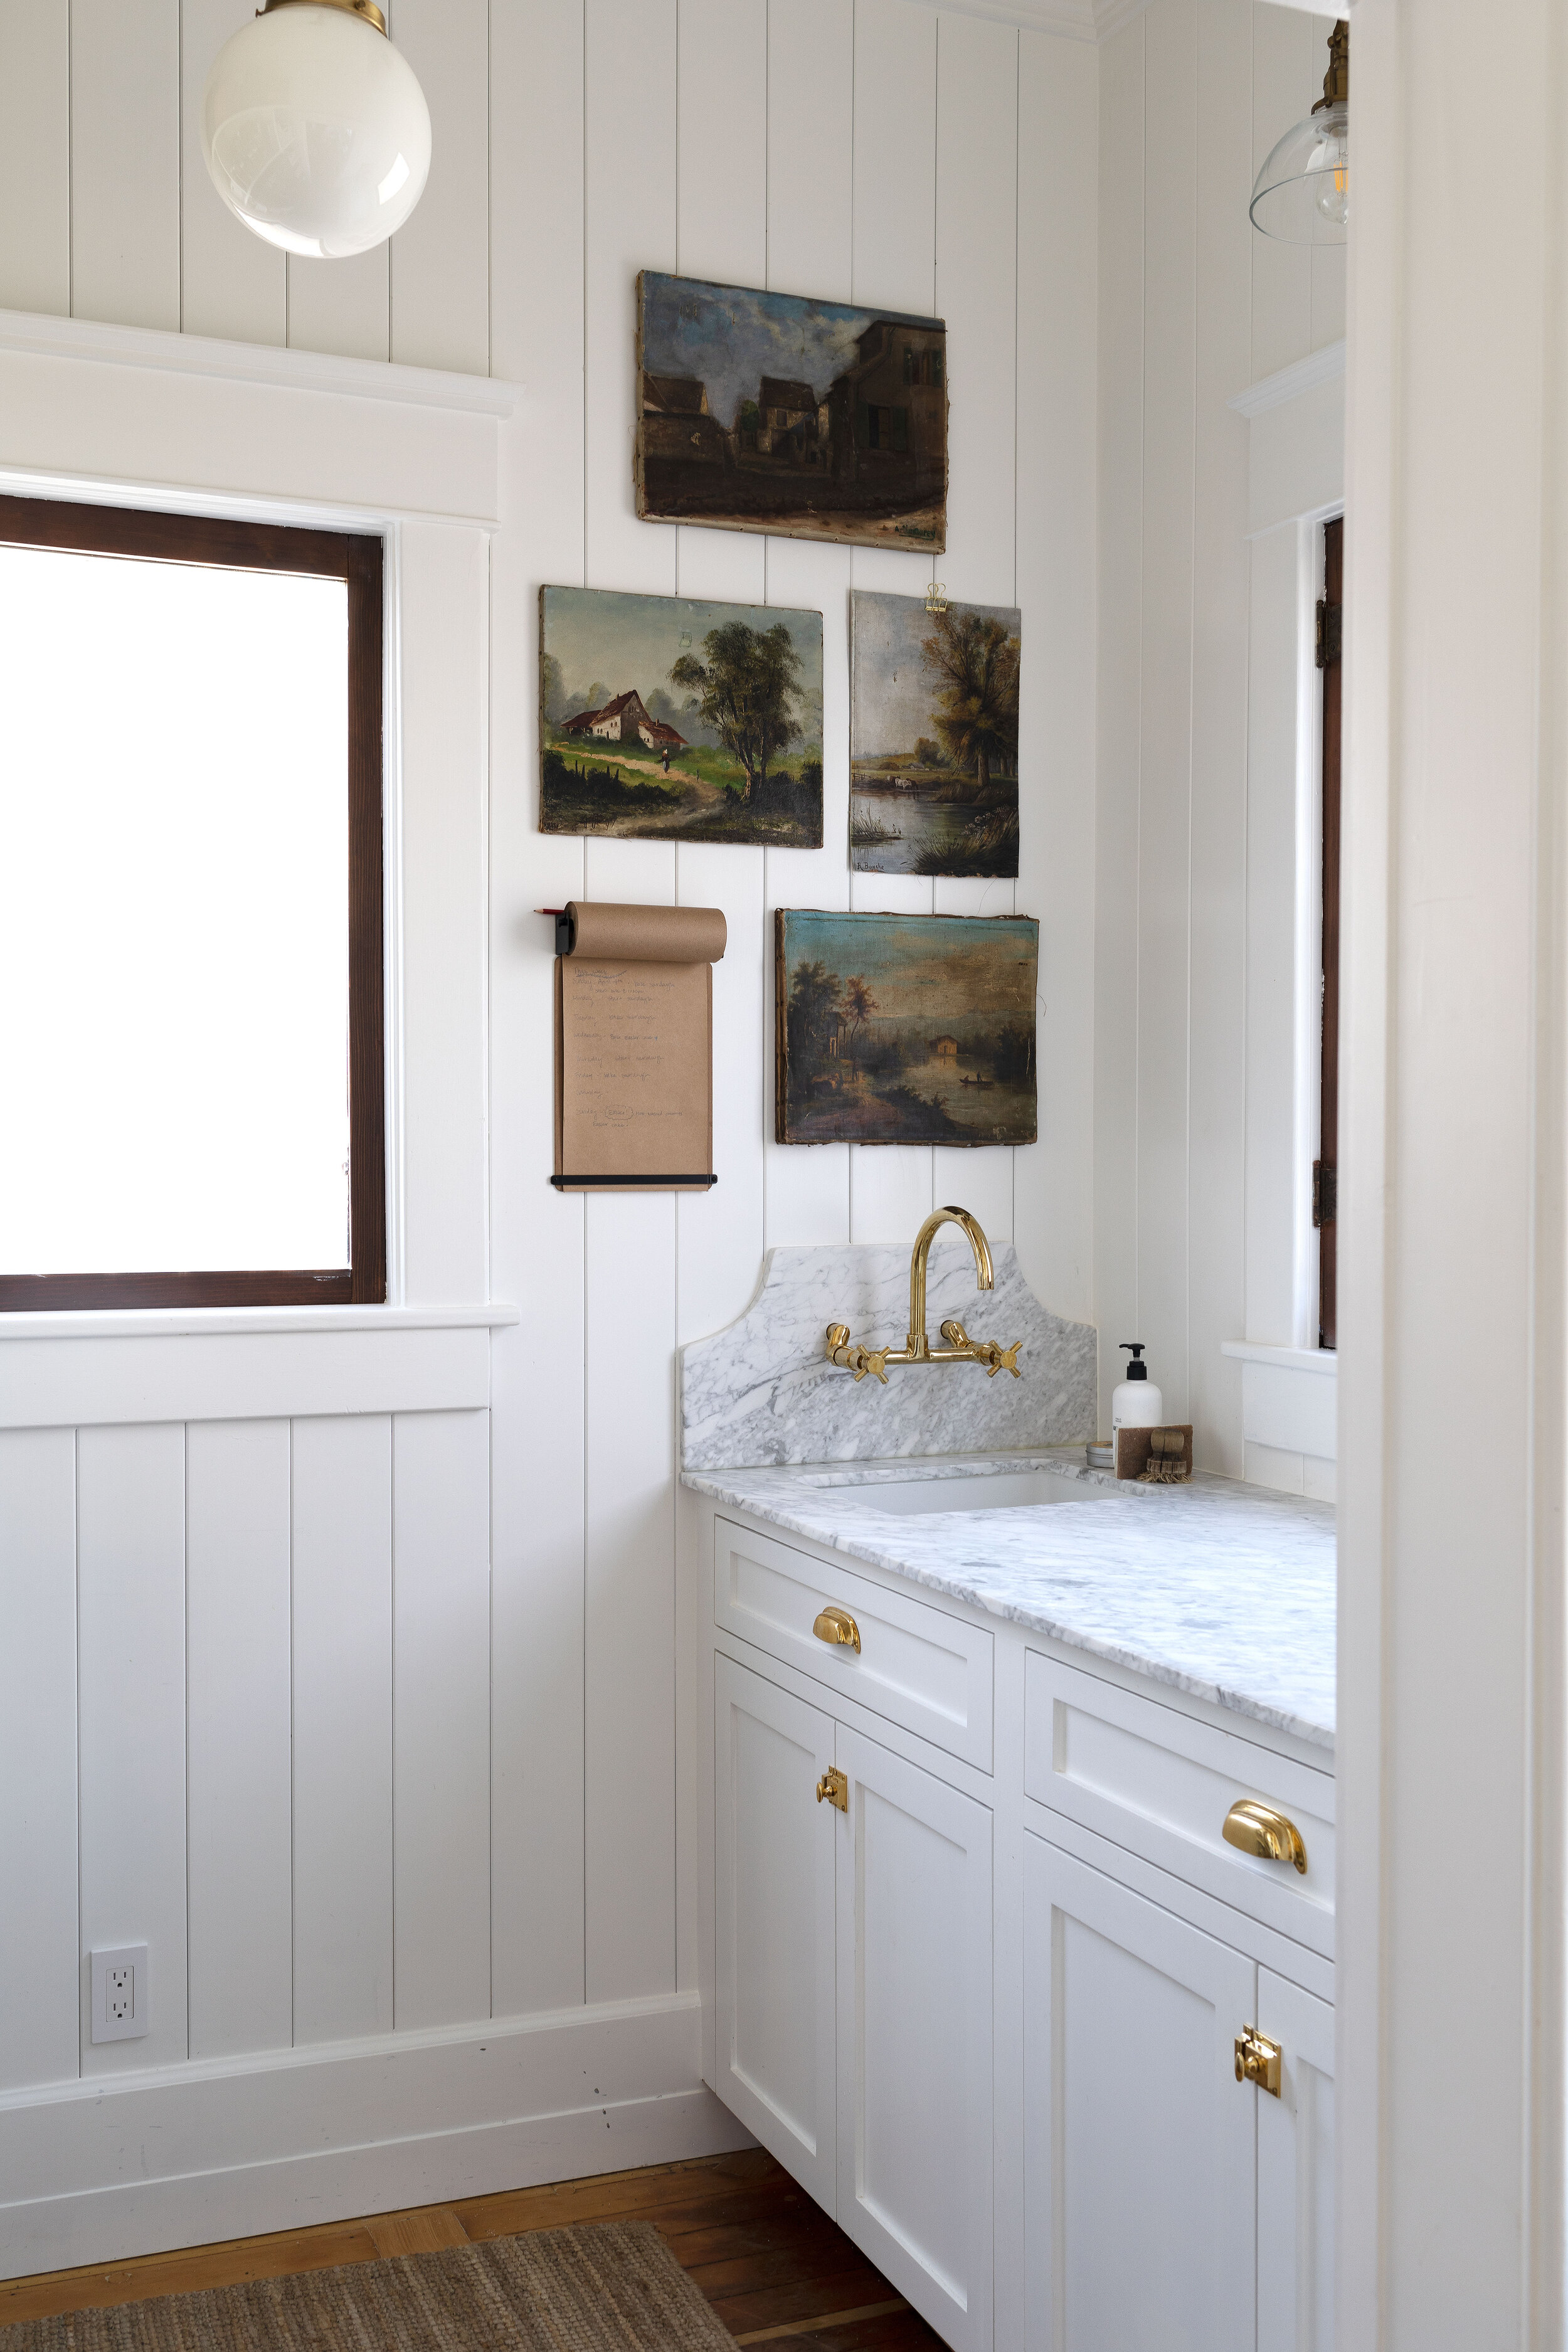
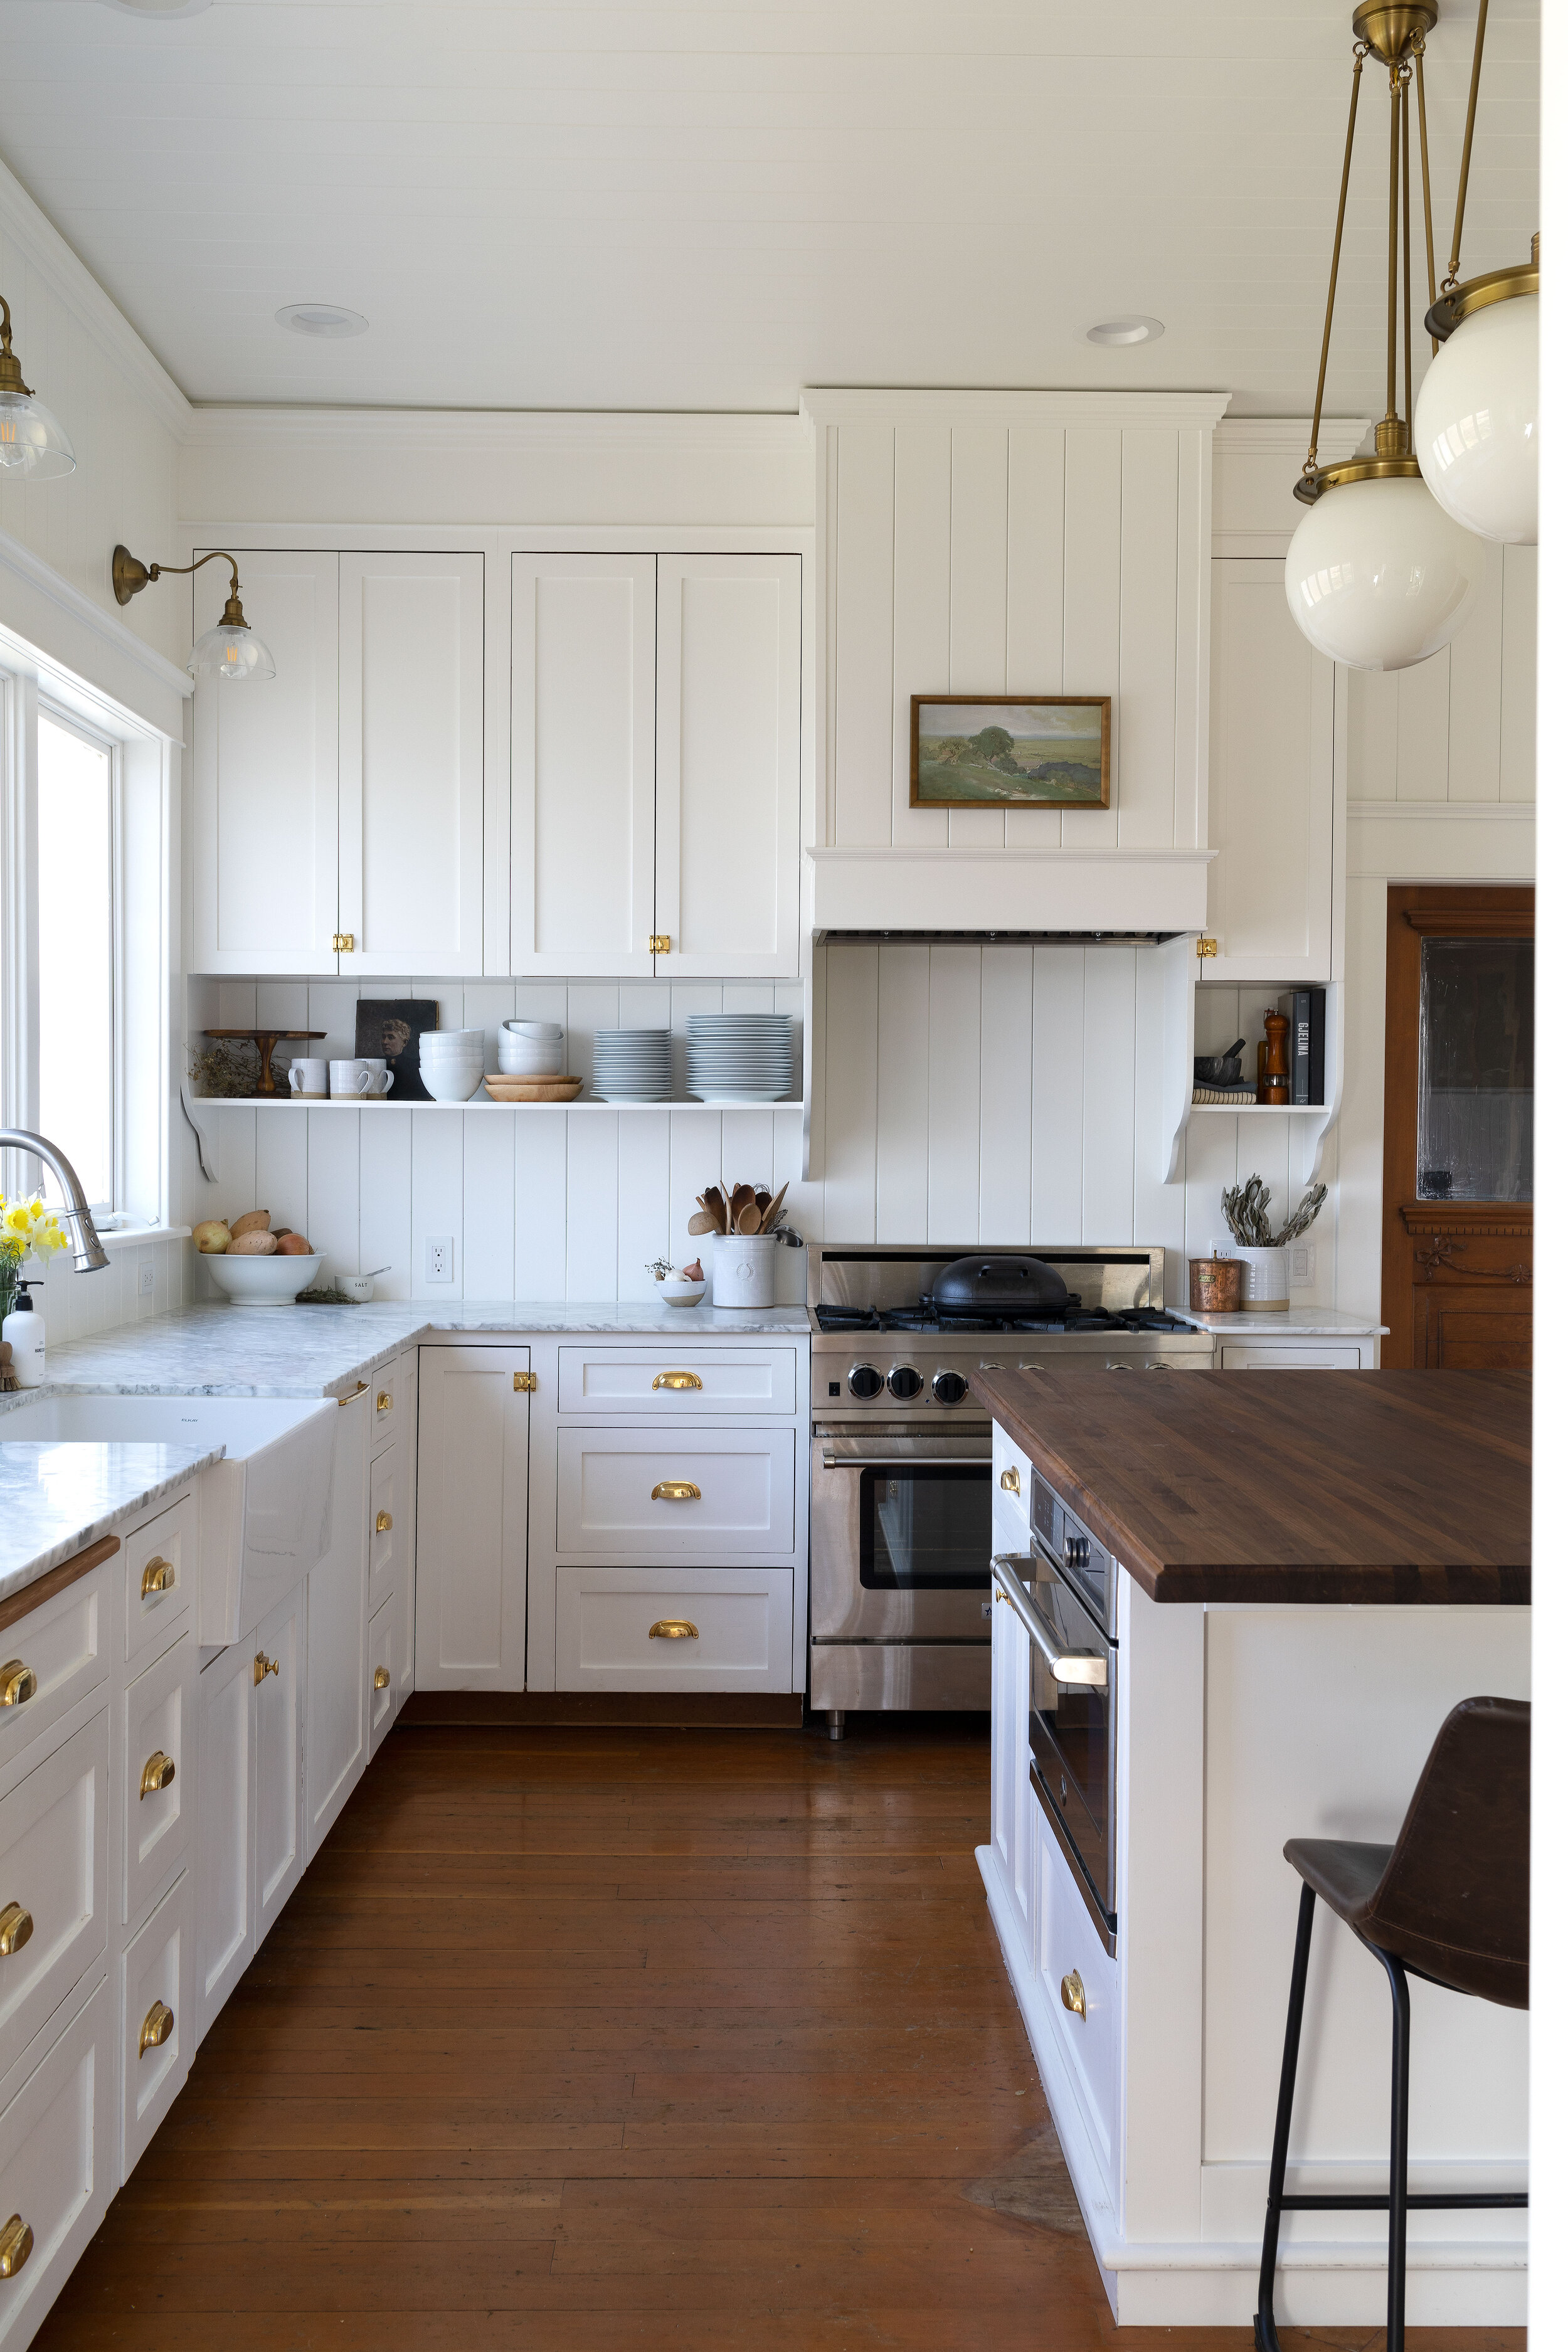
DIY // How to Install Vertical Tongue-and-Grove paneling
Level: intermediate
Format: video
tools & Materials
Paneling (we used the flat side of this product)
Nails (we used 2” 16ga brads)
Tape measure
Level
Mallet
Construction adhesive
Steps
Garrett’s sharing the how-to steps in the video below. Don’t be turned off by the fact that Garrett calls the paneling ‘planking’ in the video...tomato, tomatoe. It’s the same stuff! Garrett also shares lots of tips in this video and walks you though how we installed the moldings over the paneling to get the best possible look.
That’s it! If you try this DIY let us know! Tag us on Instagram or wherever you share it!