
Dexter Kitchen: Butcher Block Countertops

THE DEXTER HOUSE
If you've followed the Grit and Polish for long, you know that we love using butcher blocks for kitchen countertops (like this one). They're inexpensive, timeless and easy to install yourself, making them the perfect material for DIYers like ourselves. At the Dexter House, we decided to upgrade our usual butcher block countertops to red oak (from Uncle Dougie of course) to match the new floors we laid.
Red oak cost a bit more than basic beech or maple - I think we paid around $26/sf for these - but the final result is stunning! If I do say so myself. These countertops are warm, approachable, and down right beautiful. Here's a sneak peak at the finished product. I promise more "after" photos of the kitchen renovation soon...

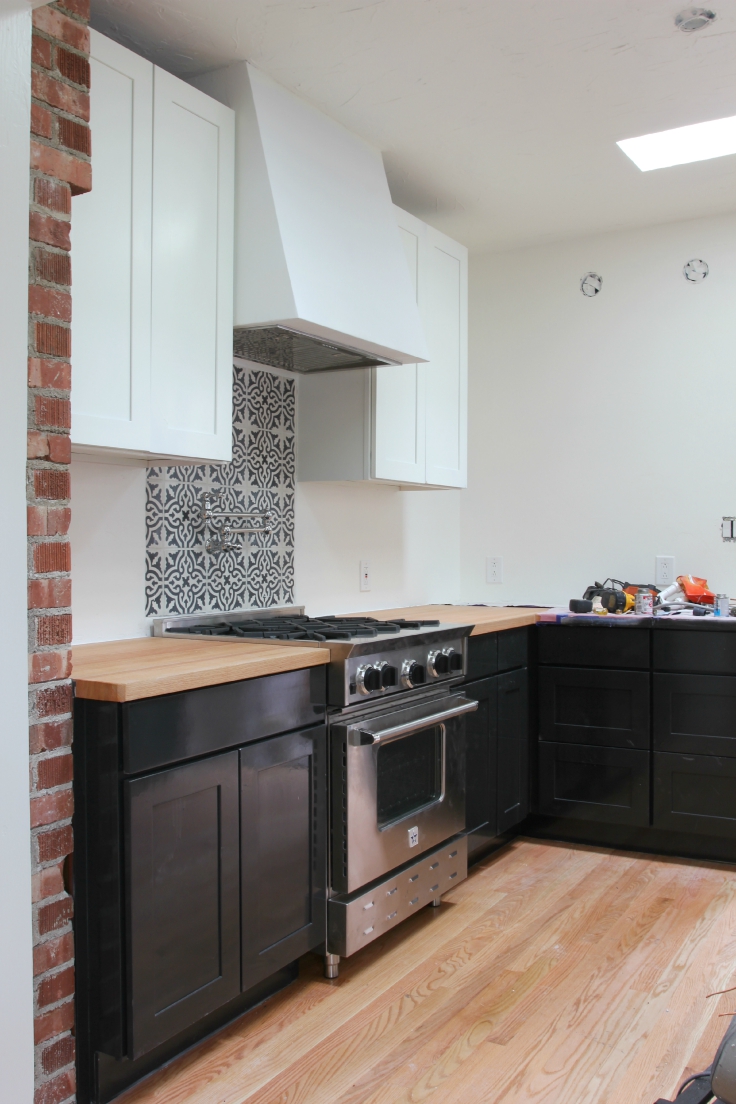
The Grit and Polish - Dexter Progress stove and potfiller
Installing the butcher block countertops took some time and precision, but overall, the process was fairly easy. First, I measured the kitchen and ordered the countertops in four pieces, each 26" deep and a couple inches longer than the length I measured. I added the extra length to the order to account for the 'old house factor'. You know, the nothing-is-ever-square-or-level-and-something-unexpected-always-seems-to-come-up factor. It's better to have too much and cut it down to size than to start with too little.
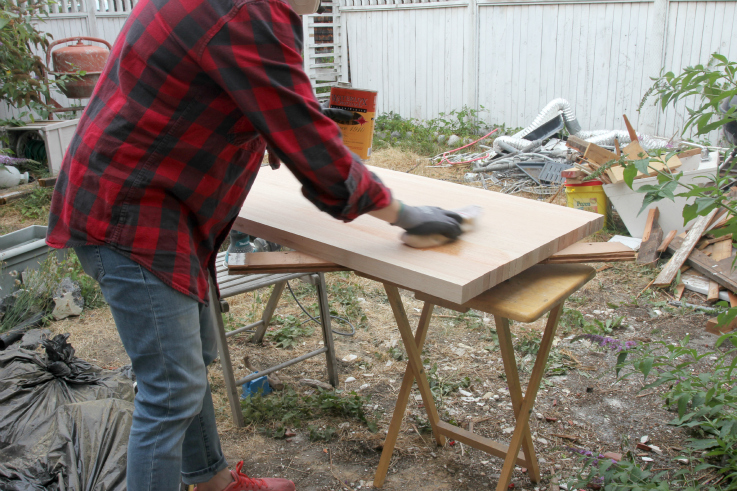
When the butcher block arrived, we laid them out on top of the cabinets, marked the exact layout, and then cut them down to the precise size we needed. To cut the countertops, we used a circular saw with a new blade on it to assure really clean cuts. Then we sanded each section with 100 grit, 150 grit and 220 grit sandpaper. (Please please pretend you never saw this mess of a garbage dump backyard!)
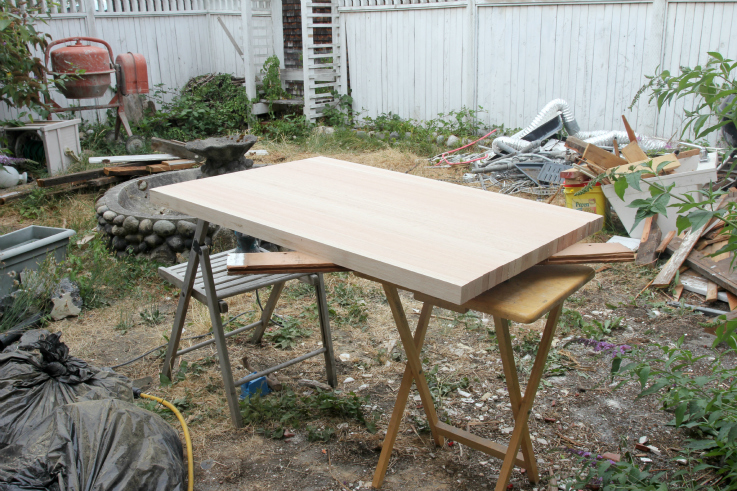
The Grit and Polish - Butcher Block Countertop cutting

The Grit and Polish - Butcher Block Countertop sanding
Once they were smooth, I sealed the butcher blocks using Waterlox. We decided to go with Waterlox this time because we wanted something that sealed the butcher blocks instead of just conditioning them. This product is pretty popular with DIYers and I found lots of positive reviews online. (We've only lived with the butcher blocks for a couple months but so far I'm happy with the finish.)
After the first coat dried, I gave the butcher blocks a quick sand with the 220 grit to cut down the raised grain, and then put on a second coat. Then I brought the butcher blocks inside to dry overnight.
The Grit and Polish - Butcher Block Countertop sealing
The Grit and Polish - Butcher Block Countertop staging
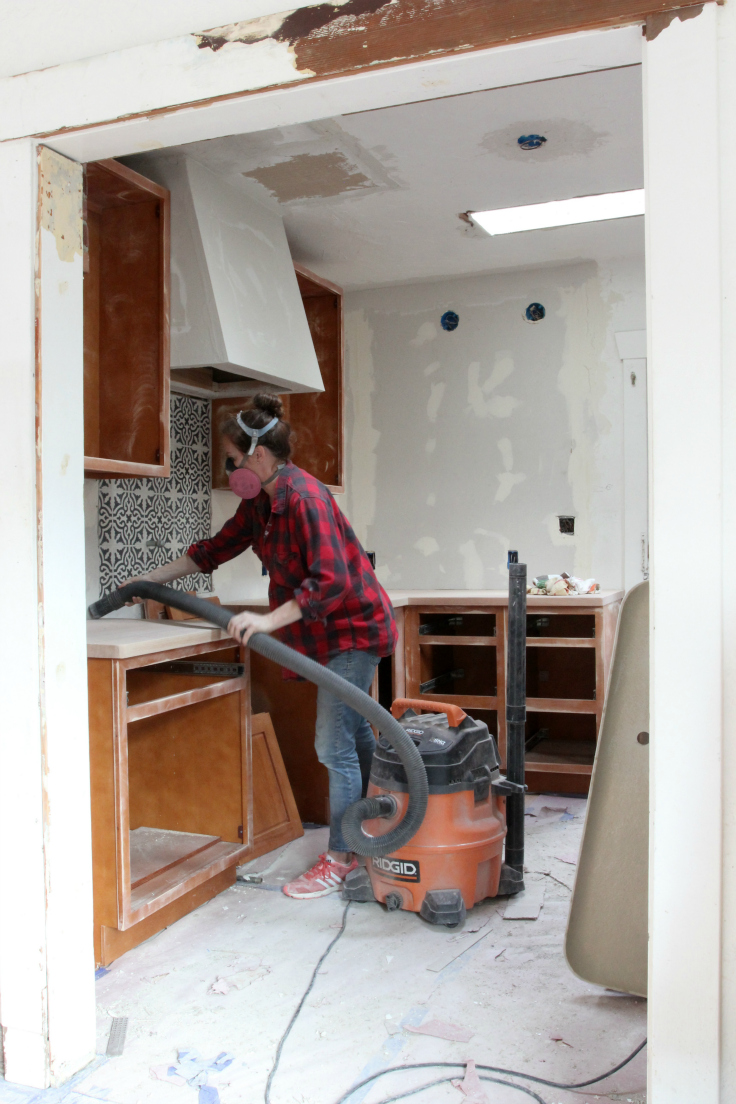
After they dried, we installed the butcher blocks. There was a little more minor trimming involved in order to make sure each section fit snuggly and then we secured them to the cabinets using screws from the underside. Then we cleaned all of the butcher blocks thoroughly, sanded them again with 220 grit sandpaper, vacuumed up the dust, and sealed them with a third coat of Waterlox.
The Grit and Polish - Dexter butcher block counter clean

The Grit and Polish - Dexter Butcher Block Install Seal 2

The Grit and Polish - Dexter Butcher Block Install Sealed

The Grit and Polish - Dexter Butcher Block Install Sink 2
Since we have kids in the house, I rounded all of the corners with the palm sander. We haven't had any bonked noggins yet, but when we do, hopefully they'll be minor.
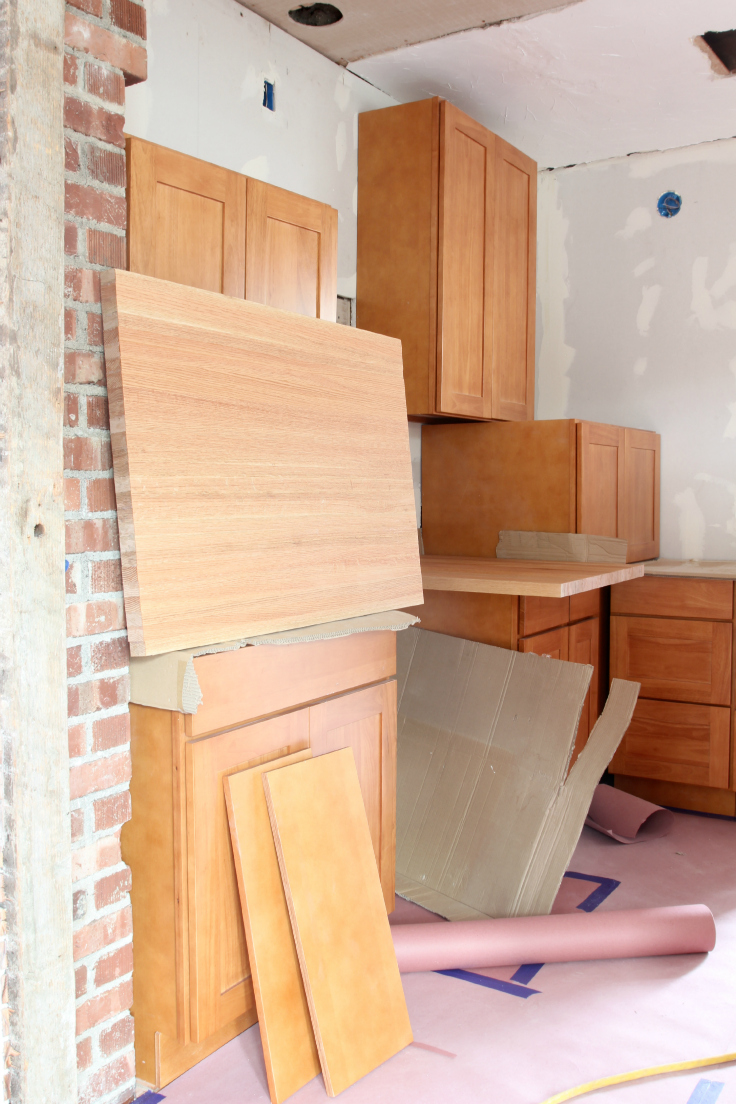
You may remember that we painted our lower cabinets black (you can read about that here), so we covered the countertops with thick paper to protect them from overspray. When we uncovered everything, the kitchen looked like this.
The Grit and Polish - Dexter Progress 6
The countertops look good with those floors, right?! Would you use butcher block as a countertop? If not, what material would you use in a kitchen like this?
I promise to show you the entire kitchen renovation soon!
xoxo
-Cathy
p.s. 1880 never looked so good! Check out this gorgeous Australian renovation.
p.p.s. My latest rug crush. I love how Julia used it in her minimalist playroom!
p.p.p.s. I'm on day 11 of clean eating and I have to say, it feels goooood! Definitely motivated to stay off sugar after watching this documentary. Watch it! This film will blow your mind!